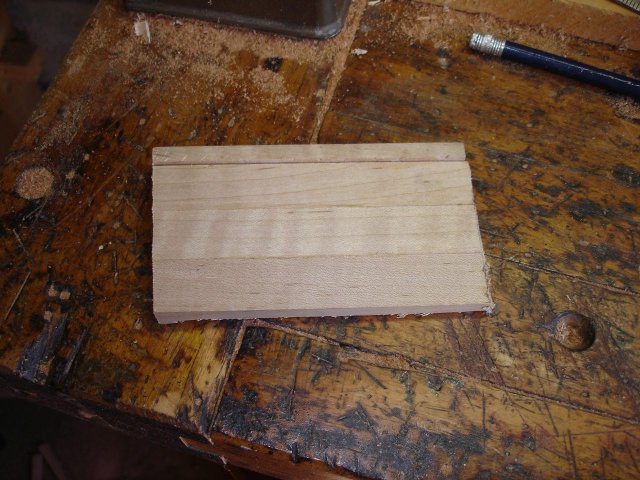
It is time to make the bridge. I am going to make the bridge out of some of the scrap maple that I have from cutting out the banjo neck. I groped through the pile and found this piece.
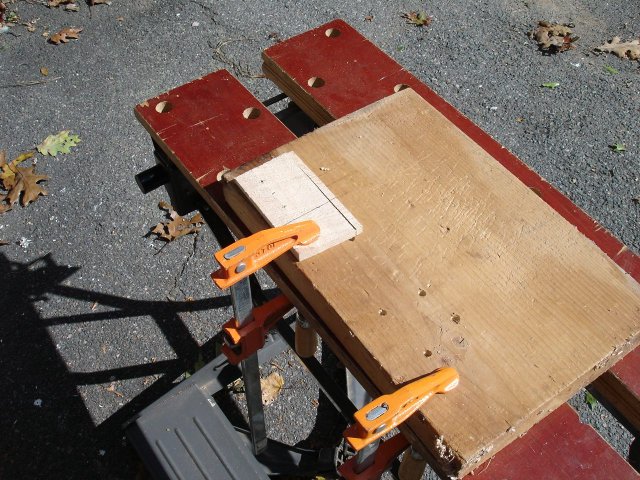
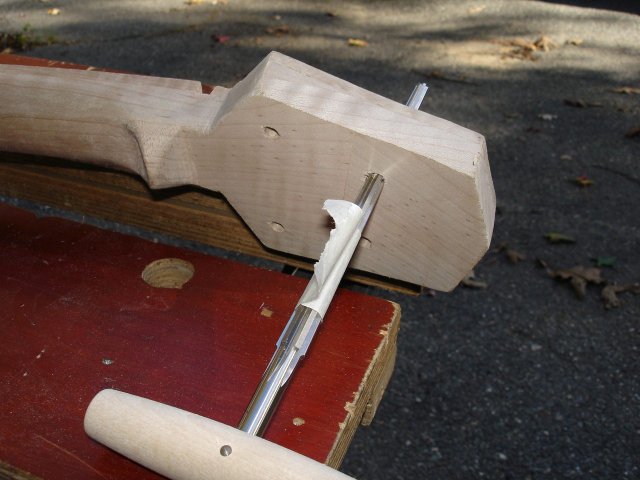
It looks like it was cut from the heel or something. It is pretty thin, so I should be able to use it much as it is without having to rip another piece of maple with the rip saw. And to be even more lazy, I got out my brace and bit to cut a couple of holes in it that separate the feet. If I cut a circular hole right where the two pieces of maple are glued together, and then I separate them I will have a semi-circular hole cut in each piece. I get two bridges at once, and since the wood is 3/4" dimensioned lumber, the two bridges will be just the height that I need them. Here is a photo of the piece clamped and ready to drill.
Well, it didn't work. As soon as I poked the drill into it, the pieces separated at the glue joint.
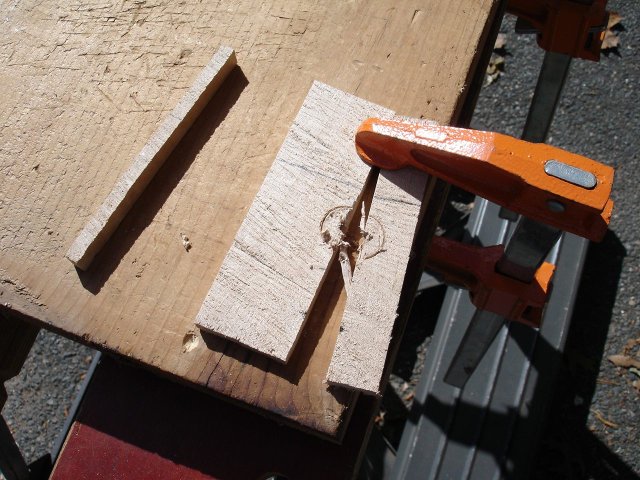
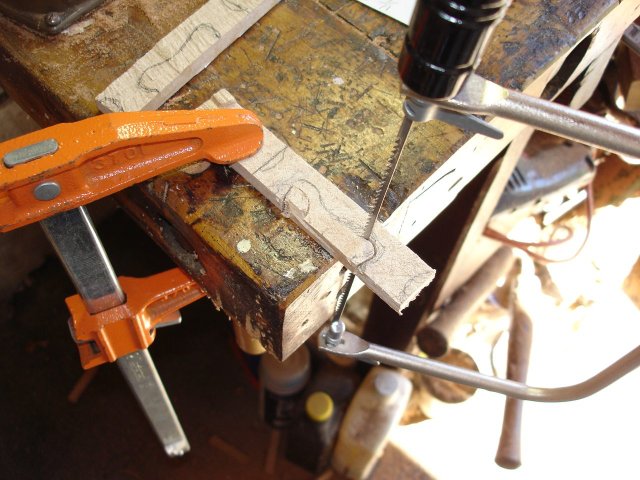
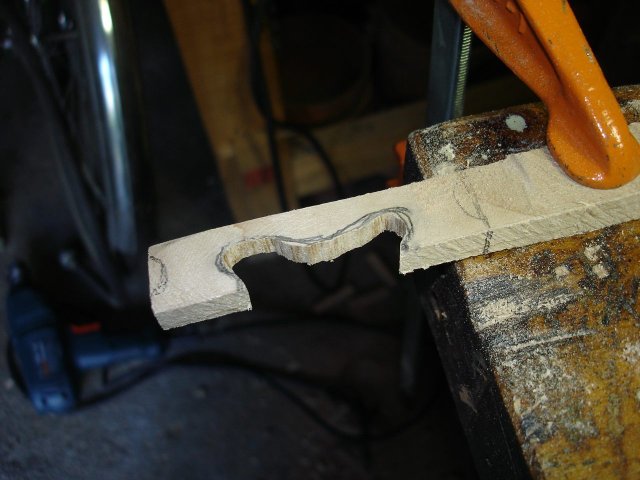
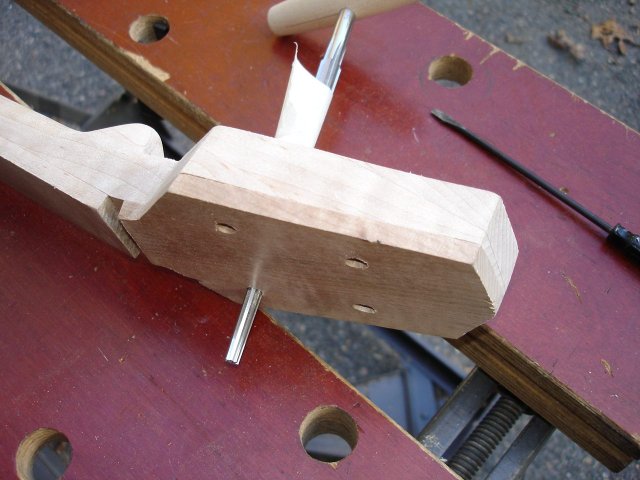
So much for the glue being "stronger than the wood". Back to the drawing board. I will now cut the shape out of the bridge pieces using my coping saw. Here is one of the pieces clamped to the bench being cut.
If you look closely at the photo you can see on the piece where the drill dug in before the piece broke off. I am hoping that I can still cut around that.
I did manage to cut out a shape around that mess. Here it is partially done.
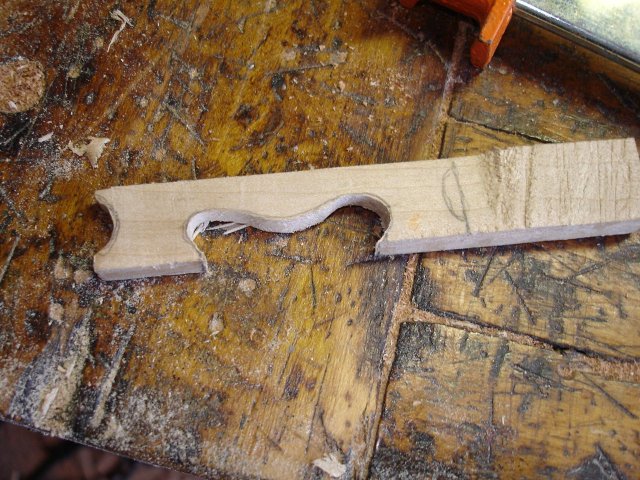
And here it is completely cut out.
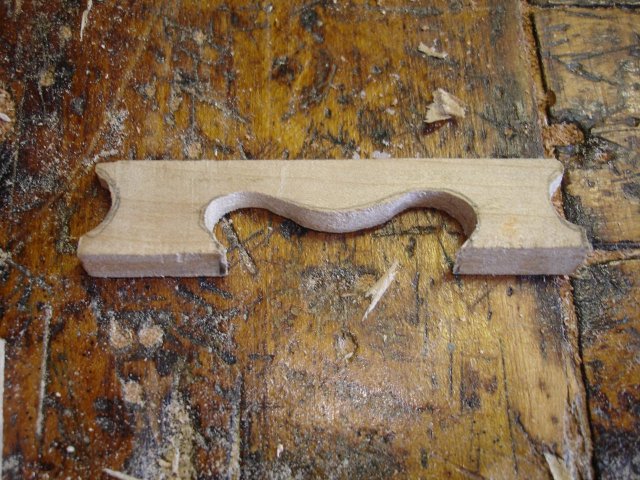
I used the shoe rasp to taper the maple from the feet to the top, and I used a rattail file to smooth out the curved parts. It looks pretty good. As a matter of fact, it was such fun that I made another one just because. I ripped off another chunk of maple from a different piece of scrap because I had ruined the other piece.
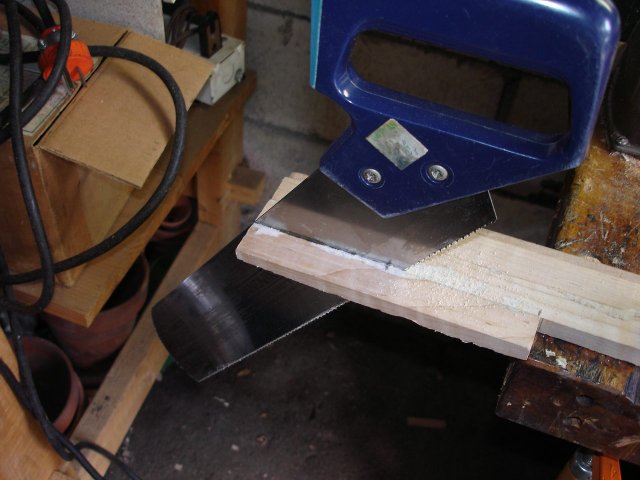
I clamped that piece to the edge of the bench and began cutting away everything that did not look like a bridge.
I shoe rasped 'em and I rattailed 'em and I sanded 'em smooth. That was fun.
Since I had some time left after making the bridges I decided to ream out the peg holes with my tapered reamer. Here is the plan. I want to start reaming out the holes now so that I don't have to do all of that work later, but I will leave some of it to do for final setup. The reason is that when I put the finish on the neck I am bound to get some of the finish into the peg holes, and that is not good if I want the friction pegs to work well. I really need wood on wood when this is done. After the finish is on the neck, I will cut away any finish that got into the holes when I do the final fitting of the pegs into the peghead.
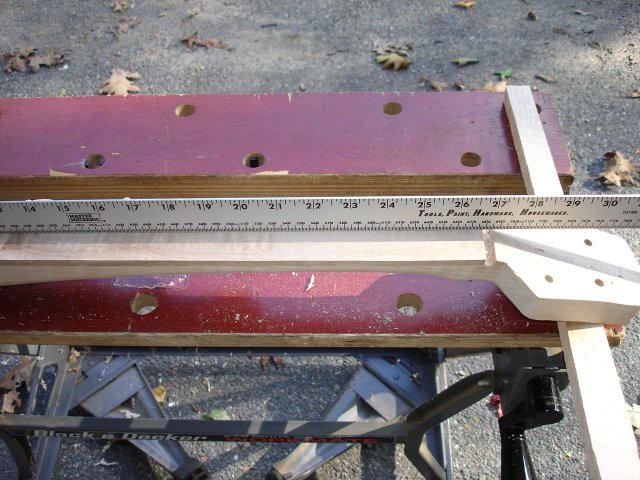
So I measured off the 1 9/16 inch, which is how deep the holes on my minstrel banjo were reamed. I measured them earlier. Then I put some tape on the reamer a bit farther up to act as a flag.
I reamed out the holes down to the tape. Here is what it looks like from the top side.
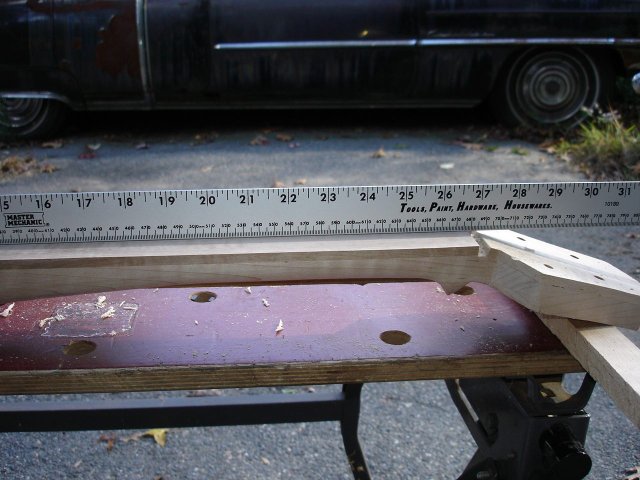
Finally, I took my cabinet scraper again and I took down the fingerboard until it was straight. I just eyeball it using my metal rule, like this:
I lean down and peek under the rule to see the light between the fingerboard and the rule.
I spent 2 hours making the two bridges, reaming the peg holes etc. Making the bridges was a lot easier than I had anticipated. Part of that time was reaming out the peg holes. I also spent 2 hours sanding the neck even though I have no photos of that activity (sanding is really kind of boring). That adds up to 4 hours for this setting.