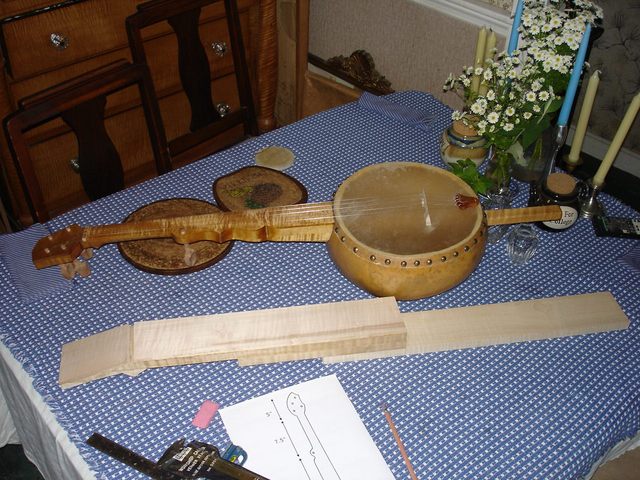
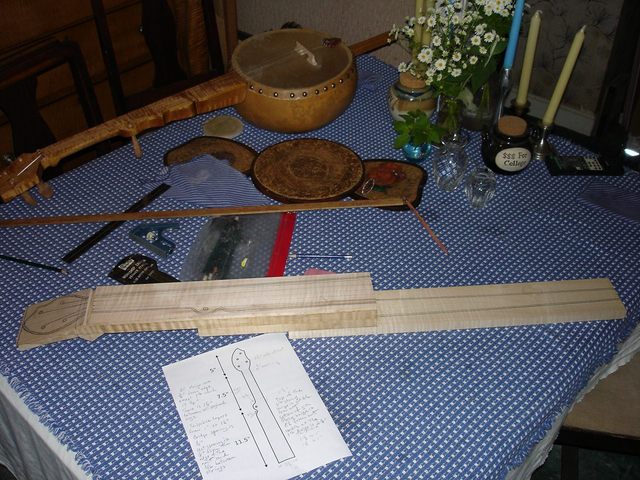
It is a rainy day here in Massachusetts, so I have been limited to doing inside work; I have drawn the outline of the neck onto the blank. Even though the neck will be a different shape from the previous one, I am going to take some measurements from my previous neck since there are some proportions on it that worked out quite well. Here is my new neck blank sitting next to the gourd banjo that I built last time.
I printed out the plan that I drew last Winter to use as a guide. You can see it on the table. The plan is not printed to scale, so I will not trace it onto the neck. Instead I will construct the drawing right on the neck blank using the plan as a reference. Using a yardstick and some freehand work I came up with the following lines for the neck.
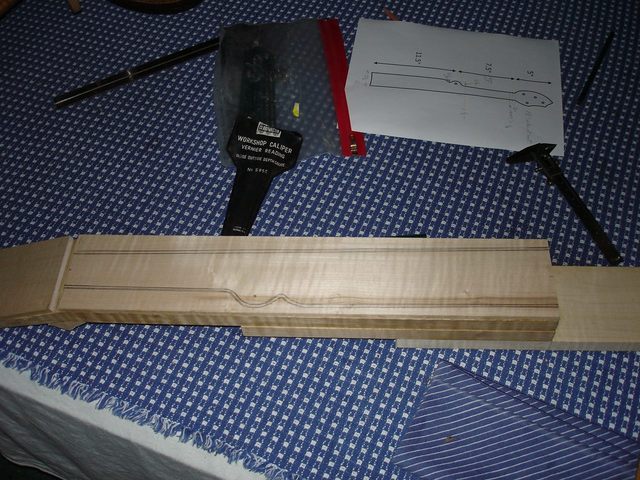
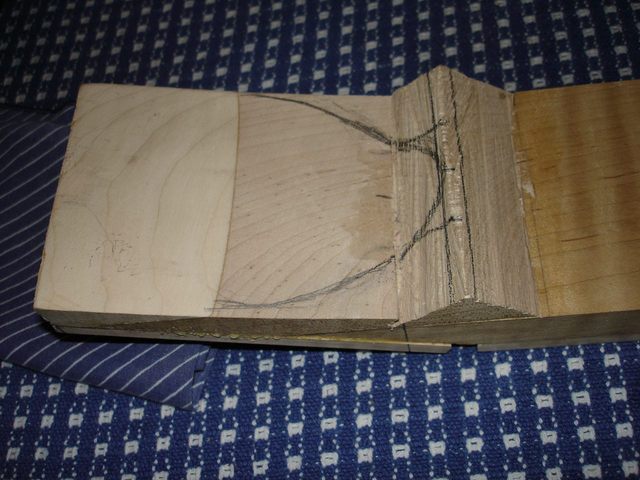
I measured the width of the nut at the top, which is 1 1/2" and the width of the heel at the bottom, which is 2 1/2", and then I drew the lines from one to the other using the yardstick. I used a number 6B drawing pencil to get the lines really dark. A 6B pencil is very soft.
The bulge where the 5th string peg goes was drawn freehand. I marked the beginning of the bulge at 6 1/2" from the nut, the middle of the bulge at 7 1/2" from the nut, and the end of it (the notch) at 8 1/2" inches. The width of the neck at the widest part of the bulge is 2 3/8", which I measured from the previous neck.
You may notice that there are two sets of lines on the neck. The inner pair of lines represent the finished shape, and the outer pair are my "cut to" lines. I will cut the neck out with the saw down to the outer lines and then use the plane, spokeshave, and rasp to finish it down to the final shape.
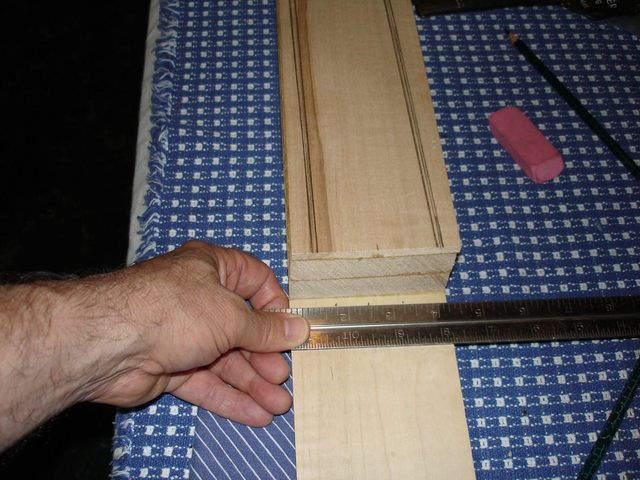
Once I had the neck marked, I marked off the dowel stick part. I measured the width of the stick to be 1 1/2" at the heel and 1" at the end. This will provide a gentle tapered shape which will be easier to fit tightly to the gourd than it would if it were straight. Here I am measuring the 1 1/2" width of the dowel up by the heel.
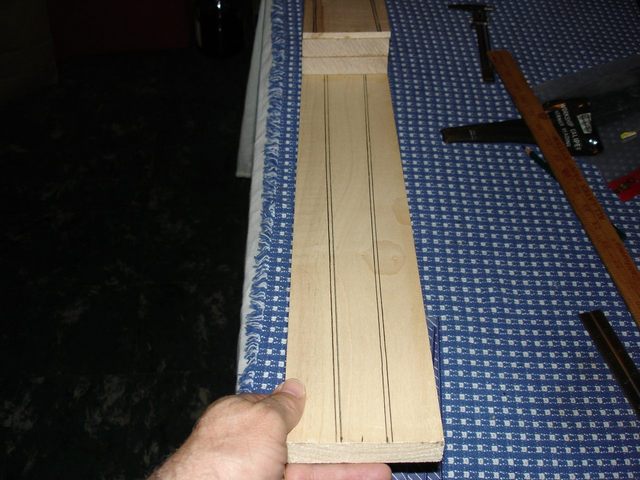
After measuring the 1" measurement at the end, I connected the two ends using the yardstick and added the two outer lines.
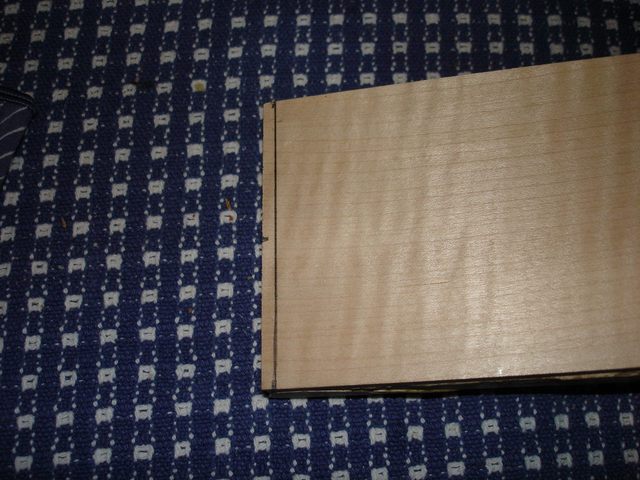
OK. Here is a correction for a mistake that I made last time. The way the peghead overlay is glued down, there is quite a bit of overlap hanging over the end of the peghead. You can see it here.
If I draw the peghead shape up to the edge of the overlay (which is what I did last time) there will be a notch left between the peghead and the overlay that I will have to get rid of. So I marked the peghead overlay to indicate the maximum length the peghead can be. You can see the vertical line in the photo above. Once I had two of those lines, one on each side, I marked the top of the overlay with the offset from the end.
That mark is the longest the peghead can be.
Finally I drew the peghead shape onto the overlay freehand and positioned the peg holes. I have staggered the pegholes in the peghead in an attempt to get some additional room between them so the peg buttons will not be too close together. I had to take into consideration where the nut would be notched for the strings so that each string would have a clear shot to the peg it will be wound onto.
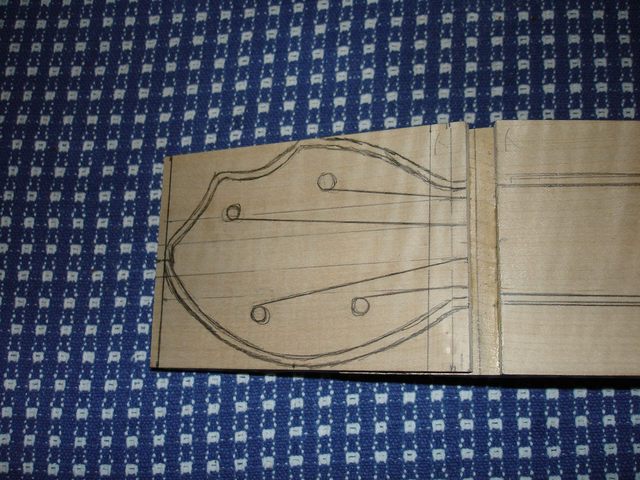
To make sure that I have not messed this up I have drawn the strings onto the peghead where they will come off the nut and wind around the pegs.
The peg holes have a somewhat interesting asymmetry here, and that is intentional to provide a little extra space between them. There is a space of 1 5/8" between the centers of the pegs. That should be enough to clear the buttons.
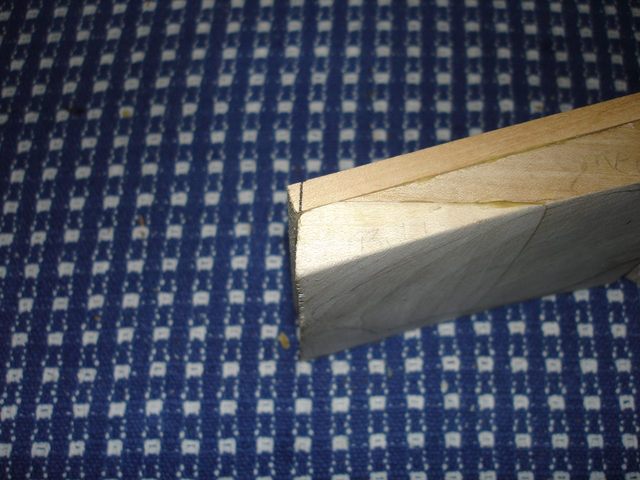
The neck extends 1/4" into the peghead space above the nut. That is shown by the line drawn across the peghead farthest to the right. The line to the left of that line is approximately where the unfortunate gouge is on the other side of the peghead. Just to get a better idea of how I am going to deal with that I turned the neck blank over and drew some of the peghead on the bottom side.
The handstop will be concave on the peghead side and convex on the neck side. In order to get rid of the saw gouge I will make the bottom of the peghead a little bit concave just to the left of the handstop. Since I will be using wooden friction pegs, the bottom of the peghead does not need to be flat, and a curved bottom will be an interesting aesthetic statement.
And here it is.
This is looking like it might be an interesting neck. I can hardly wait to start cutting it out and carving it to shape. Here are some other measurements for future reference.
The 1st and 4th strings at the nut will be placed 1/8" from the sides of the neck. Having a large space there will make pulloffs easier. The spacing between the strings across the nut is 5/16". The spacing of the strings at the bridge will be 1/2".
All of the pegs in the peghead are placed at least 1/2" from the side of the peghead to provide the strength needed to keep them from breaking the peghead. The distance of the 5th string peg from the side of the neck is 3/8" for aesthetic purposes. It should hold OK since it works on the other neck like that.
This was one of the most creative and interesting parts of the project. I got to decide what the banjo neck will look like. I drew a lot of it freehand. I like being able to just draw it out like I want it instead of following a fixed plan. I spent about 1 1/2 hours doing this work.
Original post date June 15, 2008