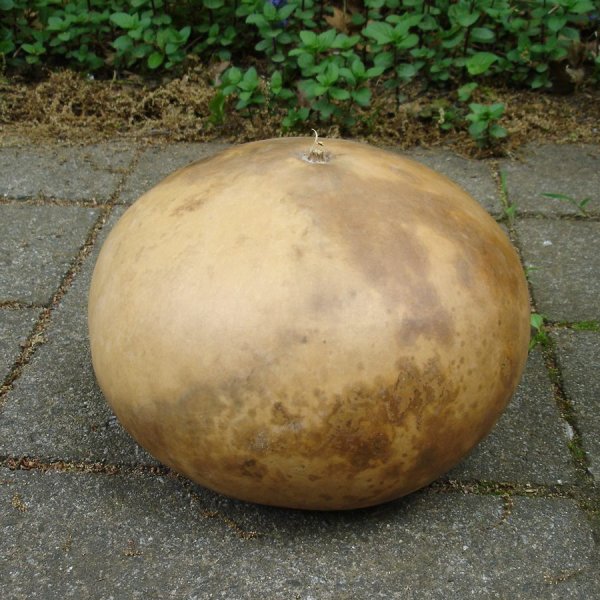
Here is the gourd that I picked out. She's a beauty. There are a lot of interesting patterns in the gourd from the mold that grew on it as it dried.
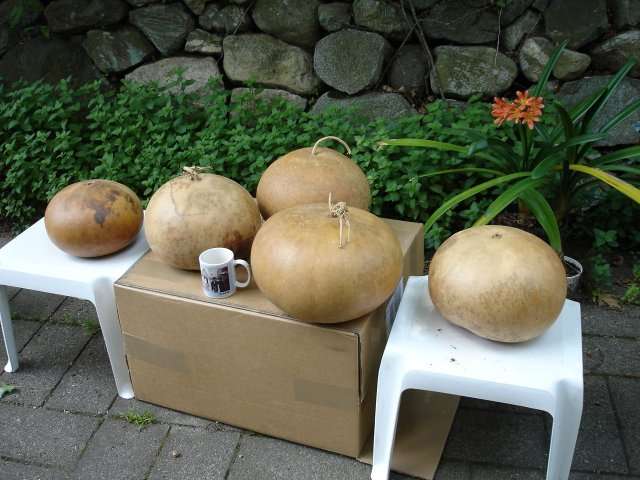
I had the mold and the skin removed by Welburn Gourd Farm last year when I bought my gourds from them. You can see what they have at their web page http://www.welburngourdfarm.com/.* I bought five gourds of various sizes and used one of them for a banjo last Summer. This gourd is my second victim. This one is the little one on the far left in this photo from last year. Last year I used the one in the middle at the back. The gourd this year is officially an 11" gourd, which means that it will fit through an 11" inch hole, but not through a 10" hole. I figure that the stretched skin on this gourd will be about 10" in diameter when I am done.
I am using a smaller gourd this time because the banjo I built last year was made from a 12" gourd, and it is rather difficult to hold when I play it. I thought that I would try a smaller gourd this time and see what happens.
The mold that grows on the gourds can be very hazardous, and even though I had Welburn remove the mold before shipping last year, and I santitized the gourds before using them, I still prefer to be cautious. So just in case some spores were left on this gourd that survived the sanitizing twice last year plus a bad New England Winter, I will sanitize it one more time before handling it.
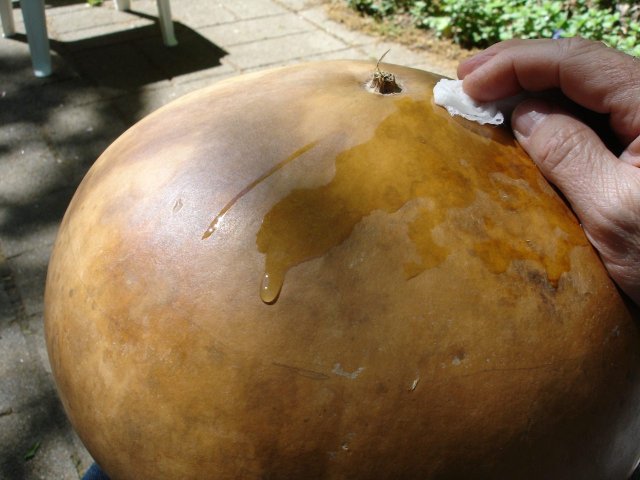
Sanitizing the gourd is done easily with white vinegar. You can also use a weak solution of bleach, but I do not want to bleach out any of the nice patterns on the gourd, and I have read that vinegar does a better job anyway since it actually kills the spores. Here is what I used.

That is one heckofa bottle of vinegar! I have no idea why we have such a thing. Oh well, it should work OK. I basically took a paper towel and saturated it with straight vinegar and wiped down the gourd.
BTW, all of the gourds seem to have survived the Winter very well. I left them in the garage, so they were dry and out of the weather, but they did freeze. I have also heard that sometimes rodents will find them and gnaw through the shells to get at the seeds (plus a nice cozy home). My gourds seem to have escaped any bad effects from the storage.
OK first things first. The mold and the dust from gourds can be hazardous. It is not good stuff to breathe, so once again to be on the safe side I use a dust mask when I am working on the gourd. Here is your intrepid author all dolled up in his safety-first outfit:
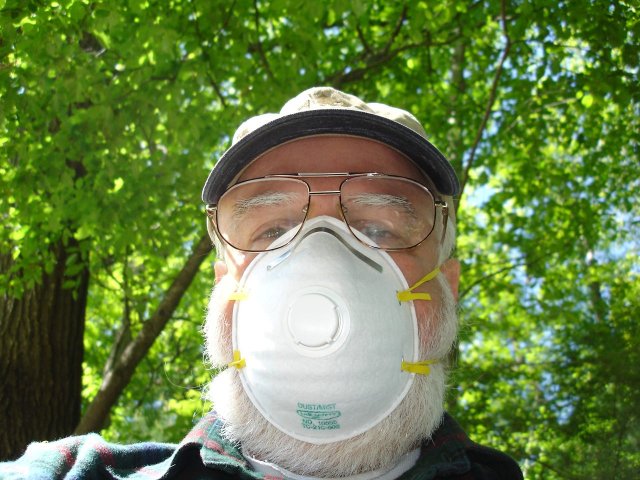
I am showing you this to illustrate how radically stupid you can make yourself look and still survive the experience. BTW, I took that photo myself, in case you couldn't tell.
The first thing I did was mark where to cut the gourd. It is important to make the mark at a constant height from the bottom of the gourd so that the skin head will be parallel with the bottom once it is mounted. To do that I rigged up this device with my try square:

The pencil is taped to the square with masking tape, and the square is clamped in the bench vise.
I simply rotated the gourd on its bottom while pushing it against the pencil to mark it. This was really easy to do and it made a good mark all the way around the gourd. I eyeballed the height of the line. It needs to be high enough that the gourd begins to turn inward toward the top, but not so high that the hole for the skin will be too small. Placing the skin on the part of the gourd that is turning inward makes the force of the stretched skin into a tensile force on the sides of the gourd instead of a shear force. This helps keep the gourd from splitting under the force of the skin when it is stretched.
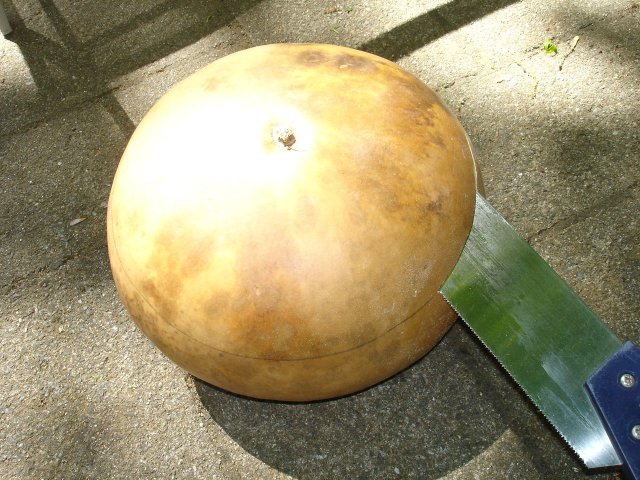
The gourd is marked so it is time to cut the top off. I use my panel saw to cut the top off because it has a unique point. Here is a closeup of the point of the saw.

You can see that the saw has teeth on the top, curved edge. Those teeth are normally used to start a kerf on a flat surface such as a panel. Once there is a hole large enough to fit the saw, the saw is turned over and used in the conventional way to finish the cut. I made a starter kerf on the gourd using the flat side of the saw.
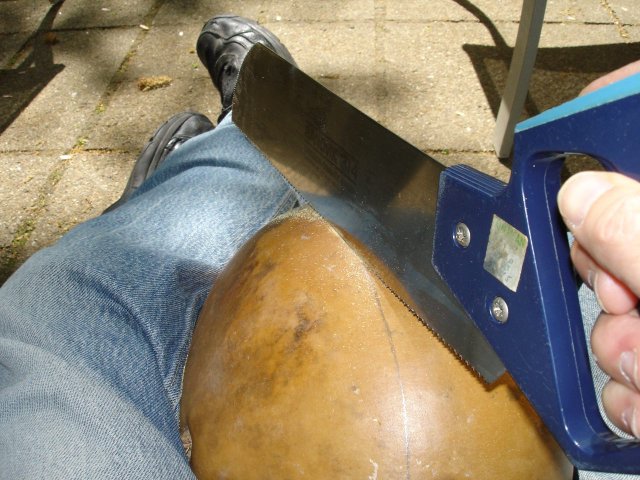
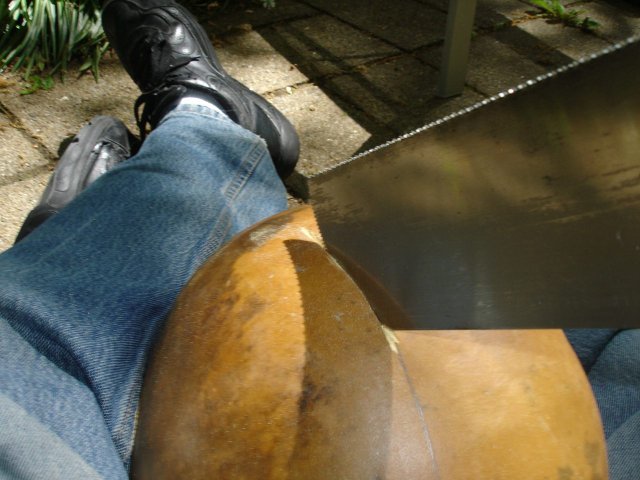
The tricky bit is holding that dang gourd. It seems to want to escape, and it is round and slippery. I have it sort of clamped in my legs. Gotta be careful here.
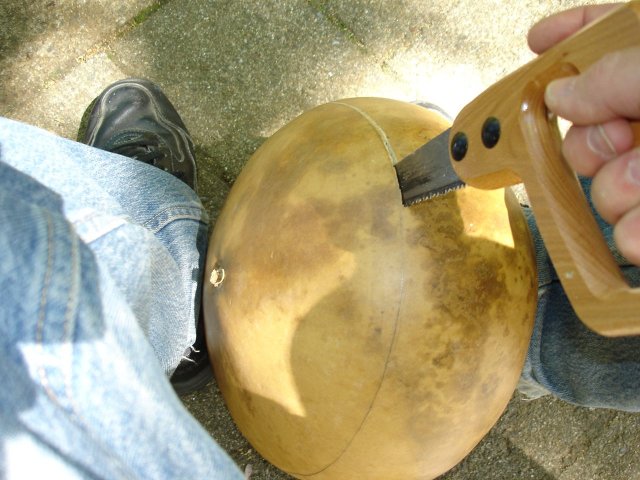
Once I had a starter kerf I turned the saw over to cut through the gourd using the teeth on the backside of the saw.
Once I had a hole that was big enough for the saw I put the saw blade into the hole and started cutting around the top.
Alas! The best laid plans of mice and men! The panel saw started to wander off the line and I could not bend it back because the blade is too wide. I got my compass saw, which has a narrow blade to finish up. I need to make a clean cut to the line so that I can make the top of the gourd flat.
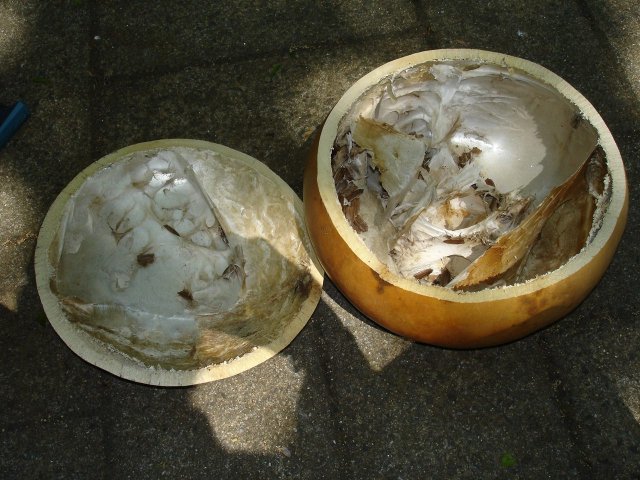
The gourd cuts easily because it is quite soft. Well, I suppose that kind of worked. There are some jagged places along the cut. Here is what I had after opening up the gourd. Gourd guts.
I need to scrape out the guts. I use my fancy, shaped cabinet scraper for that job. The scraper is shaped in S curves for scraping fancy flutes and round shapes on furniture. Since I don't make furniture I just use it to scrape out gourd guts. Here is how I sharpen it.
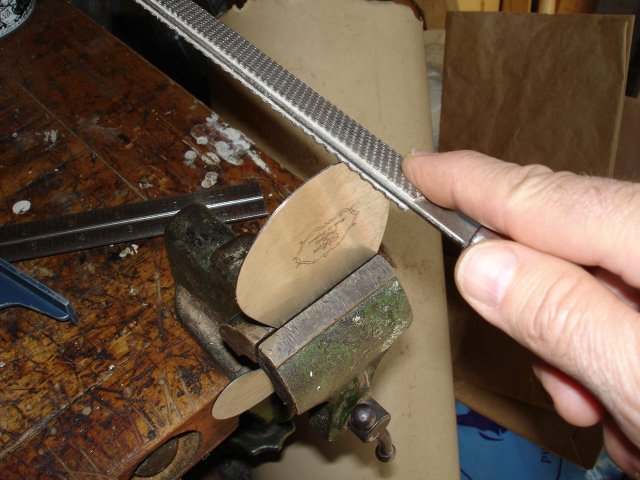
This scraper works on the same principle as the straight sided scraper that I use. If you want to read how that works, see my other project here. You have to scroll down a bit to see the part about sharpening the scraper.
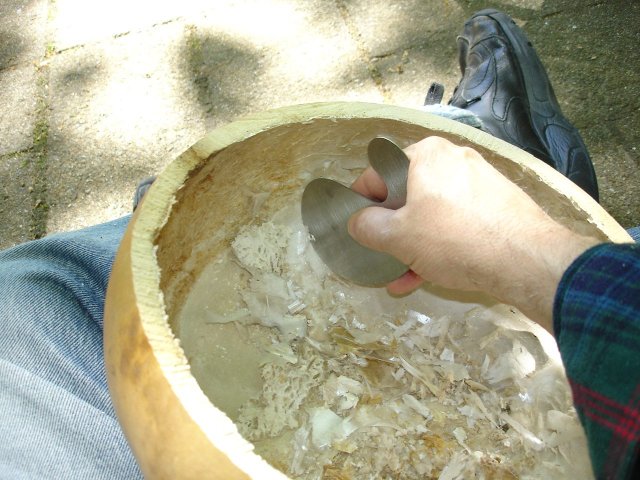
So I sharpened the curvy scraper and scraped the guts out of the gourd.
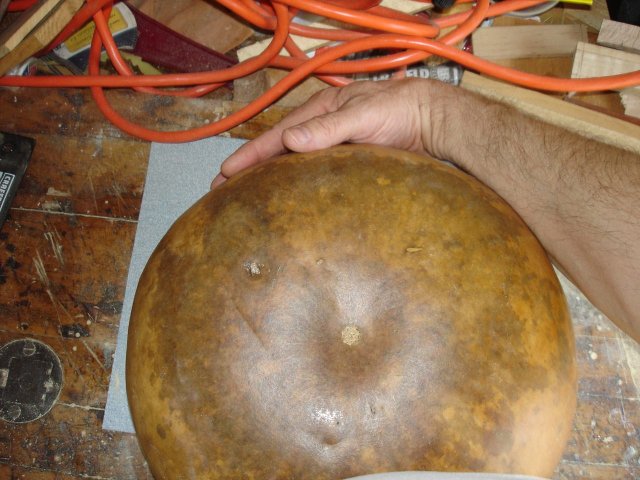
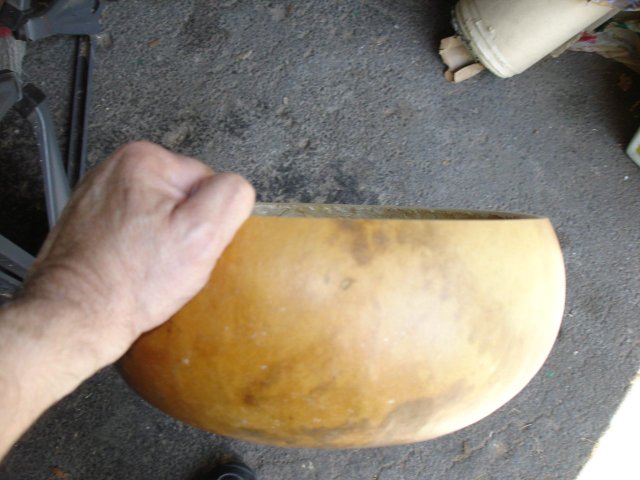
Once I had the guts out the next step is to make the top of the gourd flat and even. To do that I put a piece of 80 grit sandpaper on the bench and rubbed the gourd back and forth on it to wear down the edge of the cut.
I don't know if you can see it in the photo below, but there is a flat place along the edge of the gourd in the upper-right part of the picture. The flat place does not go all the way down to the jaggy part at the left. That is because the cut is uneven around the gourd.
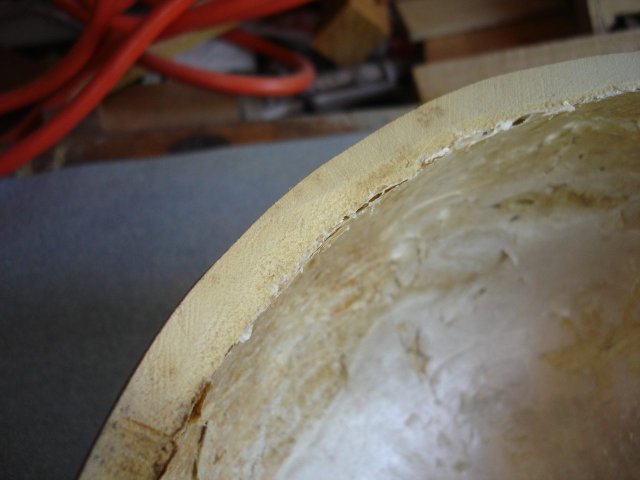
I need to sand the edge until the flat part goes all the way around and the entire edge is even. So I kept at it for a half hour or so, and finally got the gaps to close up like this:
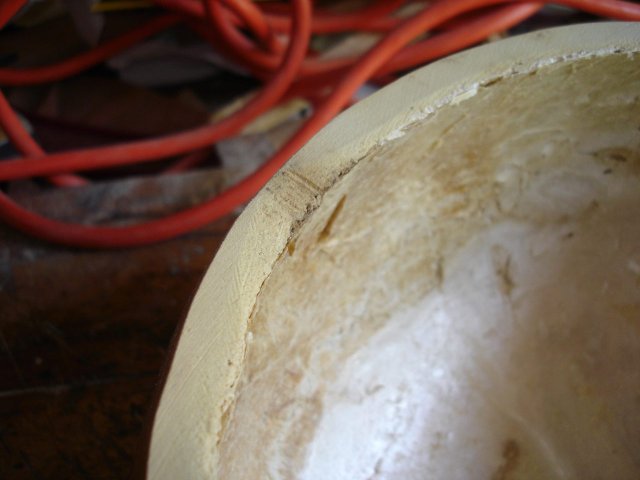
The flat edge now comes together right at the jagged, notchy part in the middle. This is the price I pay for not being able to cut to a line.
Once I have the outside edge of the cut completely flat, I bevel the inside edge downward so that the skin will not rattle against the inside edge when it is tight. The consistency of the gourd material on the inside edge is about the same as balsa wood, so this work goes pretty quickly.
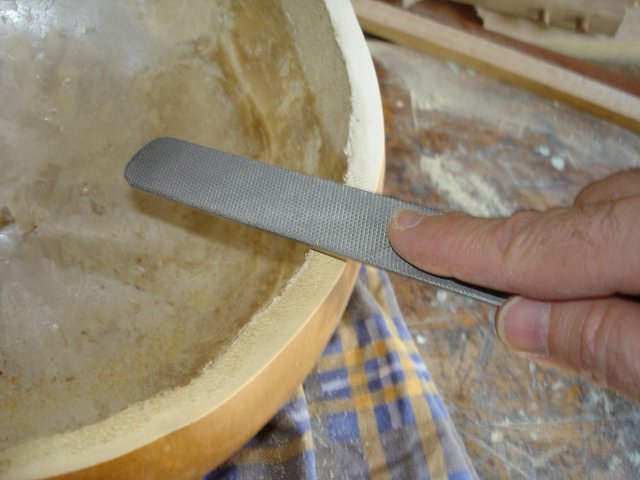
Here's the edge. It looks pretty flat to me.
Hmmm. That is a bit out of focus. I guess I must have focused on the floor. Oh well, here is the gourd all cut, gutted, and sanded.
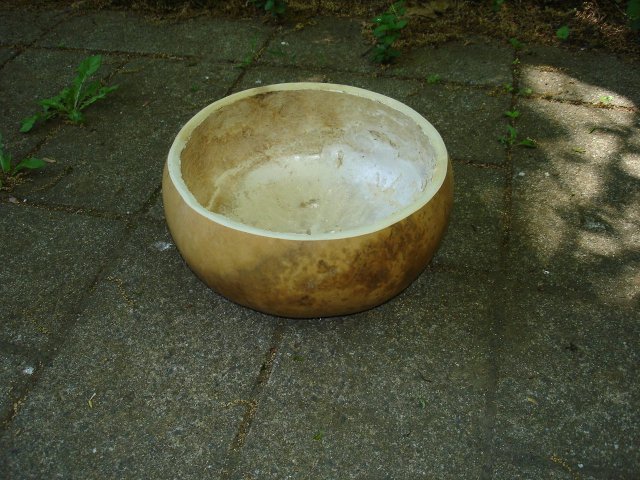
That is about it for the gourd. Now I have to go make the neck before I can pierce the gourd with it.
I didn't know quite what to do with the gourd seeds. I have read that they are no longer viable if they are allowed to freeze, and they were frozen in the gourd all Winter. Anyway, we do not have a long enough growing season up here in New England to grow these big gourds, so I put the seeds up on the steps for the birds. Here is a photo of the bird that found them.
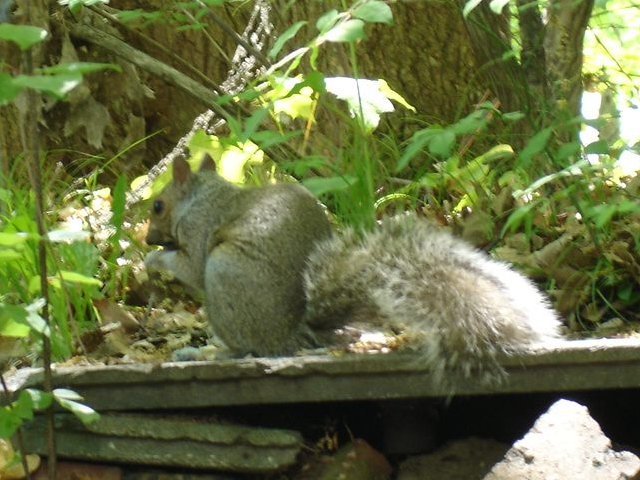
That silly squirrel sat there and ate those seeds until they were all gone. I hope he didn't get a tummy ache from it.
It took me about 3 hours to do this work, but it was really nice outside today, so I enjoyed it.
*I have no business relationship with Welburn Gourd Farm other than as a customer. They do sell really nice gourds, so I don't mind giving them a link.
Original post date May 23, 2008