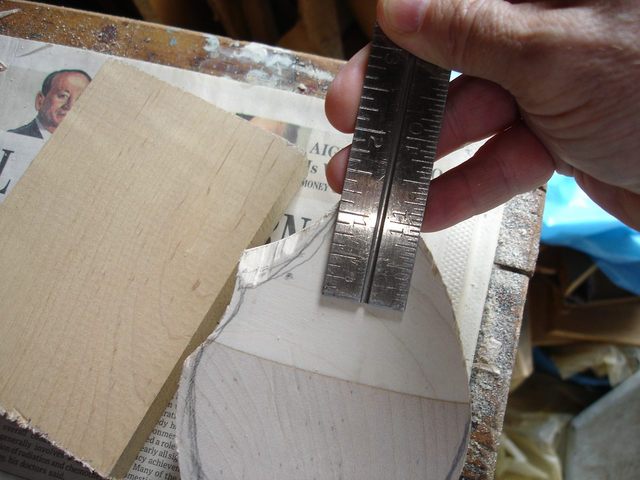
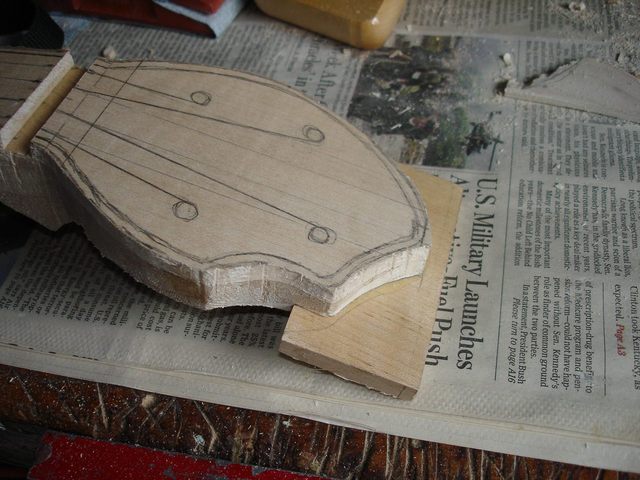
I have decided that I cannot use the neck with that huge chip out of the peghead. I do not see any way to work around it. So I will have to fix it. I plan on cutting out the broken wood and gluing a patch on the back of the peghead. I measured the length of the damage.
Looks like I need about 1 1/2" of wood. The piece of maple you can see sitting on the bench was a short piece that was left over from the wood that I cut the neck blank from. I marked off just over 1 1/2" along the side and a marked line down the middle to split the piece in half.
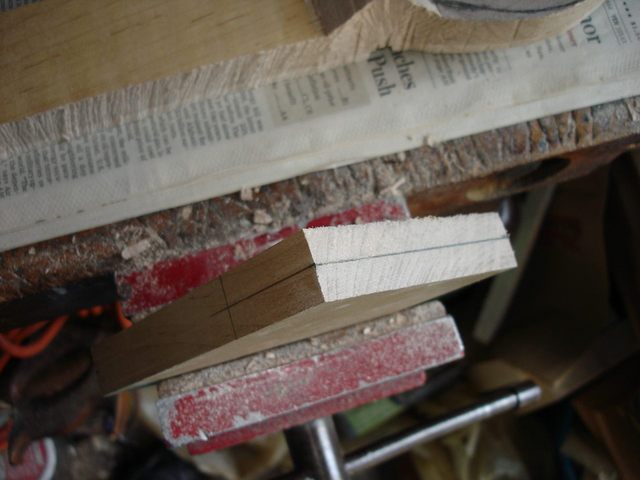
Since the lumber is 3/4" thick, each side of the split piece will be just under 3/8" thick. I will cut about 1/4" out of the back of the peghead, so the 3/8" piece should adequately fill it.
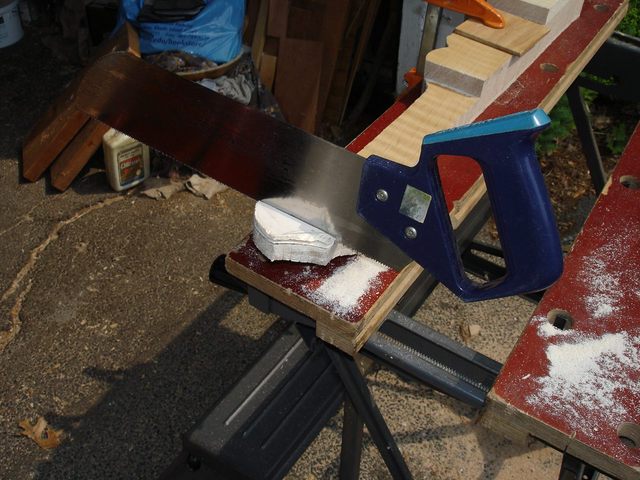
I took my trusty panel saw and split the wood down the middle, along the grain.
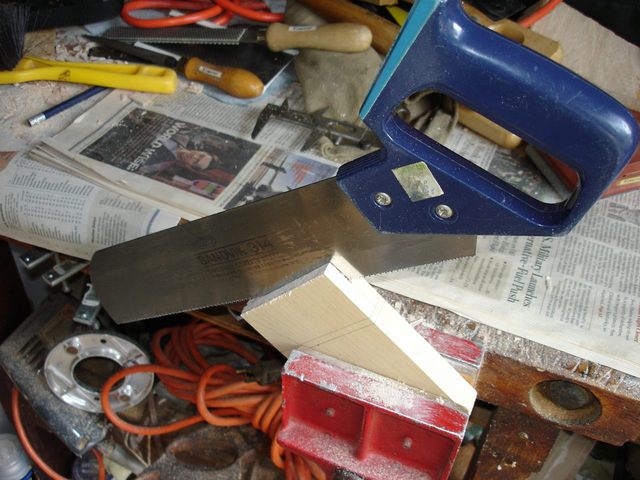
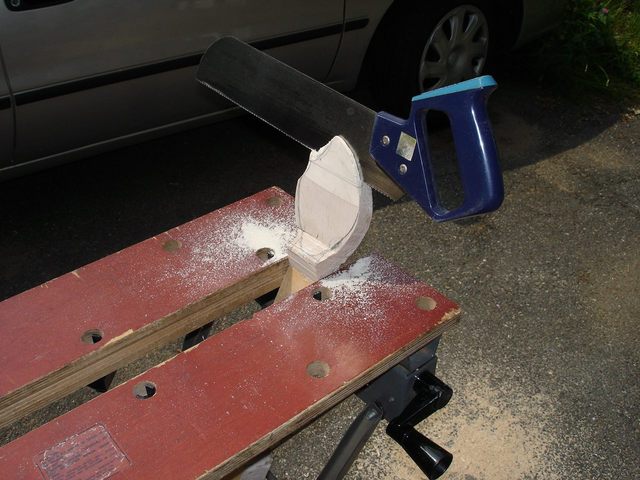
Then I clamped it down on the bench and cut the end off
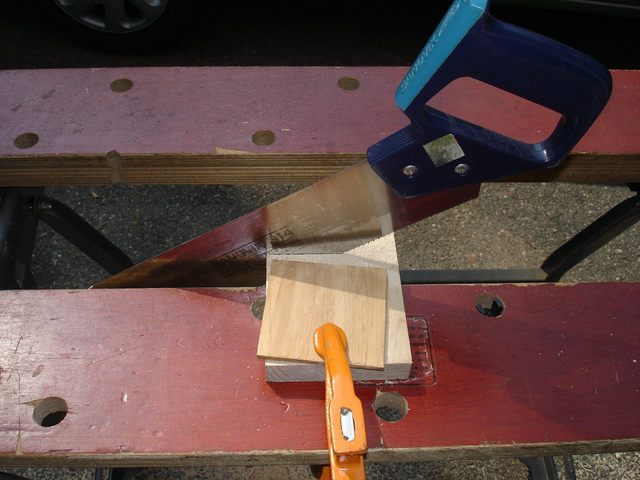
to produce two pieces of wood that are approximately 3/8" by 5 1/2" by 1 1/2". Next I had to cut out the bad wood on the back of the peghead. I measured about 1/4" into the wood and marked it all around with a pencil.
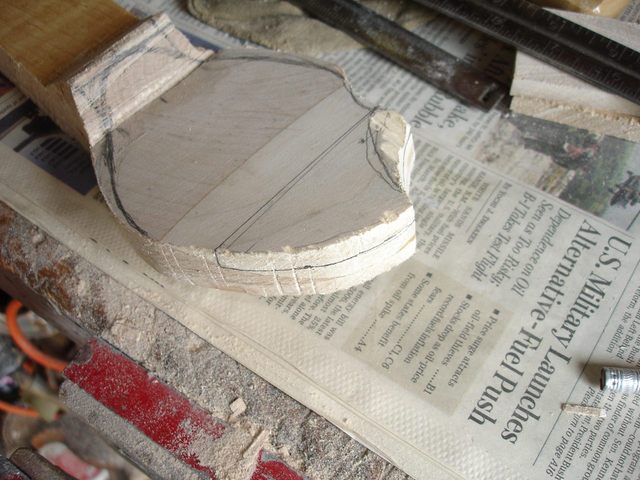
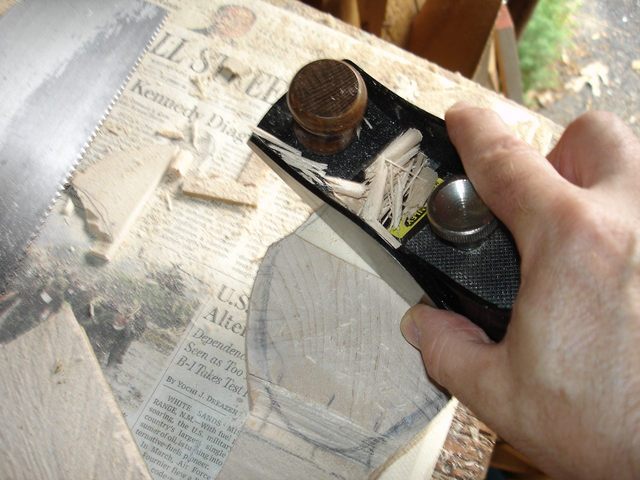
I clamped the neck in my bench and carefully ripped the wood keeping the saw on the waste side of the line. The cut will be less than 1/4" deep, giving me some extra wood to flatten it out and smooth it.
I cut off the piece of wood along the line I had marked, being very careful not to cut too deeply (like, that worked so well last time!).
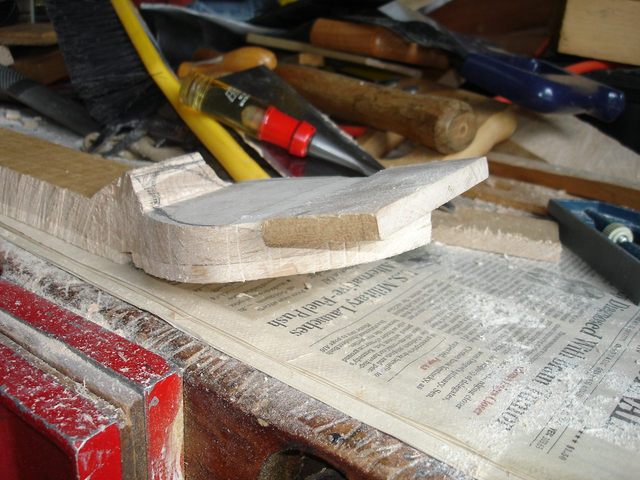
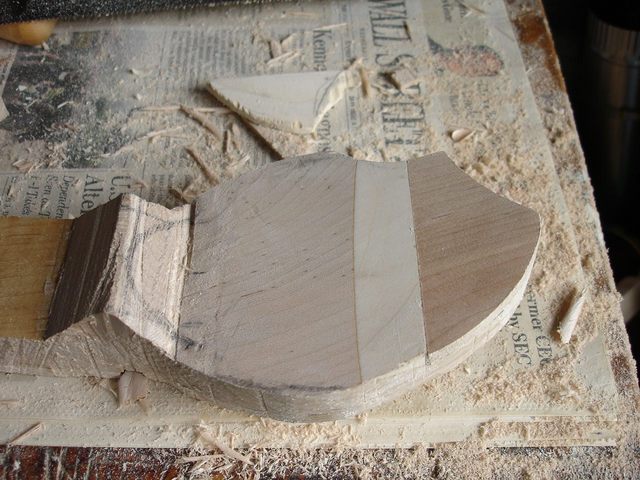
Here is the hole. For better or worse, that ugly chip is gone.
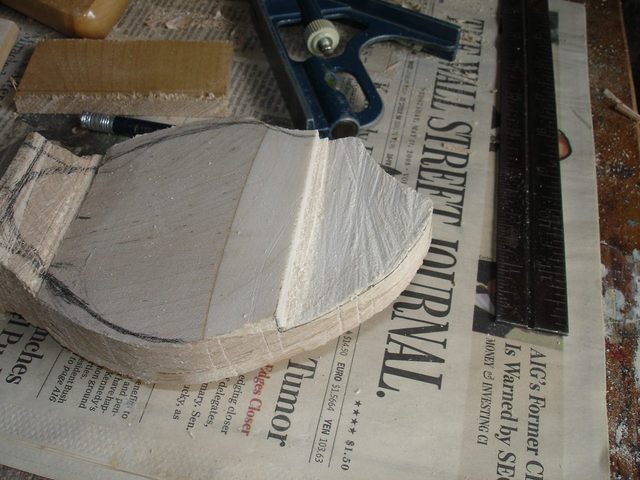
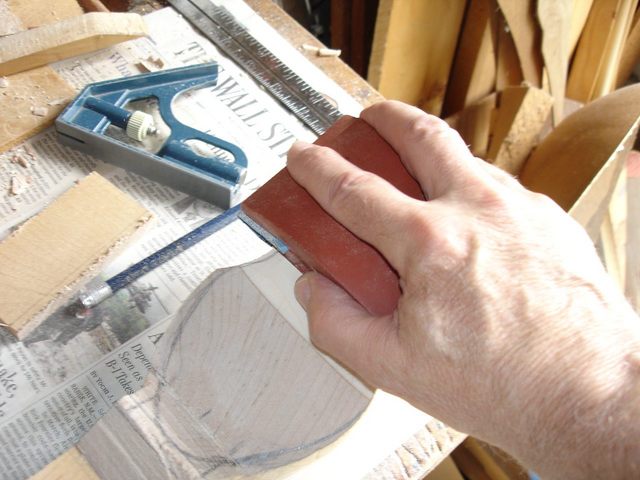
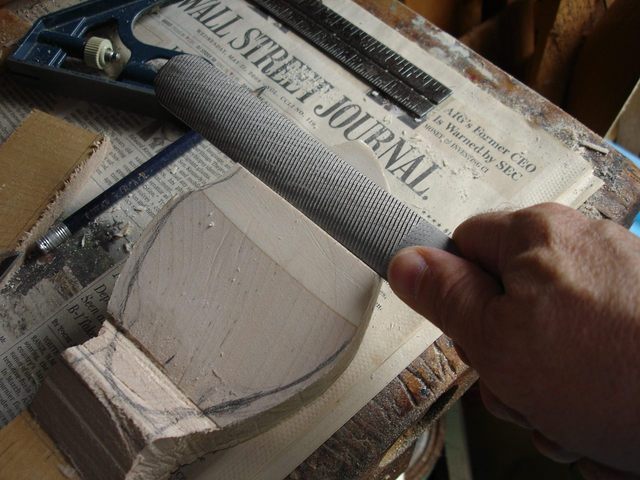
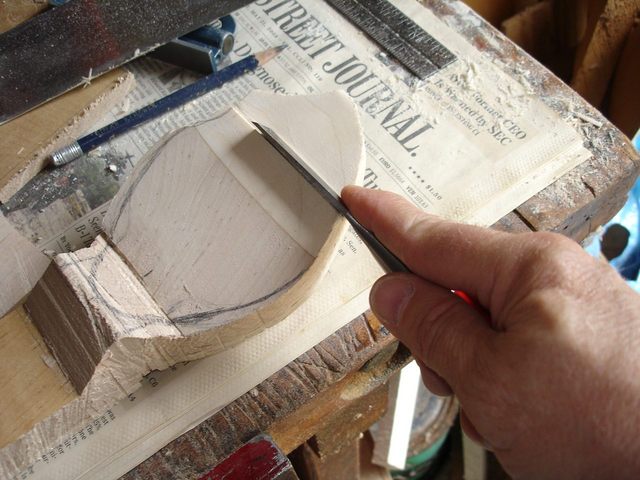
Now I have to make the notch square and flat and smooth so that the filler piece will fit into it exactly.
|
|
|
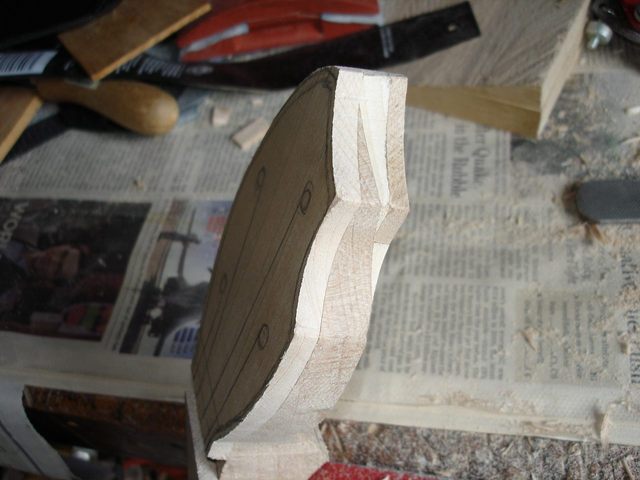
Sandpaper, rasps, and chisels. I used everything I had to smooth and flatten the notch in the peghead. Here is the filler piece sitting in the notch. That is just a dry fit; I have not glued it in place yet.
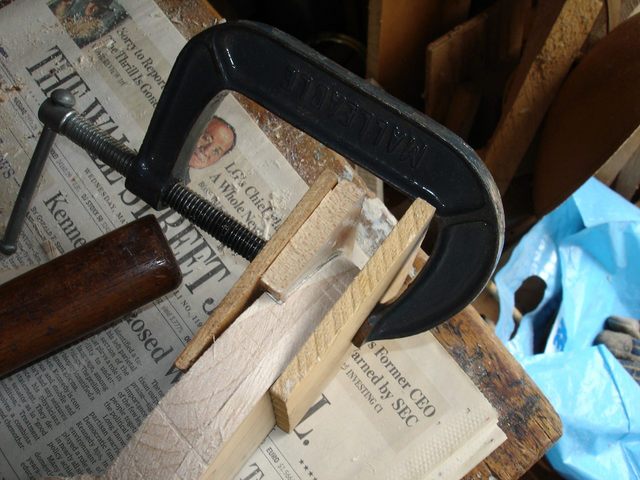
I spread some glue onto both pieces.

and clamped them together using a C clamp.
Several hours later, the glue had dried enough that I could unclamp the peghead. Here is the filler piece glued into the notch in the peghead.
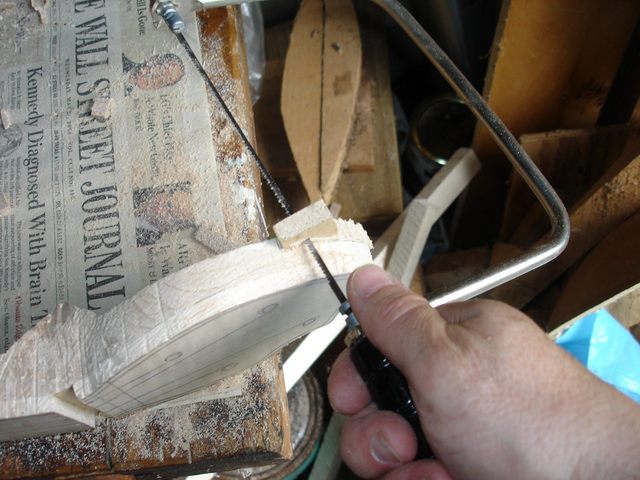
I carefully cut the filler to match the profile of the peghead.
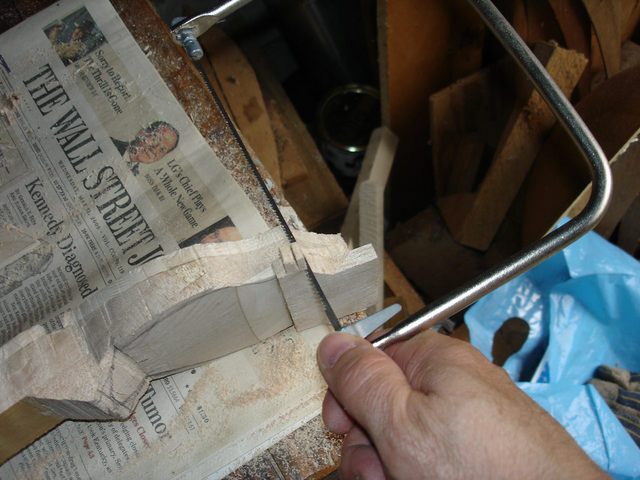
Notice that I used my coping saw to do the work this time. I steered clear of that chisel. I turned the neck over and cut the other side of the peghead.
Then I had to shave off the extra thickness of the filler to make it match the thickness of the rest of the peghead.
Well, there it is.
It looks a bit strange with all the stripes of different colored wood on the back of the peghead. That new piece is a lot darker than either of the other two. I am hoping that the color will even out with the stain and some time. Here is a shot of the side of the peghead.
That is an interesting pattern built up from all the laminations. Here is a view from the end.

That's it for this session. It took me 3 hours to put in that little patch, but I think it will be worth it to have the chip gone. That part of the peghead, with the little point on it, is the most interesting part I think. It would be a shame to spoil it by having a huge chunk of it gone.
Three hours! But that is the price I pay for getting lazy with my chisel. I think I can still make something out of this. Next time I will cut the back of the banjo neck to shape.
Original post date June 23, 2008