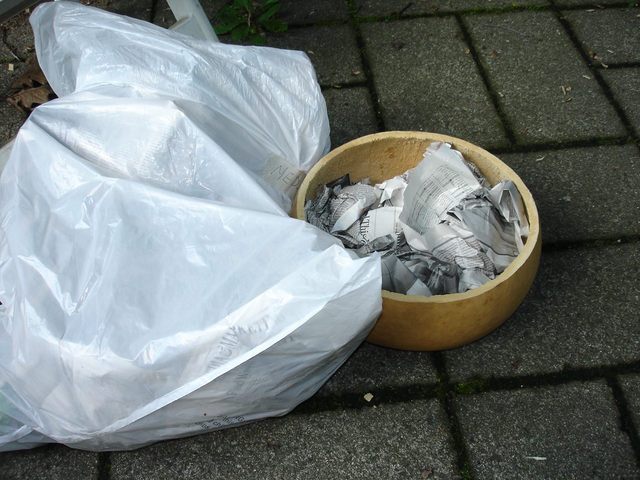
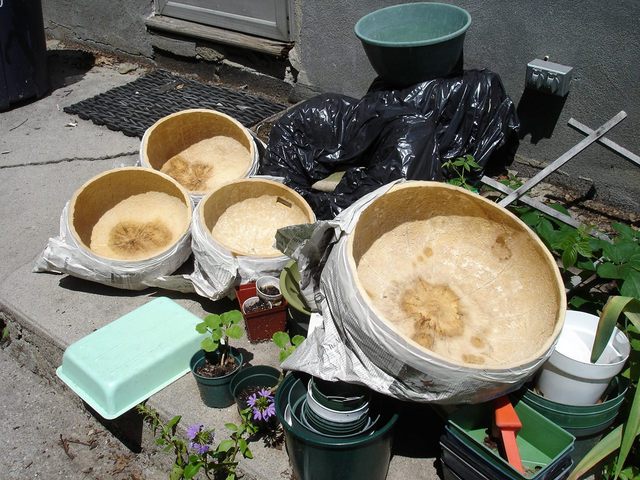
It is a week later, and I am going to pull my other gourds out of their bags to see what has happened to them. They have been in the bags with the crumpled newspaper for two weeks now. I grabbed one and pulled it out of the bag.
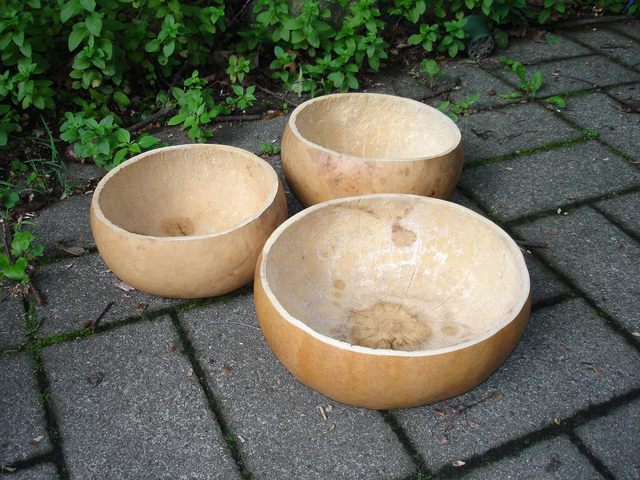
It doesn't seem to smell too bad. There is an organic smell on the inside of the gourd, but it does not smell like rotting garbage any more. I think the newspaper trick is working. I pulled the rest of the gourds out of their bags.
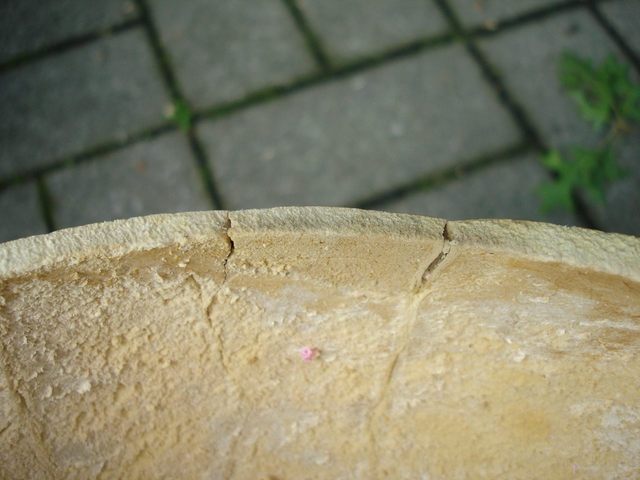
I found that the largest gourd has developed some cracks. Here is a closeup from the inside.
And here is a view from the outside.
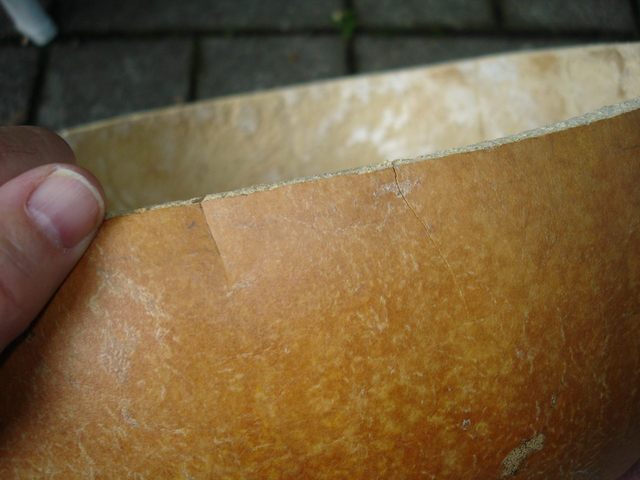
If you look very carefully, you can see that the crack on the right side is going to be a problem. Click on the image to see a larger view of it. That crack could grow under stress and split the gourd. I don't know if I will ever be able to use this gourd. I might be able to wick some glue into the crack to keep it from getting worse, but that is a question for the future.
I am going to seal the inside of the gourds with clear acrylic spray. I do not want to get any finish on the outside of the gourds, especially up near the rim because I will have to glue the skin head down to the sides when I stretch it across the hole, and I don't know if the glue will stick to the finish. So I took some time to wrap all of the gourds with masking tape and newspaper.
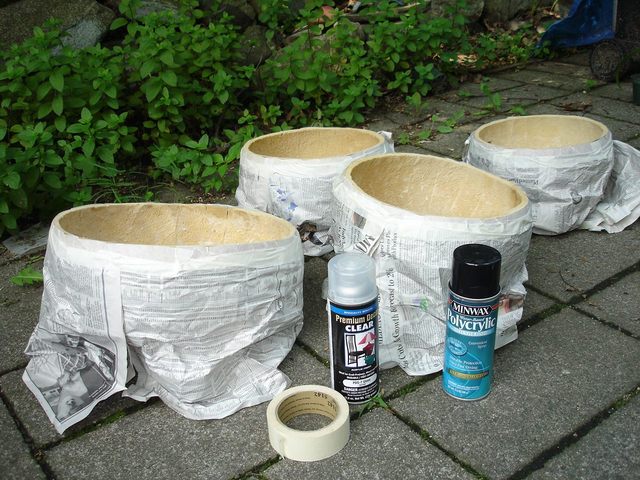
I won't bore you with photos of me spraying the insides of the gourds, so fast-forward about an hour and here are the finished gourds, baking dry in the sun.
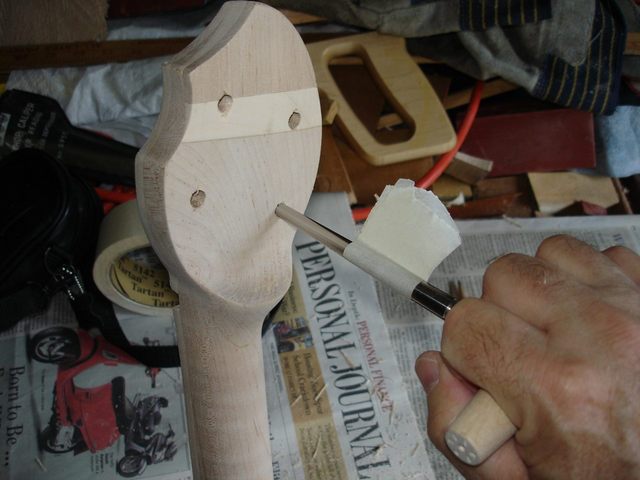
The bright sun has amazing powers to sanitize stinky things. While the gourds were drying, I decided to do some preliminary reaming of the peg holes. The holes are tapered using a special peg hole reaming tool. The tool cuts away the wood inside of the hole to taper it to the same taper that the pegs will have after I make them. I bought the reamer from StewMac and it was not cheap, but it is the only tool that will work for this essential job.
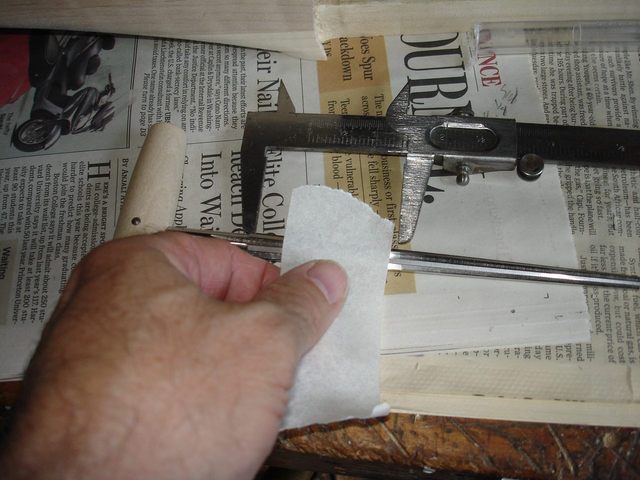
When I made my previous banjo, I measured the depth of the reamer in the peghead of my minstrel banjo to be 1 9/16" from the end of the cutting flutes on the reamer. When I have reamed the holes to that point they will be the final size to accept the pegs. This is a preliminary reaming, so I want to stop short of that mark.
The reason that I do not want to ream the holes to full size now is that some of the finish will inevitably get into the holes when I put the finish on the neck. Having finish in the holes will effect the operation of the pegs, so I wait until the finish is dry to ream the holes to full size. That way, I can cut out any errant finish before fitting the pegs.
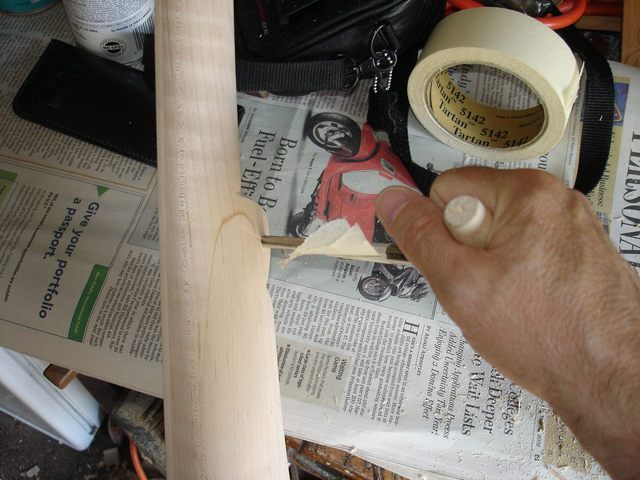
So I made a masking tape flag and put it on the reamer about 2" from the end of the cutting flutes.
Then I reamed out the holes in the peghead slowly.
The reamer does not have twisted flutes like a twist drill which move the wood chips out of the hole, so I had to pull the reamer out every couple of turns to get the chips out of the flutes. Here is a photo of the wood jammed in the flutes.
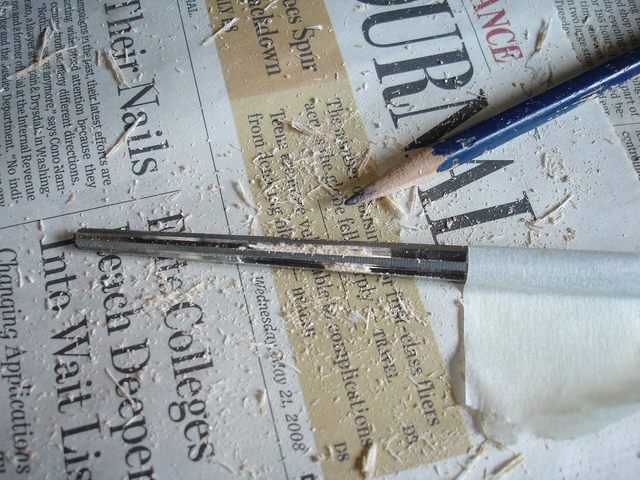
It may sound complicated, but it is really easy and quick to do. I just use the point of the pencil to poke the chips out. The reamer is a sweet tool to use. It is really easy and guides itself in the hole. Once I had done the peghead holes, I reamed out the hole for the 5th string peg.
Here it is about done.

That's it. That is all I did today. It was an easy day, but the weather was gorgeous and it was good to be doing this outdoors. I spent about 2 hours actually working on the banjo and the rest of the day doing other stuff... including some semi-professional butt-sitting. Next I think I will start making the pegs.
Oh, and getting back to the gourds... at the end of the day I unwrapped them and sniffed. They do not have any strong odor at all any more, so I think I have been successful. We shall see how well they last when the humidity comes back next week.
Original post date July 27, 2008