The last time I worked on this project (last week) I made a special tail piece for my other gourd banjo to keep the tension of the strings off of the gourd. That appears to have worked out well, and a week later that banjo plays better than ever.
I also planed the finger board of the other banjo to make it flat. That was the third time I have flattened that finger board, and I have now removed about half of the 1/4" finger board. The effect of that is that the strings are now set about 1/8" higher from the finger board than they were originally, and most of them are now set at 3/16". That is really high considering that I normally set my strings 1/16" above the finger board when I cut the nut slots.
The odd thing is that the banjo plays better than ever. Hammer-ons and pull offs work much better now than they did before. Intonation is not a problem since the neck is fretless. I might have stumbled onto a new bit of information about how to set up the banjo for playability. Anyway, when it comes time to set up the nut on the new banjo I think I will set the strings higher, like maybe 1/8".
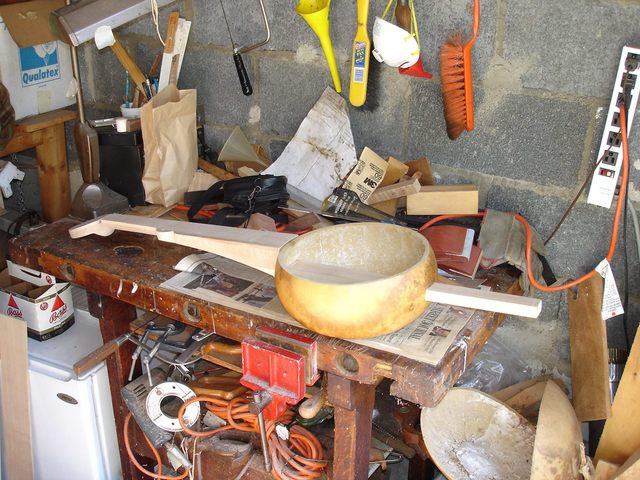
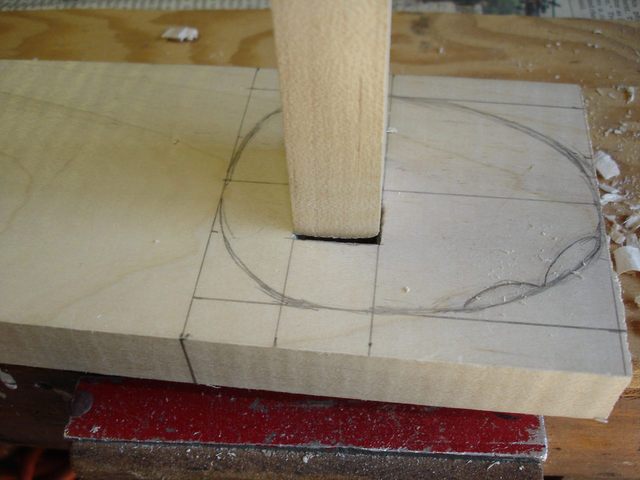
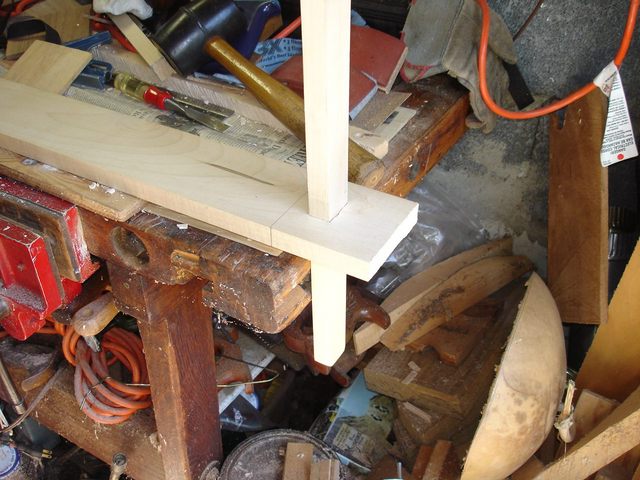
Enough of that other banjo. Today I made a tail piece like the other one, but this time for the new banjo. I put the neck dowel through the gourd so that I could measure it for a tail piece.
I put the yardstick across the top of the gourd and measured how far up it is if I leave 3/4" of wood beneath the bottom of the dowel stick.
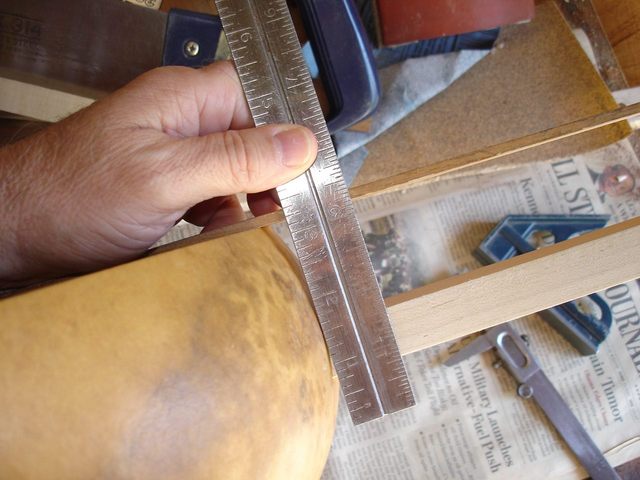
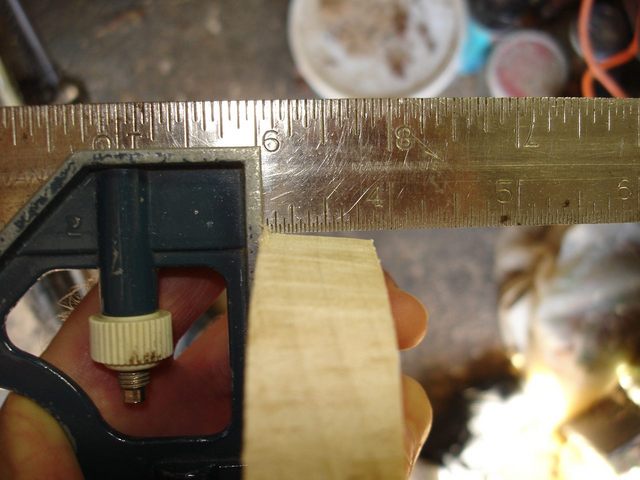
It looks like 3 1/2" will be good. I need to leave enough wood above the level of the head to allow for some holes to be drilled, but not too much that I will bump into it when I play. I also measured the width of the piece where the dowel stick will go through the new piece.
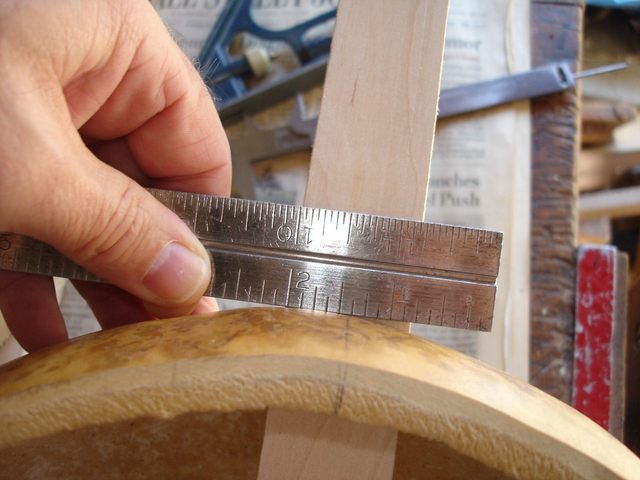
The dowel is 1 1/4" wide at the point where it comes out of the gourd, and if I leave 3/4" on each side of that, I get 2 3/4" wide for the piece... right where the end of my thumb is on the ruler.
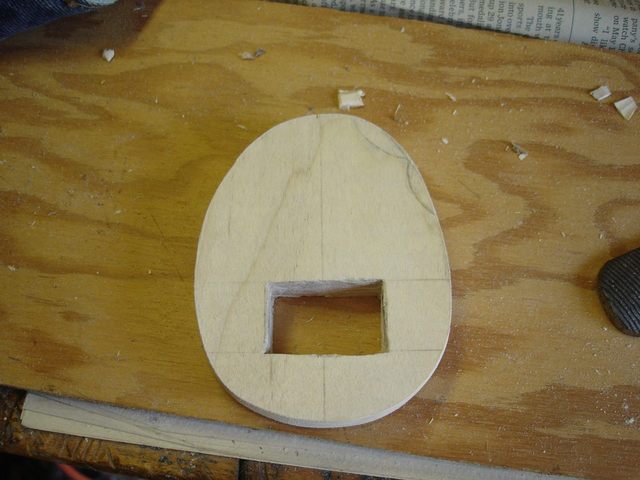
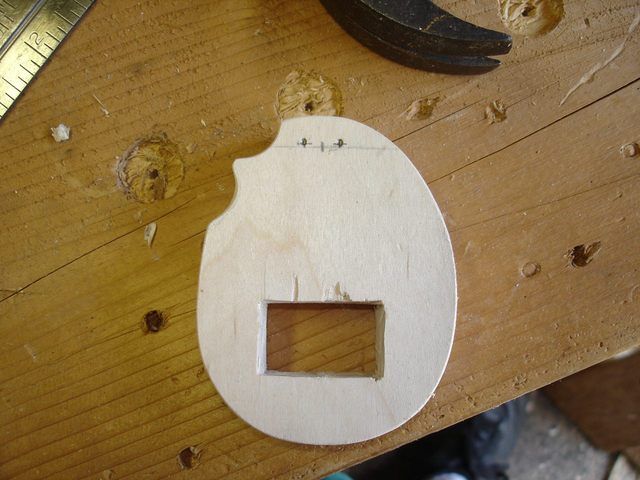
I measured those dimensions onto a piece of maple and drew the whole thing out on the wood.
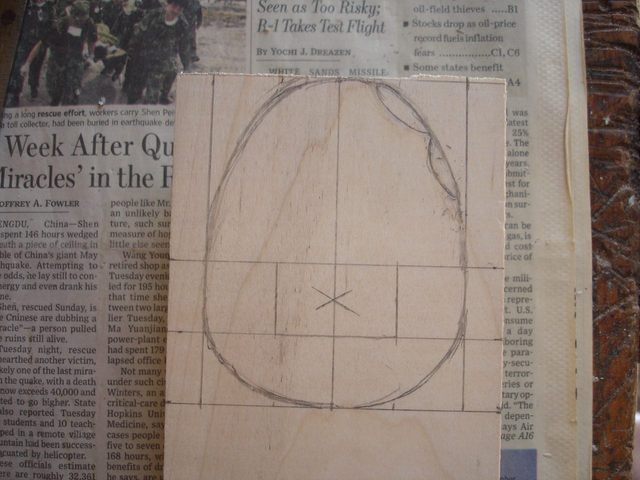
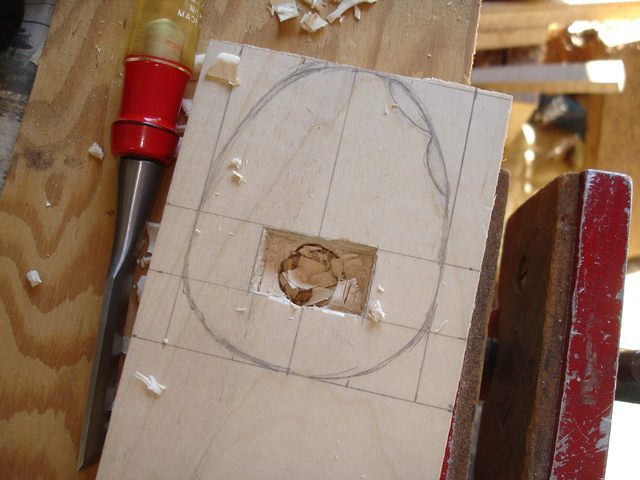
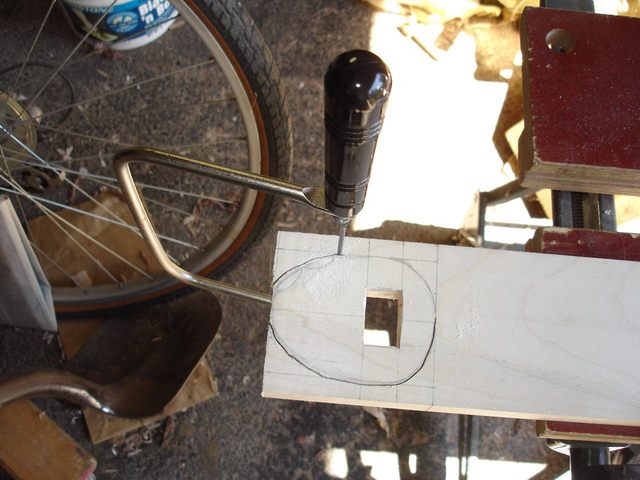
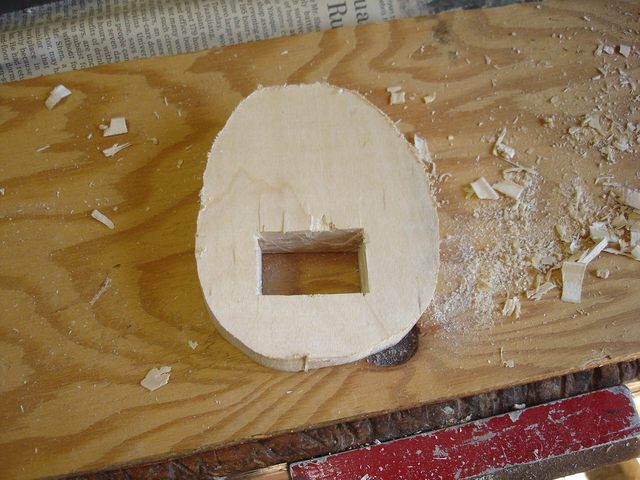
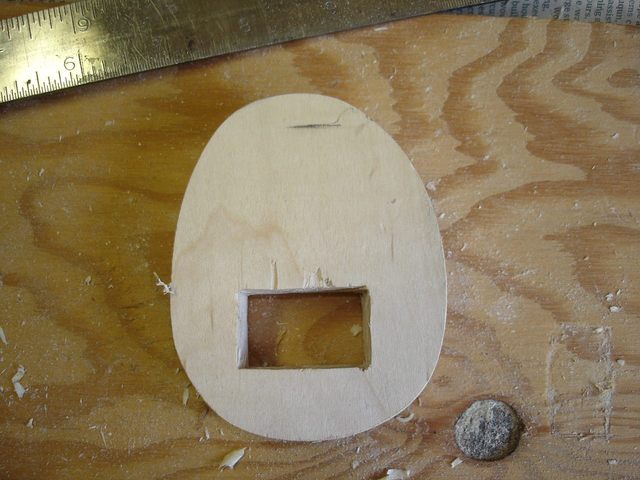
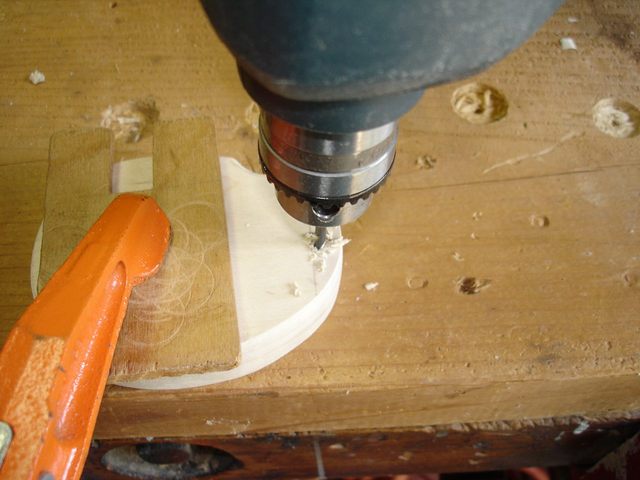
I drew the egg shape freehand. One of the fun parts of this project is that I can design stuff on the fly. I am not locked into a specific pattern. The rectangle for the dowel is 3/4" high and 1 1/4" wide. I put an X in the middle where I will drill out a 3/4" hole to start this. The large hole is very easy to drill using my 3/4" bit. In the photo below you can see how it works.
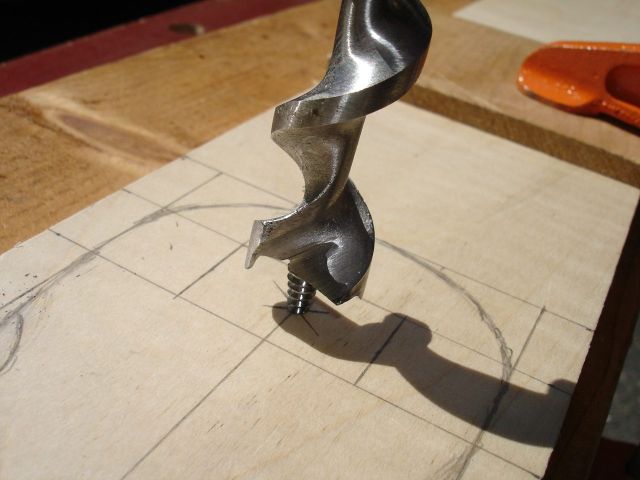
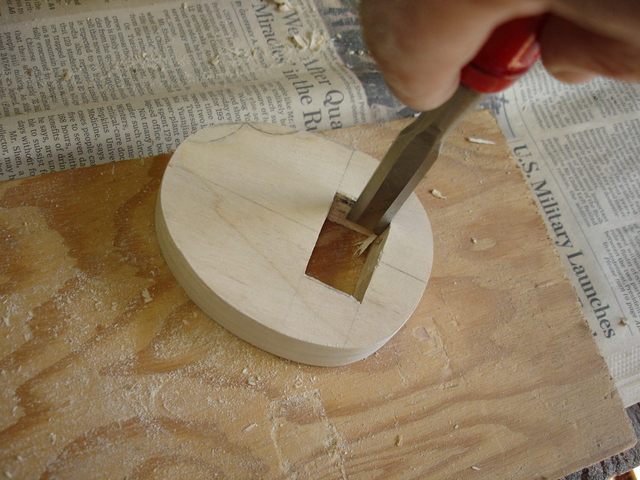
There is a small auger on the tip of the bit. When I turn it, the bit literally screws itself through the wood. As it does that, the sharp vertical cutter blades slice through the fibers of the wood in preparation for removal by the flat chisel cutters at the bottom. Once the wood has been cut away, it is pulled out of the hole by the spiral flutes. Here it is in action.
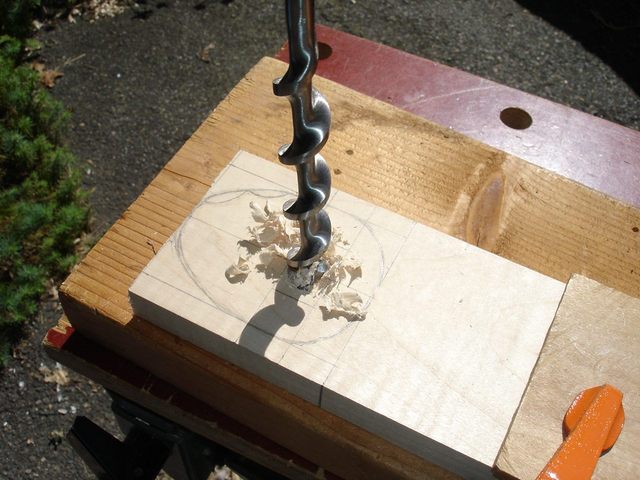
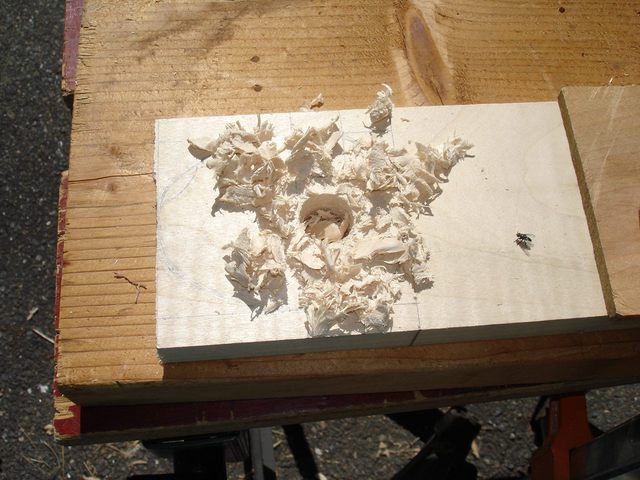
The bit makes a nice, clean hole through the maple with little effort.
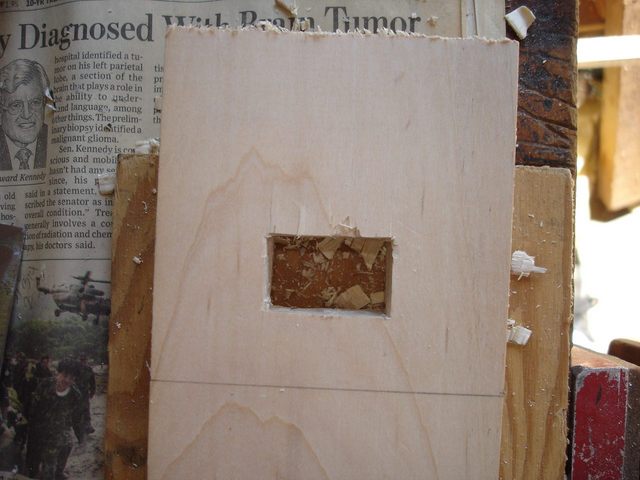
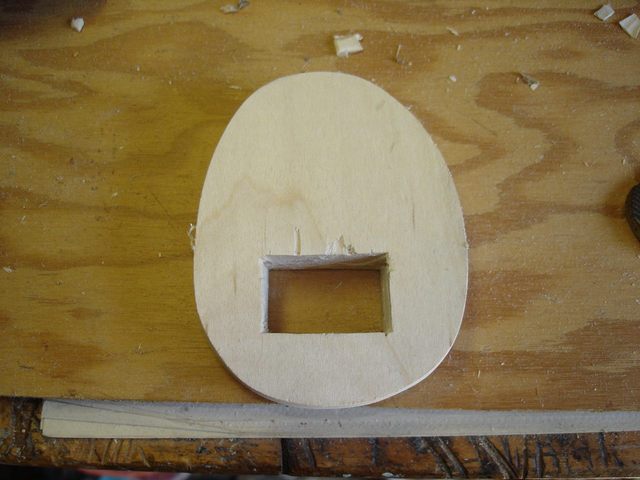
I took my 1/2" chisel and chopped a notch all around the outline of the rectangular hole. That is the wood that I need to remove. You can see that I left a tiny bit of wood on the sides for final fitting to the dowel stick.

I chopped the outline, then I pared out the waste very carefully so that I didn't break off any chips. I have had enough of that already on this project.

Here it is about half way through the block.
After I had cut all the way through the block, I tried the tail of the neck to see if it would fit through.
The height of the hole was not quite large enough yet. So I took my chisel and carefully pared off the wood. I did this work using just my hand, no mallet.
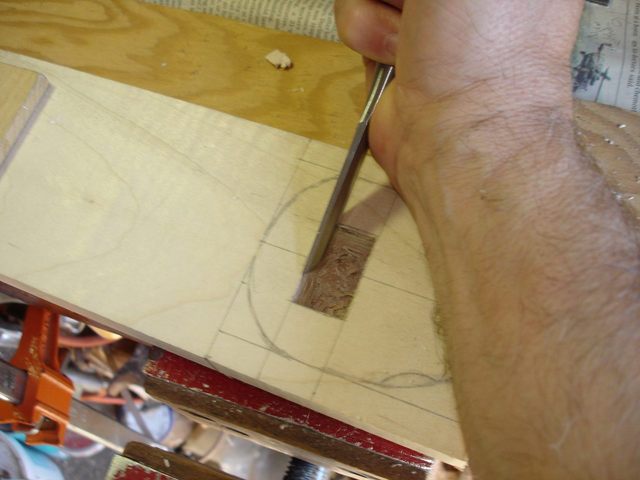
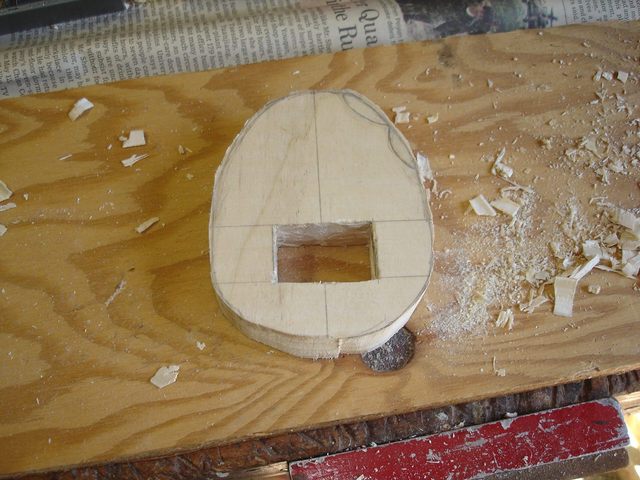
I cut a little and tried the fit several times until the dowel went through. Here is what I ended up with the first time it went through.
Not bad. It is only about an inch or so from its final position on the stick. I turned the piece over to see about the tearout on the back.
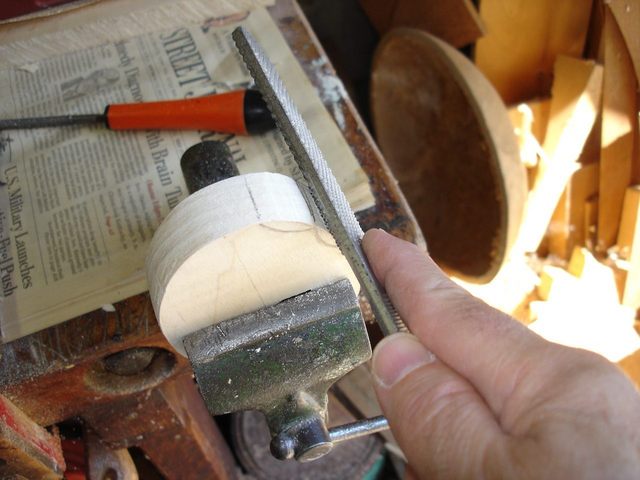
I have done worse. The good news is that this side will be up against the gourd and out of sight. I decided that the hole was close enough that I should cut the piece off and finish the final sizing of the hole after it was free. To try something different, I decided to cut around the curve using my coping saw.
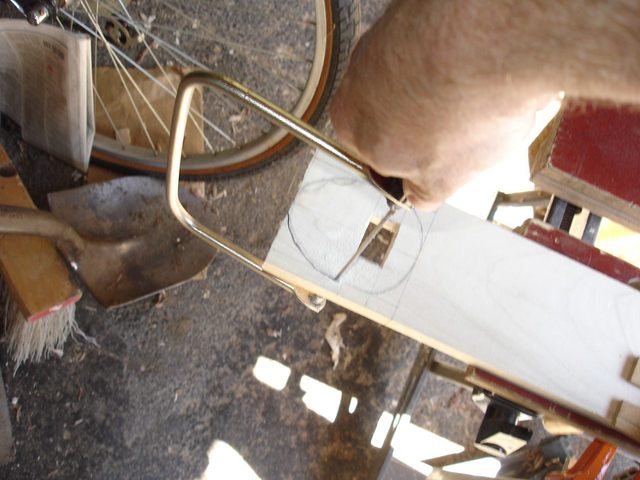
The coping saw went slowly in the hardwood, but it moved along. After I got half way around, I took the blade out and cut the other side.
Here is the piece, front and back.
|
|
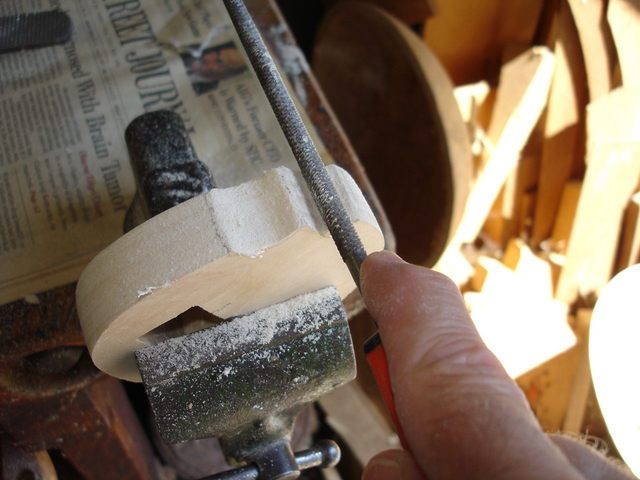
Hmmm. That looks a little more asymmetrical than I had hoped for. My work with the saw could be improved. I found the problem. Look here.
The saw was not vertical when I cut it, so the front and the back are not the same shape. You can see the wedge under the try square where the edge of the piece is not perpendicular to the face. I will fix it with my rasp and sandpaper.
|
|
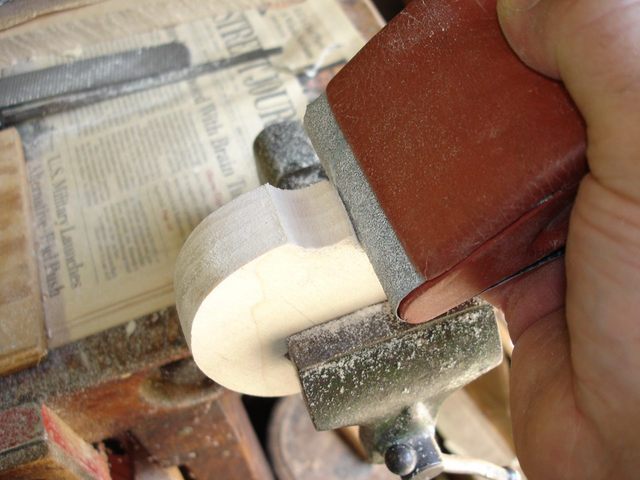
That is 60 grit sandpaper, so it cuts nearly as fast as the rasp. I was kicking up so much sawdust that I put on my face mask.
I took that picture myself.
Here is the piece front and back after shaping it.
|
|
It is a little better now with respect to being symmetric. I don't want it to be perfectly symmetric because of the shaping I will do on one side of it anyway. Before taking it down to its final shape, I finished paring the sides of the hole in order to move it closer to the gourd. I cut a bit of wood.
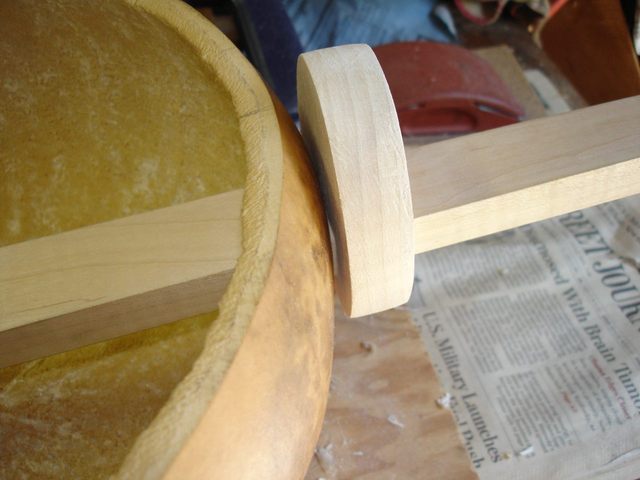
Then I fit it on the stick to see how far it had moved toward the gourd. I want the piece to be next to the gourd to hold the gourd in place, but not too close. That way the string tension is applied to the dowel stick instead of the gourd.
I cut some more and...
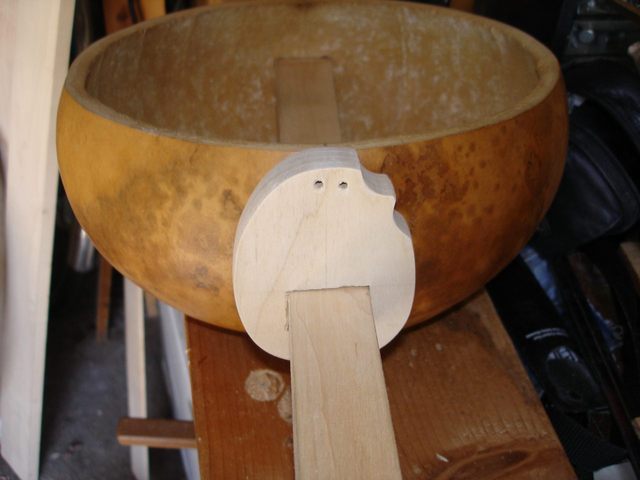
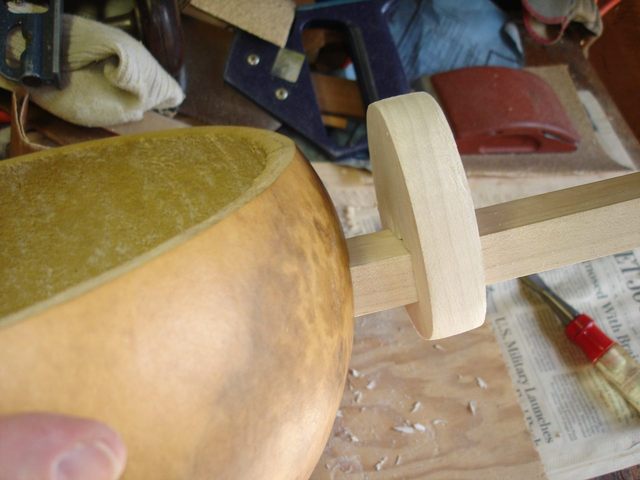
There it is, sitting right next to the gourd.
|
|
I determined where to put the holes the same way I did last time, using the yardstick.
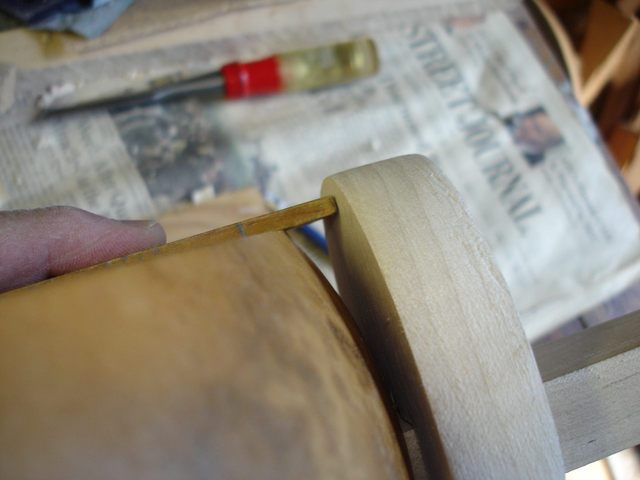
I made a pencil mark beneath the yardstick to align it with the top of the gourd.
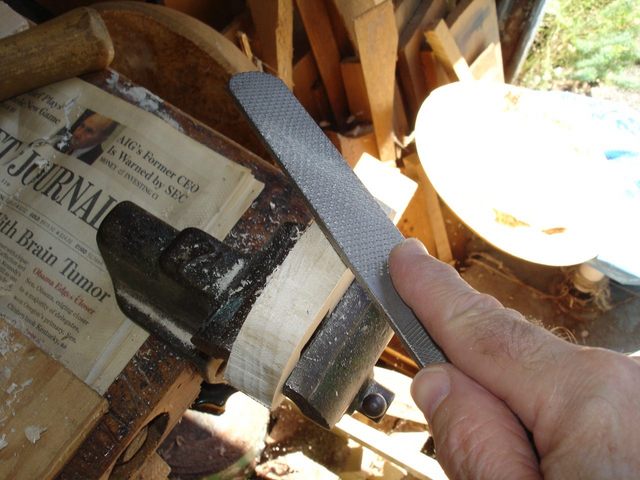
Before I drilled the holes, I cut the piece to its final shape, which includes the two notches on the side. First I used the rasp.
Then I used the rattail file.
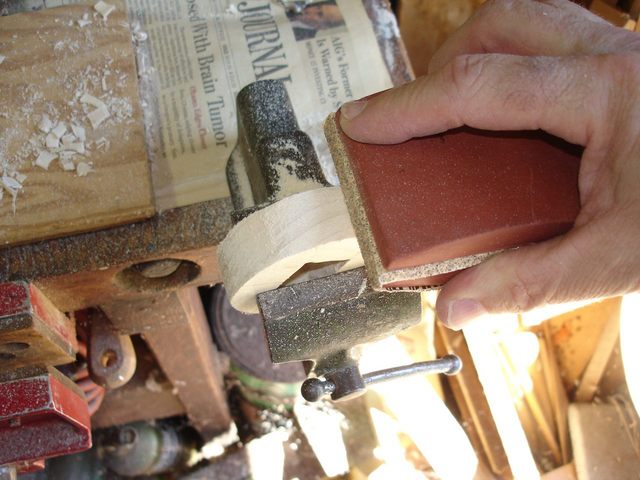
Finally, I smoothed it out with the round nose of my sanding block and some 80 grit sandpaper.
There was nothing special about using the 80 grit paper for this; it just happened to be what was on the sanding block that has the round nose. I center punched the two holes 3/8" apart on the piece. I placed the holes just above the line so that they will be just above the level of the head. That should keep the tailpiece completely off of the head when it is strung up.
I drilled out the holes using my 1/8" drill.
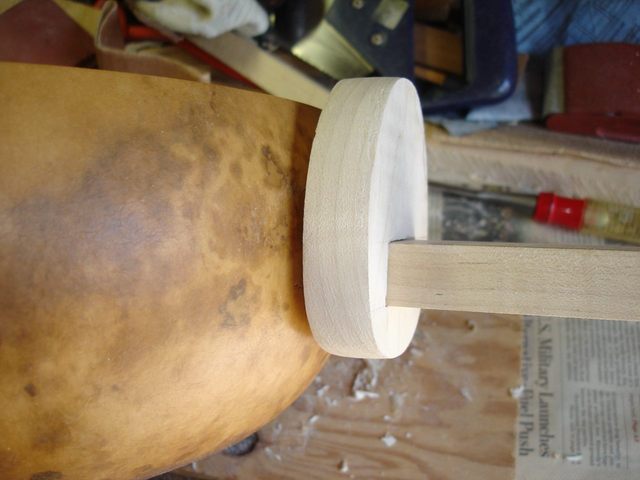
Then I gently chamfered the holes with a 3/8" drill and chamfered the edges of the block with sandpaper. Here is the final result of all this effort.
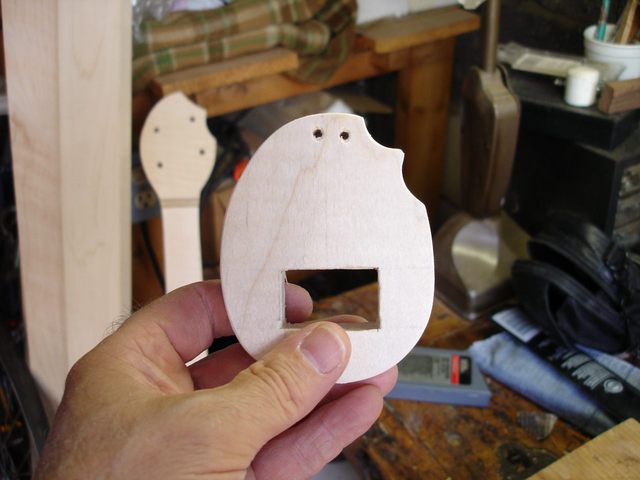
You may notice the resemblance to another shape that may be visible in the background. Here it is stuck onto the dowel stick.
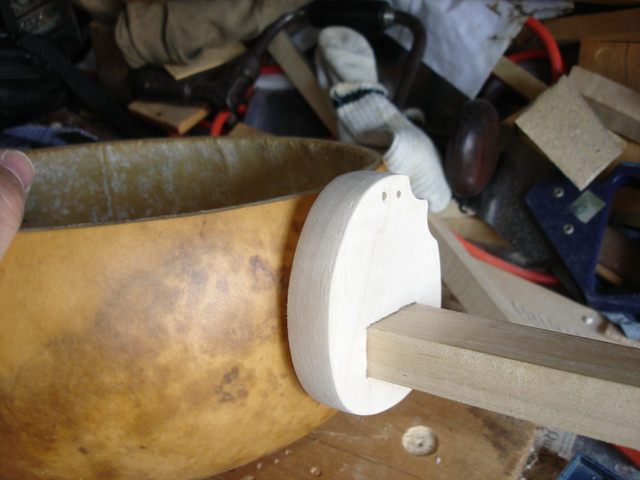
That's it. I sort of like the shape. It is an egg shape, which is said to be the perfect shape. I like the fact that it contains an echo of the theme that runs through the entire banjo. My son says that it looks like Casper. It does sort of resemble a face. It will look even more like that when I have the baling wire snaking down the middle of it making a nose. LOL.
I like it, and I'm going to use it. I have photographed it in 3-D, so you can see the shape of it better.
I spent 3 1/4 hours making this piece. The weather was just grand, and the humidity has finally broken, and this piece should prevent my gourd from getting broken.
Original post date August 17, 2008