It is time to fit the pegs into the peghead. The holes in the peghead must be reamed to the proper size and angle, and the pegs must be shaved to fit in the holes so that they project above the peghead surface where the strings will be tied to them for tuning.
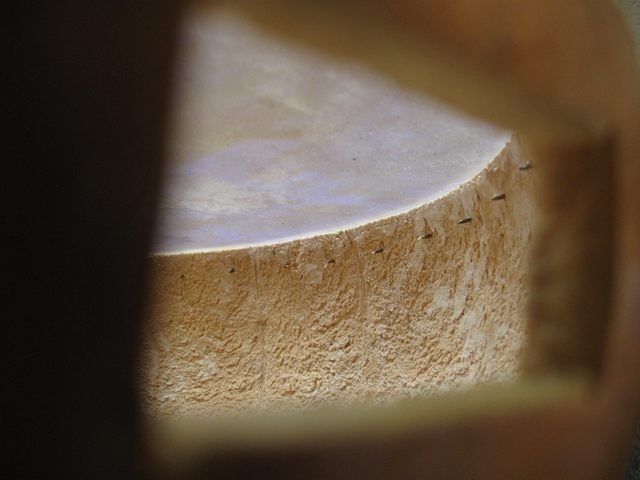
While I was out at the bench getting the neck and the parts for this job I looked into the gourd on a lark to see what it looks like in there. Here is what I saw:
The photo is looking into the gourd through the neck hole. Those are the points of the tacks where they went completely through the gourd. Wow! Looks dangerous! I guess it is OK since all those sharp points are inaccessible inside the gourd. If this were a openback I might want to snip 'em off.
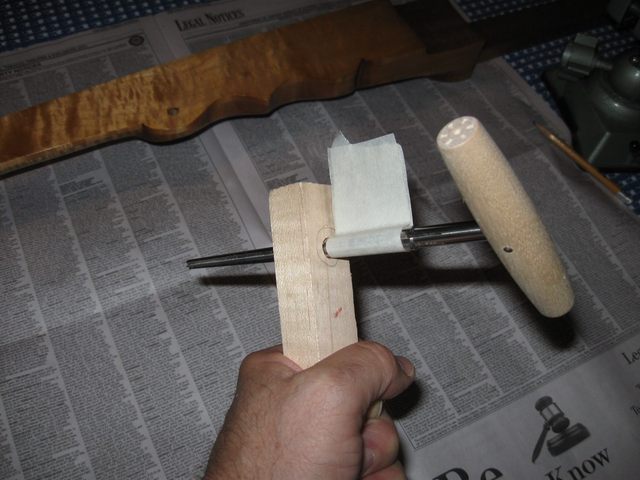
Enough of that; on to the pegs. Here's the stuff I need to fit the pegs into the peghead holes.
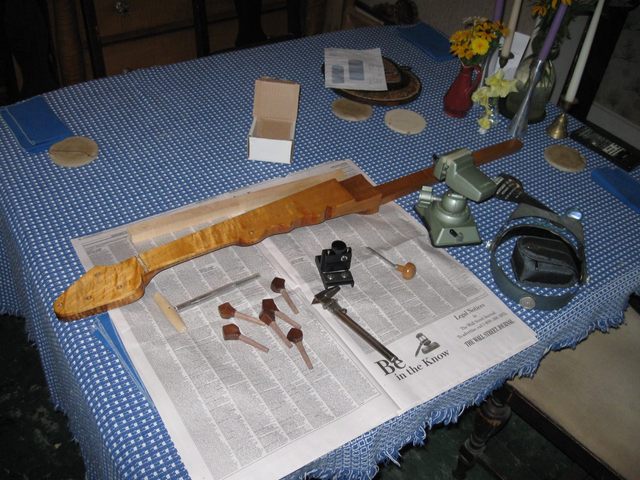
The violin reamer and the peg shaver are specialty tools that I bought from Stewart MacDonald, http://www.stewmac.com/. I have no business relationship with stewmac other than as a customer, so this is not an advertisement for them. They have lots of luthier tools, parts and supplies. If you are careful you can actually make the pegs and holes by hand, but it is much easier using the specialty tools, and the pegs will also work better when you are done. I have used my reamer and shaver to make three banjos now, and they are definitely worth the cost of the tools.
The little tool in the right hand side of the newspaper is a wood engraving burin. It is also a specialty tool that I just happen to have around, but you don't need one to do this job. I use it to permanently mark the ends of the pegs when I fit each one into its hole.
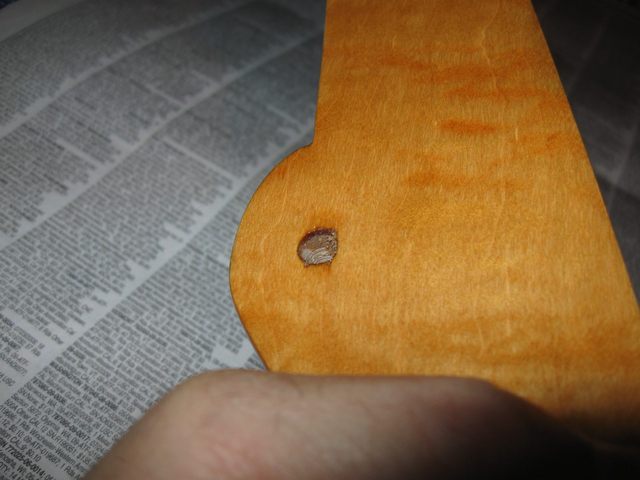
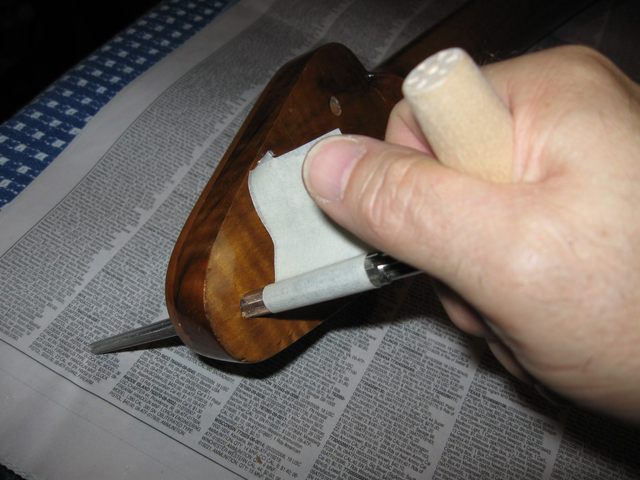
The first thing I did was to ream the holes out to their full size. I left this until after the finish was on because it removes any extra finish that got into the holes. You can see the errant finish here in this photo of the 5th string hole.
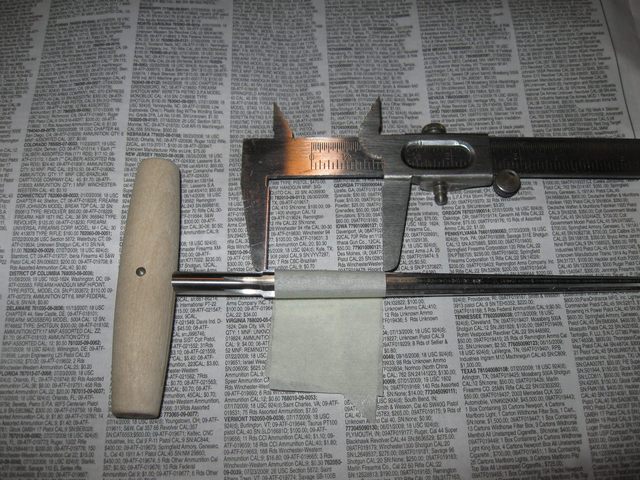
The holes are full size when I have reamed them to a depth where the reamer goes into to the hole up to a point on the reamer which is 1 9/16" measured from the beginning of the cutting flutes on the reamer. This number is somewhat arbitrary. I got it by inserting the reamer into the holes of my minstrel banjo neck and measuring how far the reamer went in. It is not a critical measurement, but I just go ahead and use it because it works. I put a masking tape flag on the reamer at that point as an aid to memory.
Then I checked the flag by inserting the reamer into the test hole that I used to make the pegs. I only get one shot at this so I don't want to ruin the whole neck by having a brain cramp.
Looks good.
Reaming the holes is dead easy to do. The reamer has cutting flutes on one side only, and the opposite side is smooth. It is self centering and cuts easily. I just insert the tool in the hole, making sure that I am coming in from the back side of the peghead, and turn the reamer around a couple times.
Then I pull out the reamer and clear the chips.
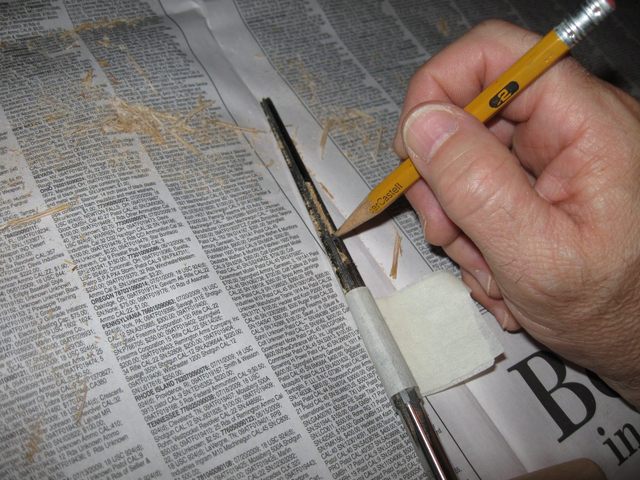
It is necessary to clear the chips out after only a couple of turns because, as you can see in the photo, the flutes go straight down the reamer and are not spiral like on a twist drill for pulling the chips out of the hole.
I simply went from hole to hole and reamed each of them until the reamer was in the hole up to the flag. Lastly I did the 5th string hole.
Speaking of the 5th string hole, here it is after I reamed it to full size.
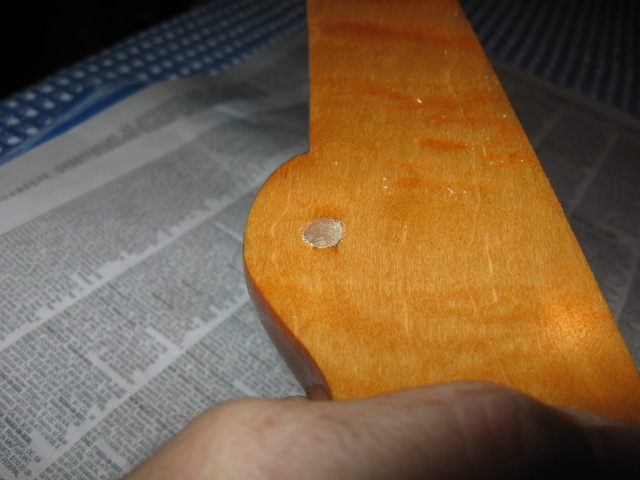
No extra finish in the hole. The pegs will work much better if there is no finish on the bearing surfaces of the holes.
I got the pegs out and stuck them into the holes to see how far they go in. As planned, they go into the holes part way, but not all the way through.
At this point the allocation of pegs to holes is arbitrary. It doesn't matter which peg I put into which hole at this point. After I fit each peg to its own hole it must always go into that hole to work properly. Actually, that is not precisely true because the last time I strung up my minstrel banjo I accidentally swapped a couple of the pegs and it works fine. It is just that these parts are hand made and not necessarily interchangeable.
The next thing I did was to fit each peg into its assigned hole by shaving it down to the proper angle and size. To make sure that I keep the proper pegs in the proper holes I used my wood engraving burin to cut a number into the end of each peg. I use Roman numerals because they are easy to cut. The numbers are I, II, III, IIII, and V.
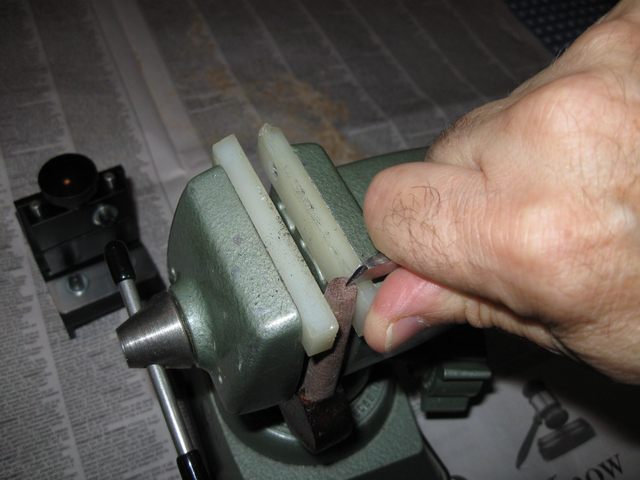
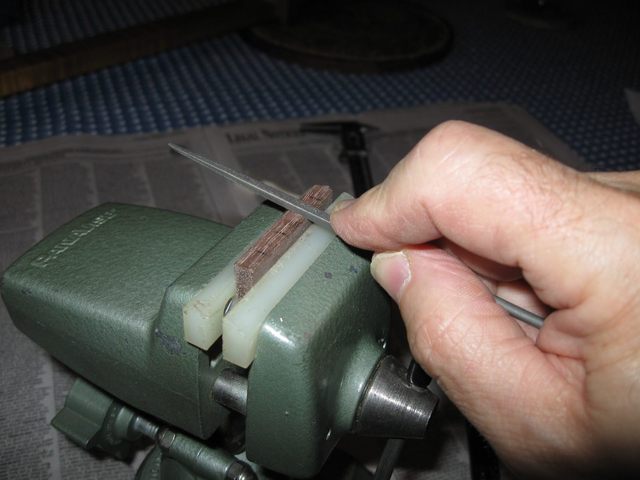
I marked each peg in order, then I shaved it to fit in the hole. Shaving the pegs is a little more difficult than reaming the holes. It takes a bit of practice to get the shaver to work. The shaver has a block that moves vertically and pushes the peg down onto the blade that cuts the wood. I first back off the block all the way up and then insert the peg into the shaver to its full depth. Then I lower the block down onto the peg until it barely pushes the peg into the knife edge. The block is controlled by the knob on top. See photo.
By turning the knob I can feel the pressure being put on the peg as it is pushed into the knife edge. I put very little pressure at first because the peg is not truly round and it grips and releases as I turn the peg. I use a gentle touch until the high parts of the shaft have been cut off and the blade is cutting evenly all around. After that, it is just like using one of those old pencil sharpeners. I turn the peg a few times and then turn the shaver over and clear out the shavings.

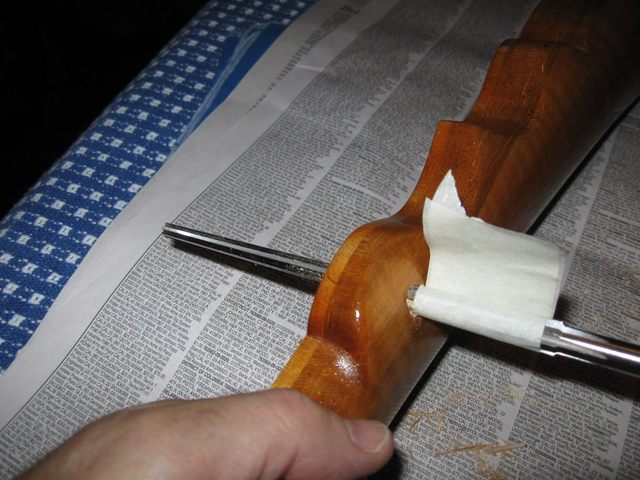
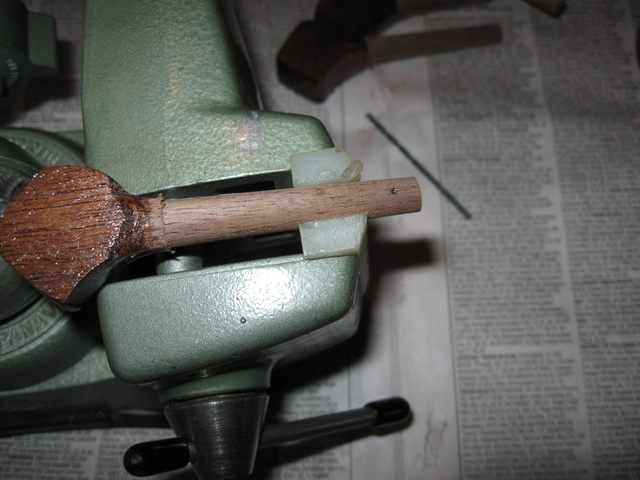
I kept shaving the peg and testing to see how far it goes into the peghead. Here it is just as it came even with the surface.
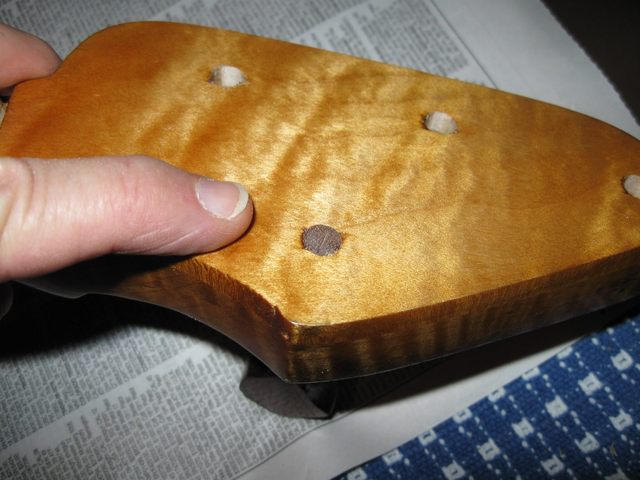
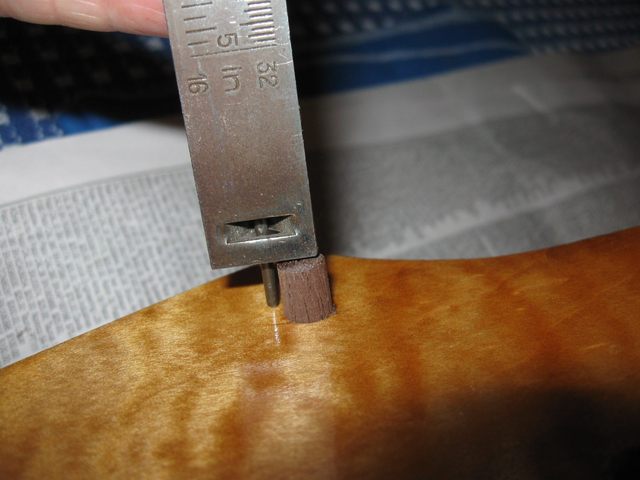
I continued shaving the peg until it stood 5/16" proud of the peghead surface.
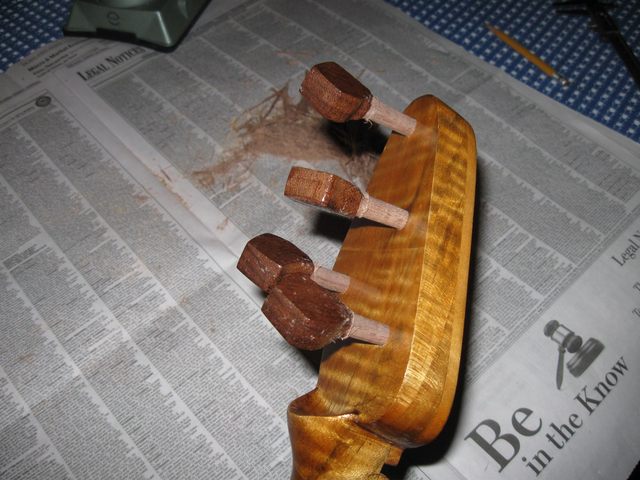
Do that with the other 4 pegs, and we are done.
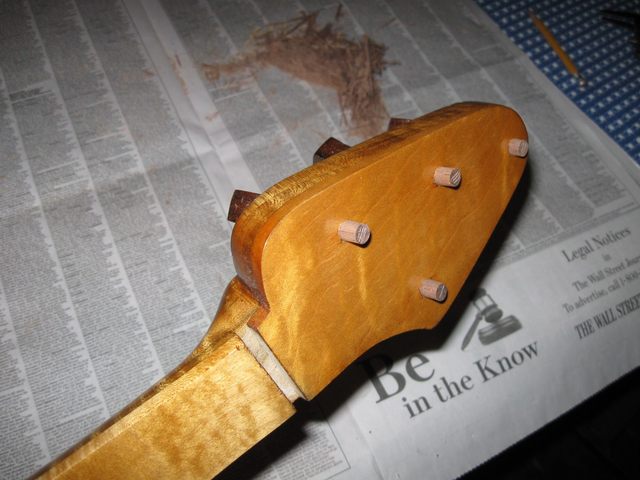
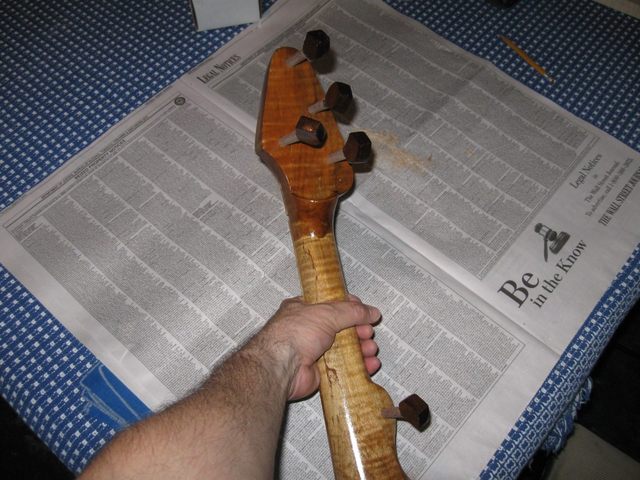
Here is the back of the peghead.
Once the pegs have been fit they need to be drilled for the strings. I drill a hole 3/16" down from the top of the peg, which leaves 1/8" of the peg between the hole and the peghead surface for string windings. I am doing this on a humid day, so this is as low as the pegs will go. When the air dries out during the Winter the holes will enlarge and the pegs will protrude more.
I use a drill that is 5/64" in diameter for all the pegs except for the 3rd string peg. That one is drilled out to 3/32" to accommodate the large 3rd string, which is the thickest one because the 4th string is wound and is therefore smaller in diameter than the 3rd string. I used the set punch to mark the pegs at 3/16" from the tip.
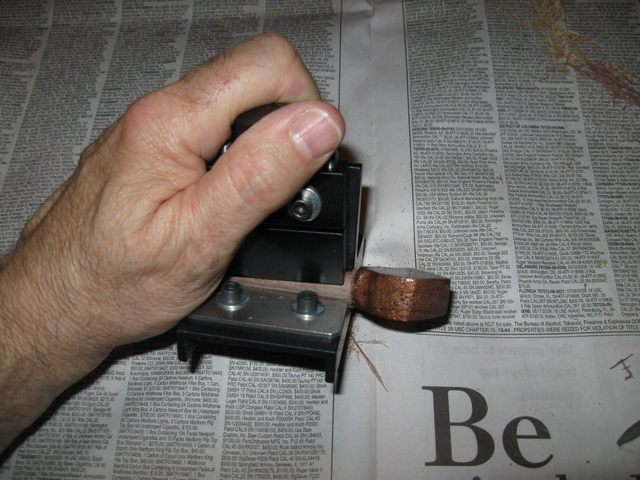
Then I put the pins in the vise and drilled them. Here are the holes.
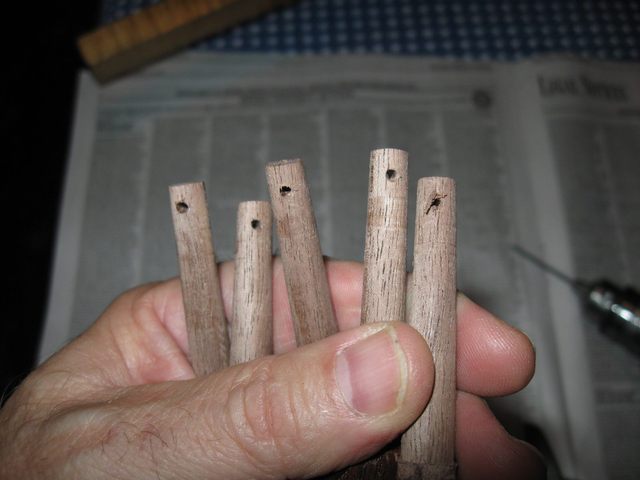
In retrospect it would probably make sense to drill out the pegs first and then shave them. That would get rid of the tearout that I got from the drill. Oh well. Live and learn.
That was it for the pegs. I had some time left, so I decided to notch the nut and the bridge.
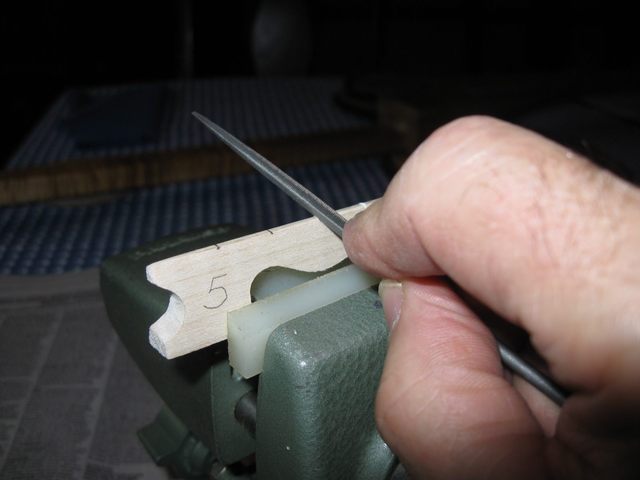
I took the bridge out to the bench and sanded it down until it stood 3/16" from the finger board. I will set the string height at 1/8" from the finger board, and the extra 1/16" of wood will give me some room to play with. Then I put the nut into the vise and notched it with my small triangular file.
I angle the notches down toward the peghead to accommodate the angle of the peghead with respect to the finger board. The strings are placed 3/8" apart on the nut, leaving ample room at the edges of the finger board for comfortable pull-offs.
Hey, look. That little dimple on the left side right by the nut is what is left of the gouge I took out of the finger board with the saw. It isn't too bad. It would be better if it weren't there, but it won't have any effect on the playability of the banjo.
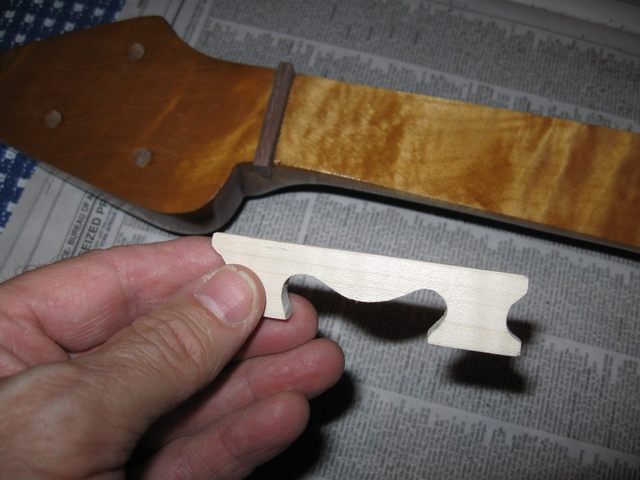
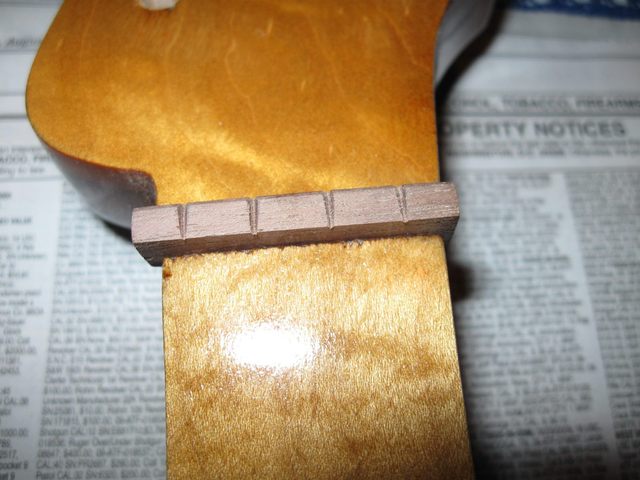
I did the bridge in a similar way, but the strings are 1/2" apart. There are 5 notches in the bridge because all 5 strings go across it. The nut only has 4 notches because the 5th string stops short at the 5th string peg.
You can see in the photo that I have identified the side with the 5th string by marking it with a "5". That side will always go toward the tailpiece, which is necessary because the notches slant down toward the tailpiece.
That is all the work there is to do until I do the final setup and stringing. When I do the final setup I will refine the string notches so that the action is set properly and the strings don't buzz. But that is for another day.
Just for grins I took the parts out to the shop and put them all together to see what it looks like.
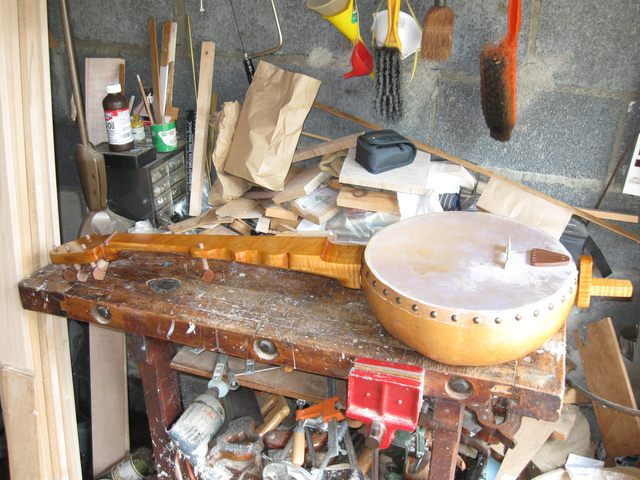
Hey! Cool! This is starting to look like a banjo.
I spent about 2 hours fitting the pegs and another 45 minutes notching the nut and bridge for a total of 2.75 hours today.
Original post date August 17, 2009