I have bought a new tool this year. I found a tool called a "cabinet scraper" which I will use to do the final finishing of my finger board. There are a couple of reasons that I bought this tool.
One reason is that I had a few disasters when I attempted to flatten my first gourd banjo finger board using my card scraper. You can see my card scraper in action at http://www.thekimerers.net/brian/gourd/rework.shtml The problem with the card scraper is that it follows the figure in the wood. It cuts more where the figure is soft and less where the figure is hard. Hence the curly maple actually undulates, and the wood is no longer flat. This problem occurs because the scraper has a very thin edge, and unlike a plane it has no sole.
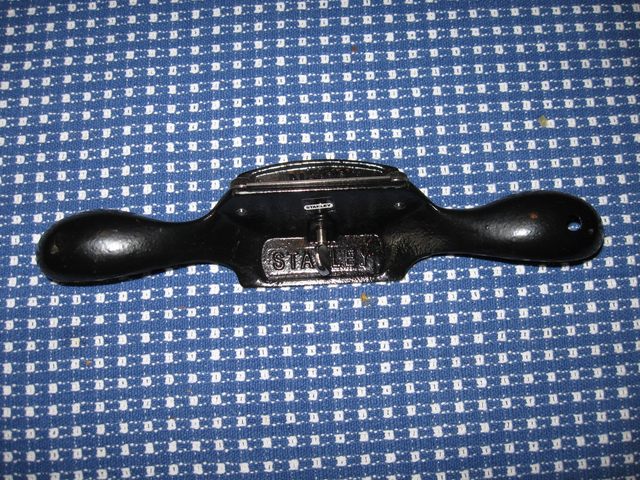
The other issue is that I read that the best way to pop the figure in curly maple is to avoid sanding the wood with very fine sandpaper. The theory is that the sandpaper fills the pores of the wood and that keeps the stain out of the figure. The article I read recommended using a scraper or sandpaper no finer than 120 grit. I decided to do the final finishing of the fingerboard with a scraper, and in order to do that, I need a scraper that has a sole like a plane. Enter the cabinet scraper. Here is a photo of it:
Here it is from the other side.
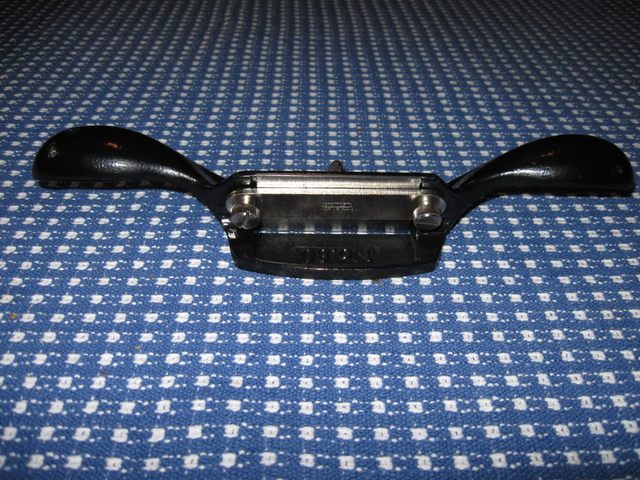
The tool looks a lot like my spokeshave because it is basically a plane body with some handles on the sides. The difference is that the cabinet scraper is much larger than the spokeshave and the blade is mounted almost vertically, unlike the plane blade. The idea here is to use the edge of the blade to scrape the wood, not to slice through it as a plane does.
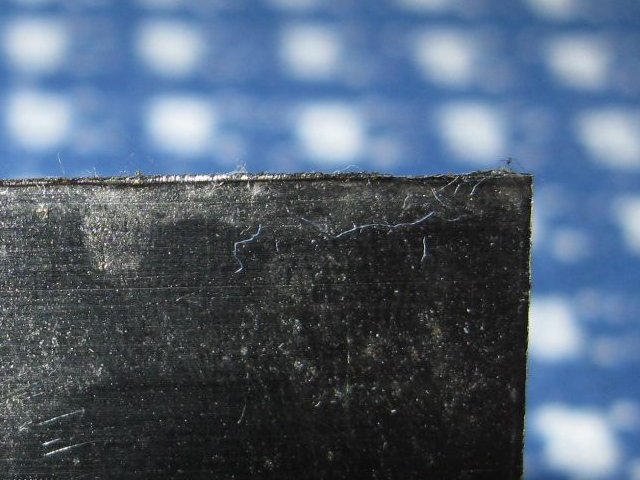
This is a Stanley tool, and Stanley delivers new edge tools with unfinished edges on them. The edges of the blades are only rough ground, and it is up to the owner to hone the edge sharp. It has been explained to me that this is not laziness on the part of the manufacturer, but rather allowing the new owner of the tool to grind the new edge to whatever angles and styles best suit the woodworker. Anyway, the edge of the scraper blade is pretty rough. Here is a photo.
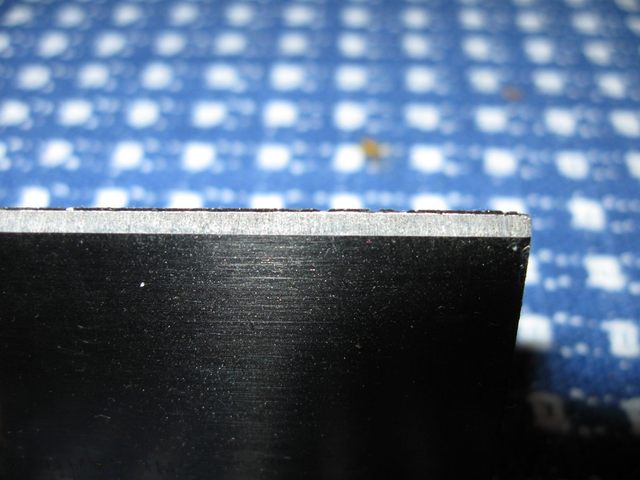
Here is an even closer look.

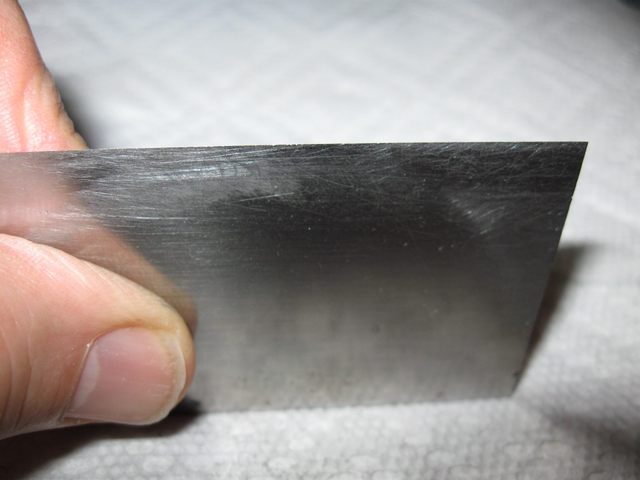
Here is the back edge.
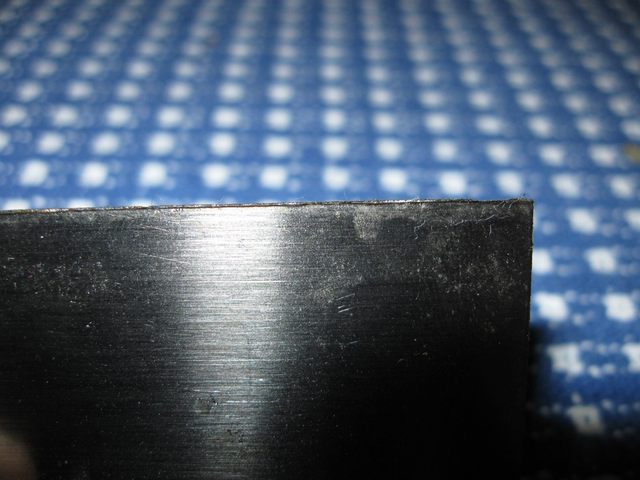
And a zoomed in closeup.
I will have to hone that edge sharp before I can use it. You can see in the photos that the edge has been ground to a 45° angle. This is in contrast to my card scraper which has a 90° edge. Those are just two different ways that people use scrapers. With a 90° edge you get twice as many cutting burrs than you do with a 45° edge, but it is more difficult to pull out the burr.
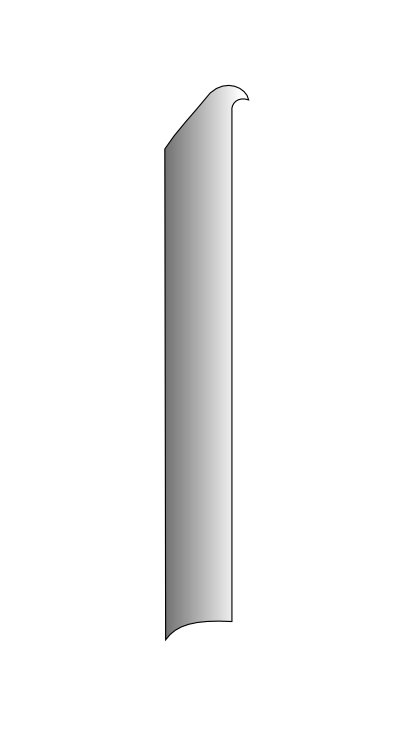
Here are some drawings to illustrate the difference between the two ways of sharpening a scraper blade.
| 90° scraper blade | 45° scraper blade |

|
|
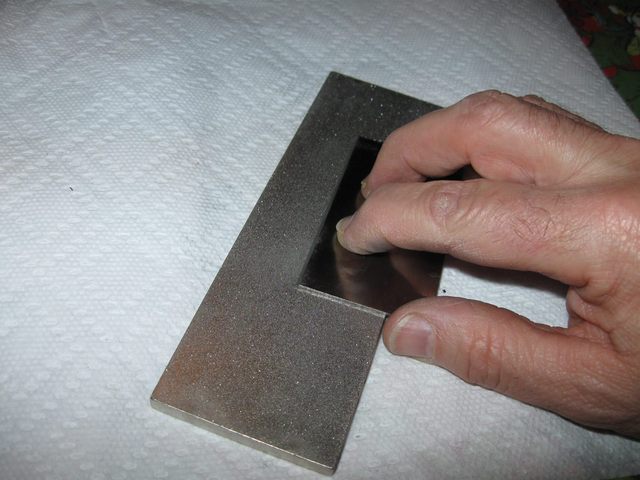
This blade is sharpened the same way you sharpen a plane blade. First the back is flattened on the stone.
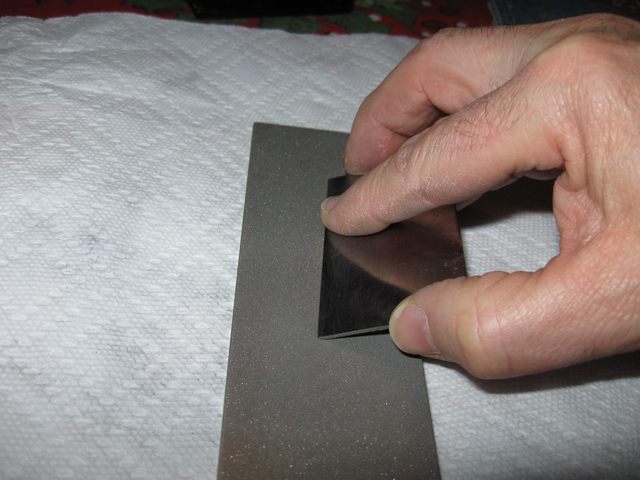
Then the bevel is honed to 45° on the stone.
Here is the honed edge, both front and back.

|
|
That is all I did on the scraper. When I start using it I will clamp the blade in the vise and sharpen it with the file and stone and burnisher like the other one. I will get to that when it is warm enough to go out to the shop.
OK. One hour. I don't know if I will add these times into the total or not. Sharpening the new tools really is just prep. work.
Original post date December 21, 2008