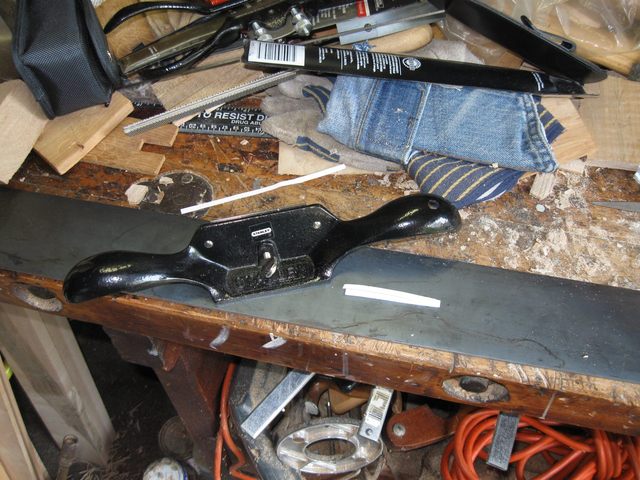
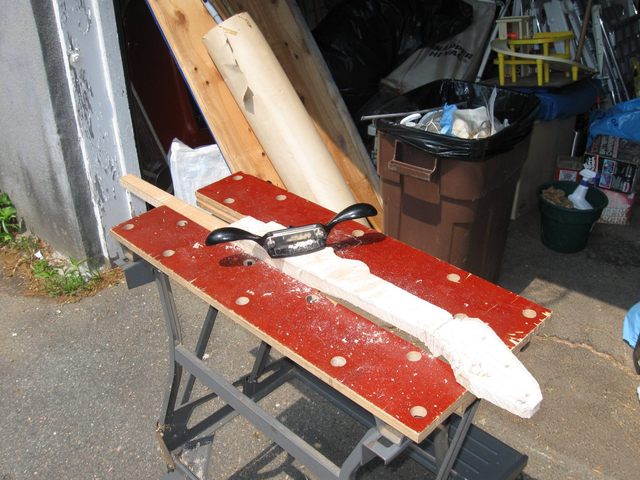
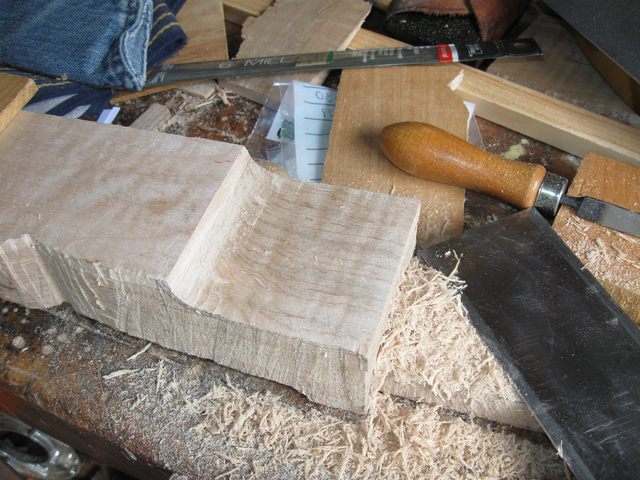
The next step is to finish shaping the neck. You can see in the photos on the previous page that I left it pretty rough. I use a few tools to shape the neck, one of them being my spokeshave. I have recently found out that the most important thing about using these simple edged tools is to keep them very sharp. It has taken me a lot of years to figure out how to sharpen my tools, so I thought I would digress a bit and describe how I do it.
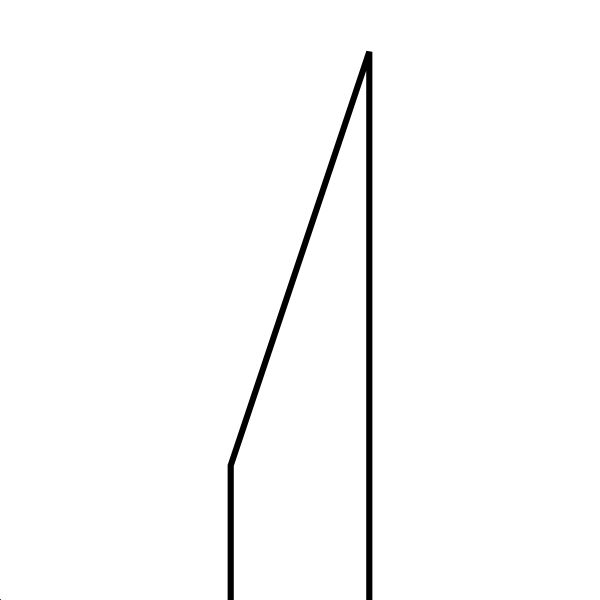
From what I have read, there are basically three ways to sharpen an edged tool. They are illustrated in the drawings below.
|
|
|
|
The drawing on the left illustrates a straight bevel. The edge of the blade is a simple wedge. This is the example that you see in all the books and articles about how to sharpen an iron. I tried to make this work for years and failed. The problem is that when you sharpen the tool you have to remove a lot of metal along that long edge in order to make the point sharp. That takes a long time. Another problem is that it is difficult to keep the bevel straight instead of allowing it to become convex.
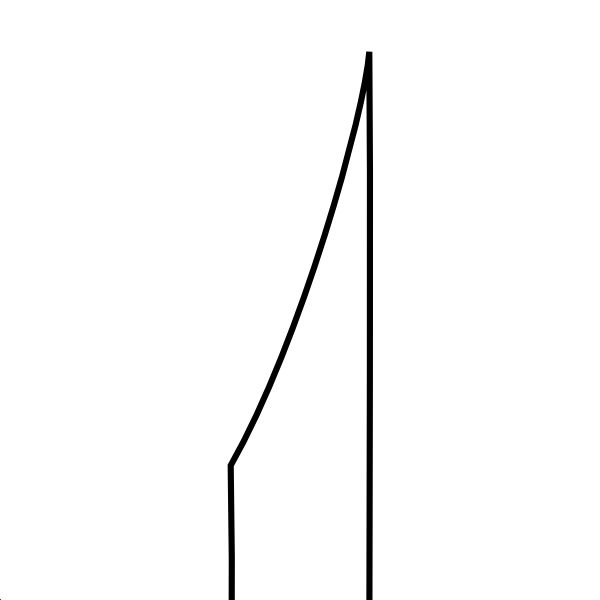
The illustration in the middle is a hollow ground edge. The bevel in that case is not flat, but concave. You make and maintain the concave bevel by grinding the bevel on a small, circular grinding wheel. Then after you have honed the blade briefly on a flat stone, the edge looks like this:
The trick here is that the two flat surfaces are narrow and do not take very long to sharpen because you do not have to remove much metal. The flat surface at the wide part of the bevel provides a positive key for aligning the angle of the blade on the stone, and the flat at the point provides the edge.
I have never tried this technique because I do not have the fancy sharpening equipment required to make the convex bevel. Maybe some day I will try this.
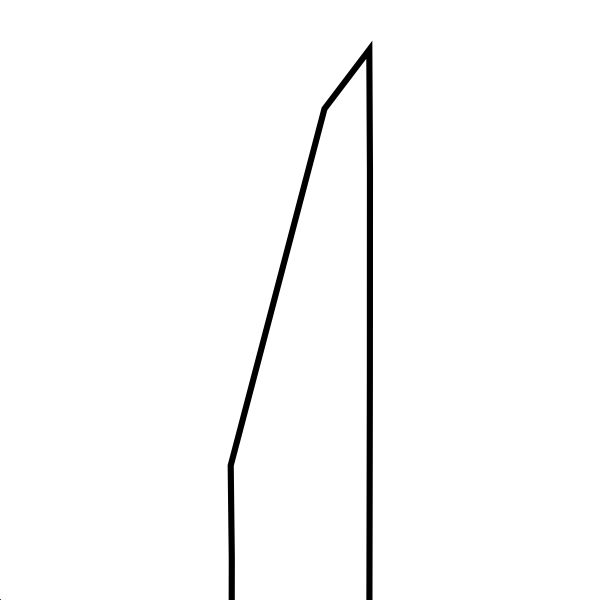
The third example is what I do. It is called a double bevel, and it provides some of the benefits of the hollow ground technique, but it can be done on the flat stone. The primary bevel is the one at the wider end and the secondary bevel is the one at the point.
Every now and then, I use the coarse stones to re-establish the primary bevel and grind the whole edge down to one bevel as shown in the example on the left, above. That takes a while as explained. Then, I tip the blade up to a higher angle and make the secondary bevel. That goes very quickly because there is not much metal to remove.
As I am using the blade on the bench, I often remove the iron from the plane and re-sharpen the secondary bevel. That takes only a few strokes on the fine stones and I am back in business quickly. At the end of the day or before my next work session I grind the primary bevel again to get ready for the bench work. Here are some photos that illustrate how I do this.
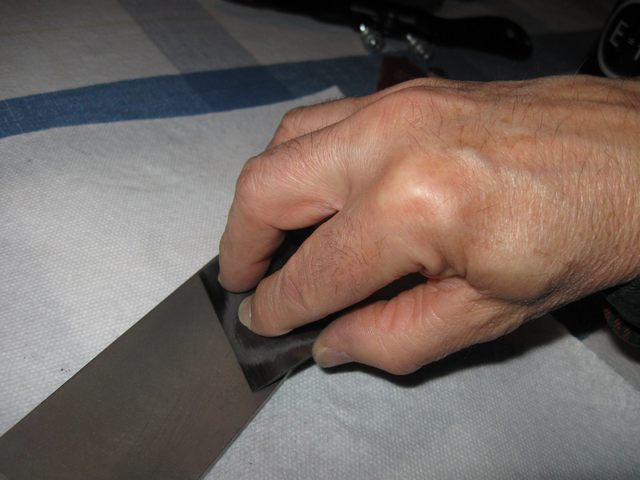
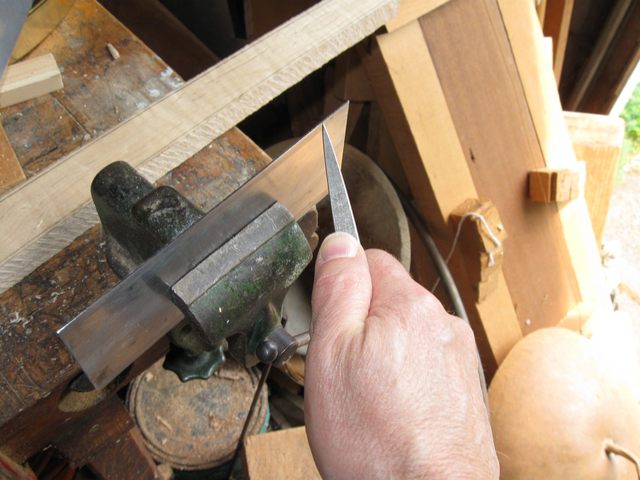
The image below shows me honing the first bevel on the iron.

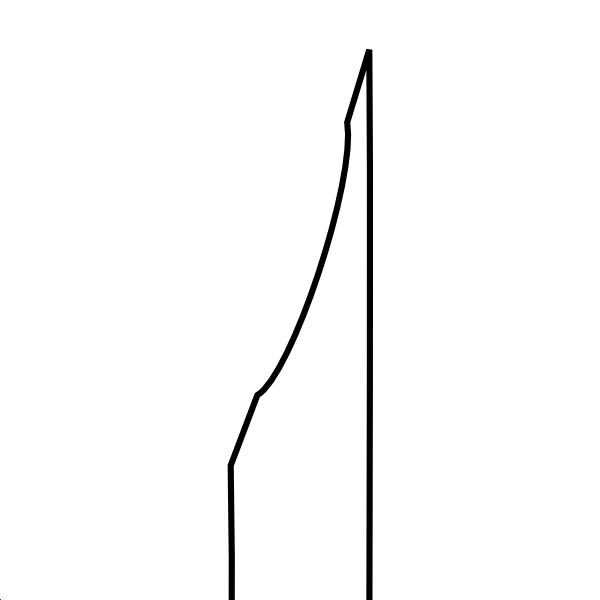
I use that angle through all four stones, Extra Course, Coarse, Fine, and Extra Fine until I have a sharp, single bevel edge. That takes a while to do. Then I tip the blade up to a higher angle on the Fine stone and create a very thin secondary bevel. Like this:
That takes only a few strokes on the stones. When I am done, the blade looks like this:
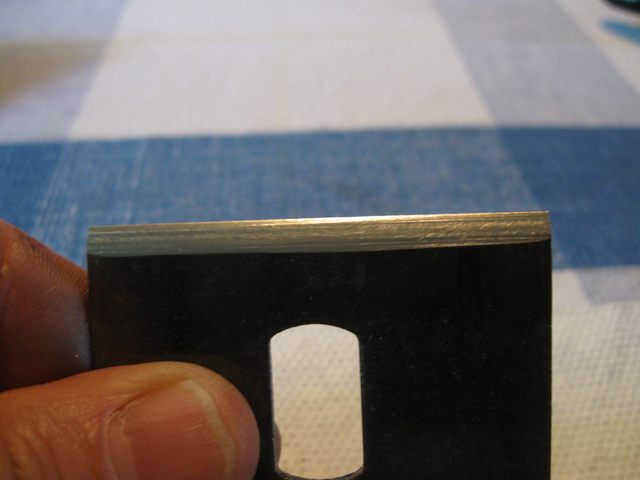
You can see the two bevels in the photo. Of course I hone the back of the blade flat too. OK. The lecture is over, out to the bench to work on the neck.
I decided to start by scraping the fingerboard flat with my cabinet scraper. I also decided to try a trick I read about for setting up the blade. I read that you put the sole of the scraper on a piece of paper and then drop the blade into the body and the paper sets up the tool for just the right amount of blade showing. Here is my setup.
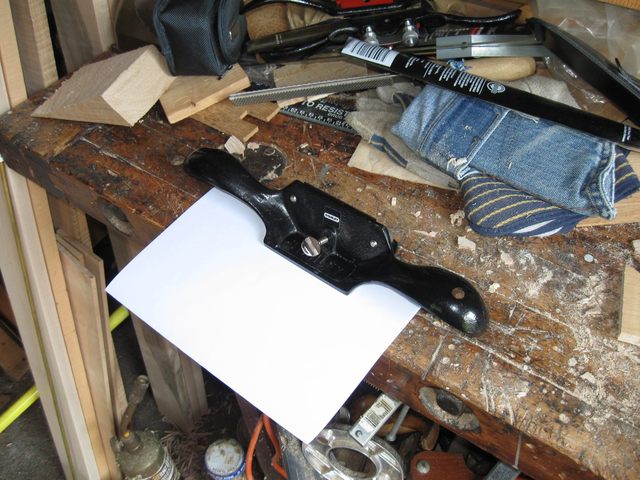
I kept the edge of the paper just behind where the blade falls through the throat.
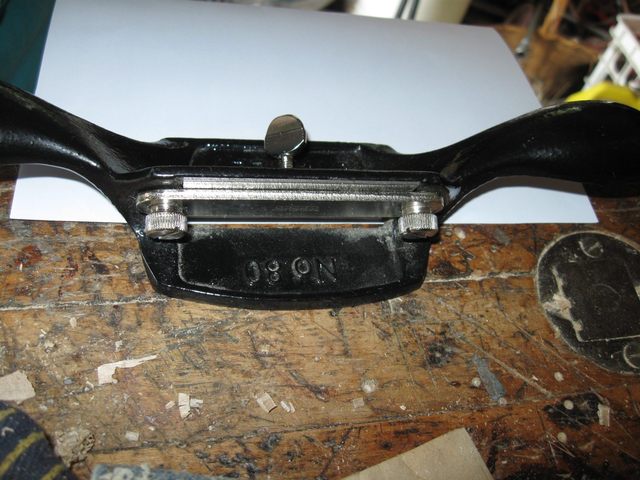
That technique did not help at all. The blade was too far down and took too big a bite out of the wood. So I tried a different trick. I did just the opposite and put the paper under the blade instead of under the sole. I cut a sliver of paper and folded it in half. I also did the setup on my steel caul so that I would have a hard, flat surface to work on.
After setting up the scraper that way, the blade did not cut the wood at all until I used the screw to bend it just a bit. This is ideal because I can use the screw to set the scraper up to take a very fine shaving from the wood.
I played with the cabinet scraper for a while and then turned my attention to fixing up the frailing scoop. I could not get the cabinet scraper into that restricted space so I went back to the card scraper to do that work.
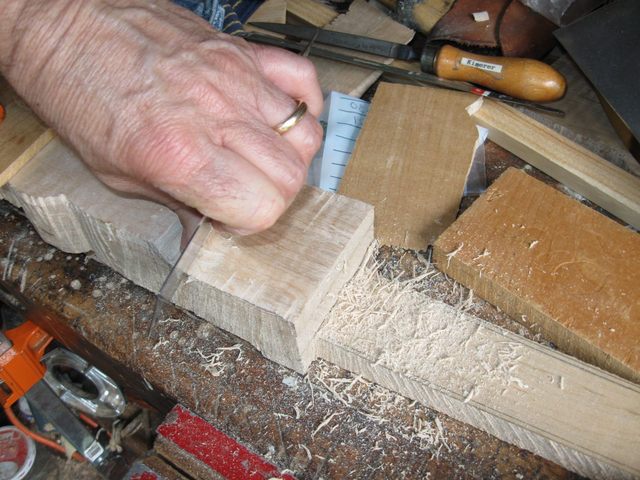
That worked out fairly well. I tried another trick that I had read about with regard to sharpening scrapers. After burnishing the hook on the scraper, take the point of the burnisher and run it along the hook, bending it up slightly to the proper angle. Here is what it looks like when I am doing it.
The sharp point of the burnisher is being run *under* the hook, bending it up slightly. I always wondered why the point of my burnisher was so sharp.... other than for sticking myself with it.
Well there it is. I isn't completely done, but most of it is finished. I had to quit here and go change a flat tire on the car, so I left the banjo neck like this. I only spent about 2 hours on the neck today. Most of this writeup has been talking about tool sharpening. Maybe tomorrow I will get more actual work done on the neck.
Original post date May 29, 2008