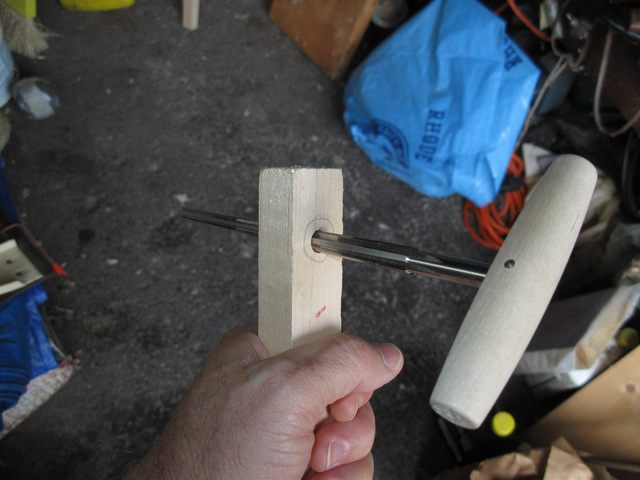
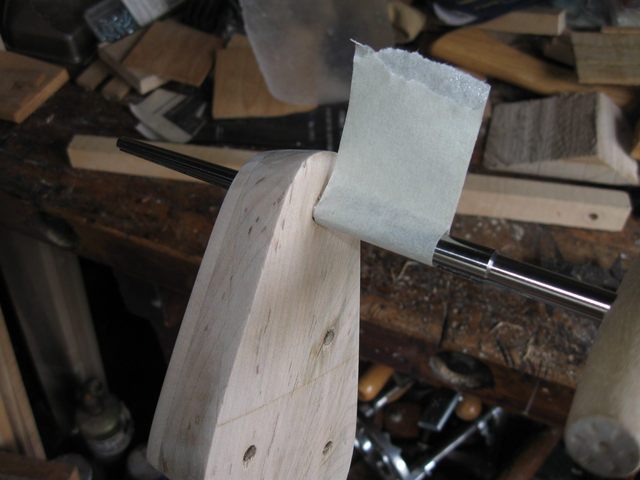
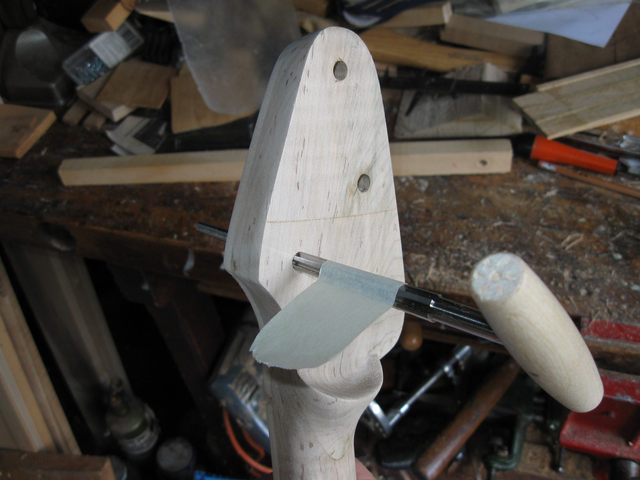
I decided to stain the neck next. Before I stained it, I reamed out the peg holes partially to get it ready for the pegs. When I built the previous banjo I made a test piece that has a full sized peg hole reamed in it for use in testing the size of the peg blanks as I carve them. Here is a photo of it.
When I ream out the holes to their full size, I put a flag on the reamer, locating the flag 1 9/16" from the end of the flutes on the reamer. I came up with this number by putting the reamer into the peg holes on my minstrel banjo and measuring how far it went in. So that is the depth to which I ream the holes on my own banjos. Not very creative, is it?
Anyway, it has worked twice for me. It makes the holes big enough to work with the pegs yet small enough that I can remove more wood later if I have to. The reamer in the photo above is set into the test hole to that depth.
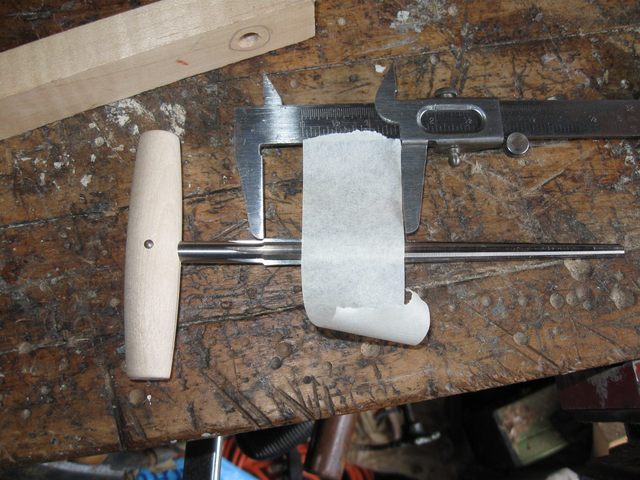
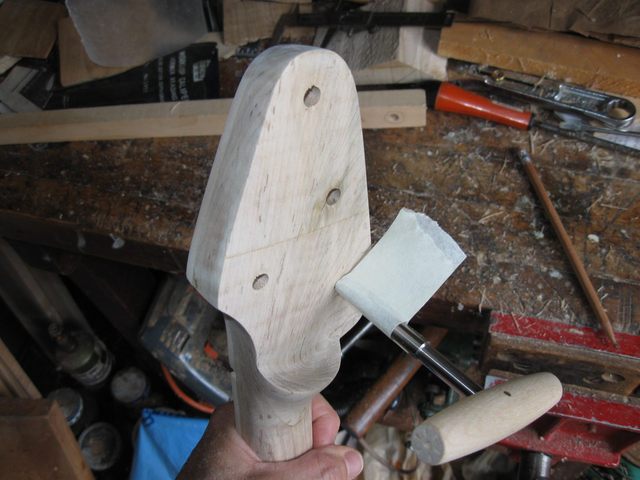
The first time I ream out a peghead (before I put on the finish) I cut the holes smaller than the full size. When I put on the finish, some of it will get into the holes, which wrecks the surface of the inside of the holes for the tuning pegs. After the finish is dry I ream the holes out to their full size, thus removing any leftover finish in there. So today I reamed out the holes to a depth of 2" from the end of the flutes instead of 1 9/16". That makes the holes smaller than final size.
I measured 2" from the end of the flutes on the reamer and stuck a masking tape flag onto the reamer right there.
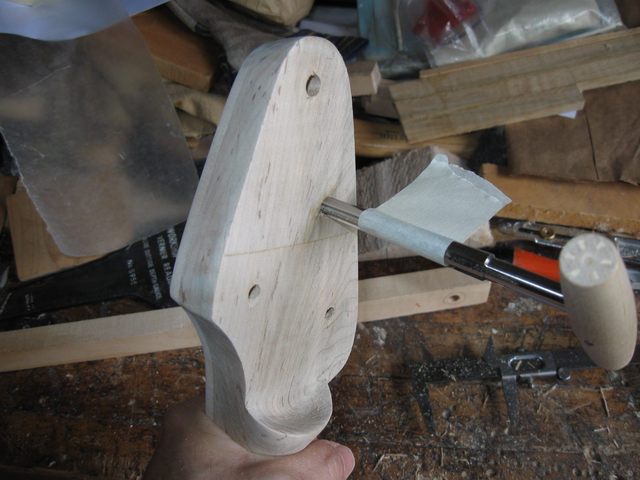
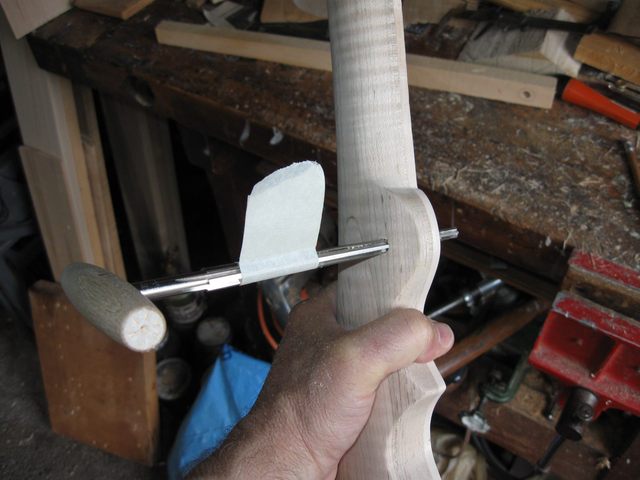
Being careful that I am coming in from the correct side (I don't want to have the pegs sticking out from the front of the peghead) I just slowly reamed the holes in the peghead one by one.
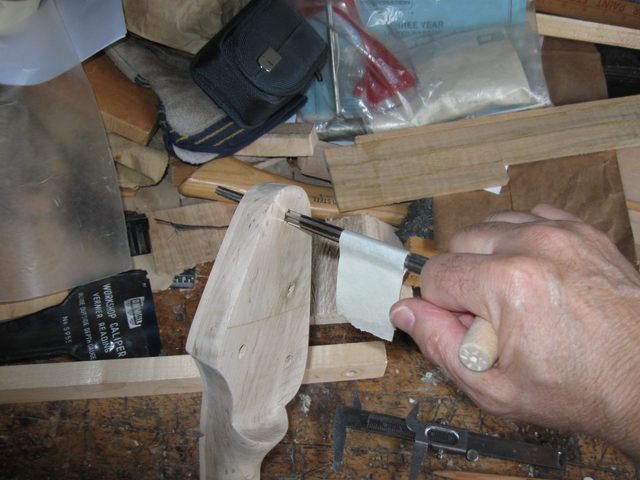
I have to go slowly and pull the reamer out of the hole after one or two turns because the flutes get clogged with chips.
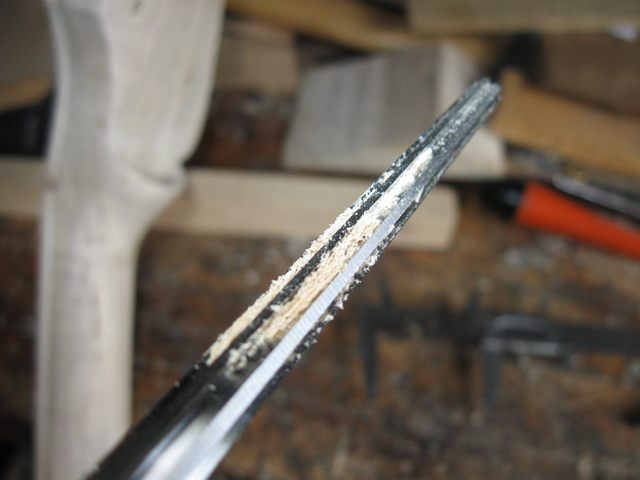
The reamer does not have spiral flutes like a drill bit that pull the chips out of the hole. Other than that, it is an easy tool to use. I kept going until the flag was right up against the back of the peghead.
Then, the hole is done. You can see in the photo below that top hole is larger than the others.
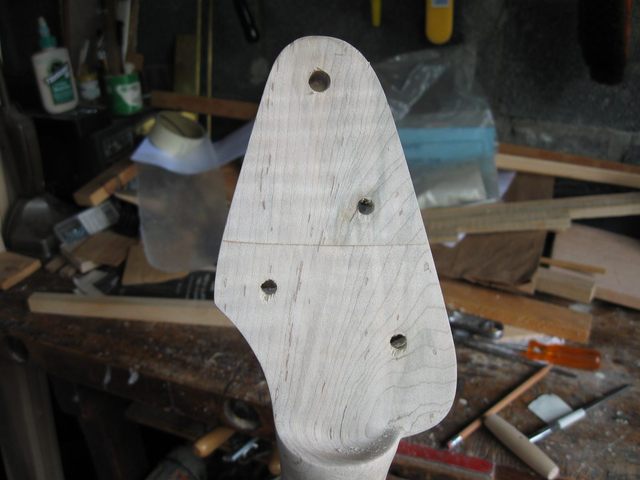
On the front side of the peghead, enlarging the hole has cut away some of the tearout that was left behind by the sanding.
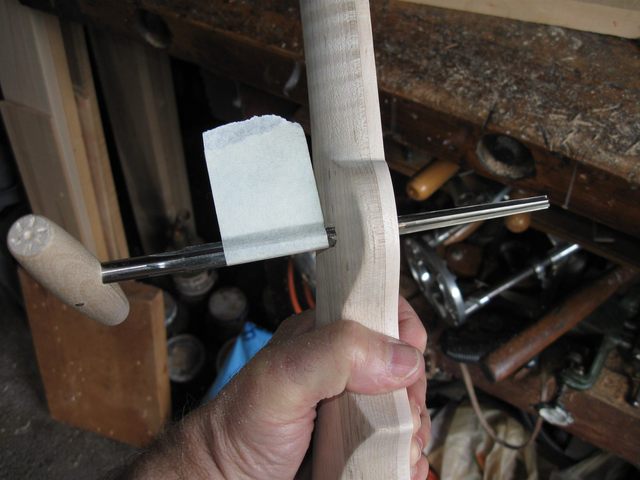
Then I just continued with the other holes, top down.
Third hole.
The last hole on the peghead is done.
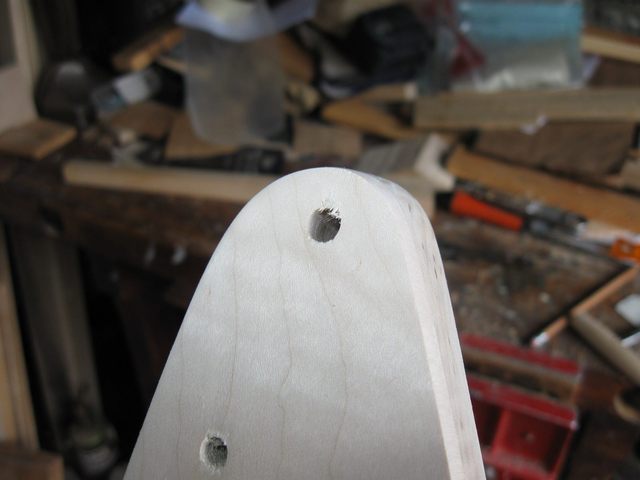
Last, I did the 5th string hole, once again making sure that the reamer is going in from the back of the neck.
Here it is, reamed up to the flag.
At this point the neck was ready for staining. I got out some newspaper and the stain and spread it all out on the patio.
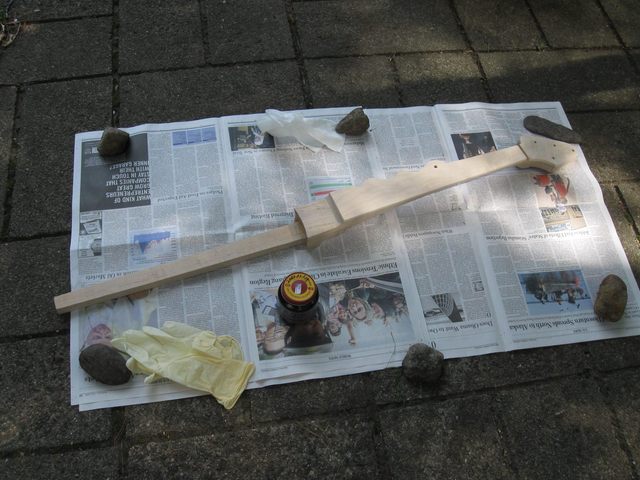
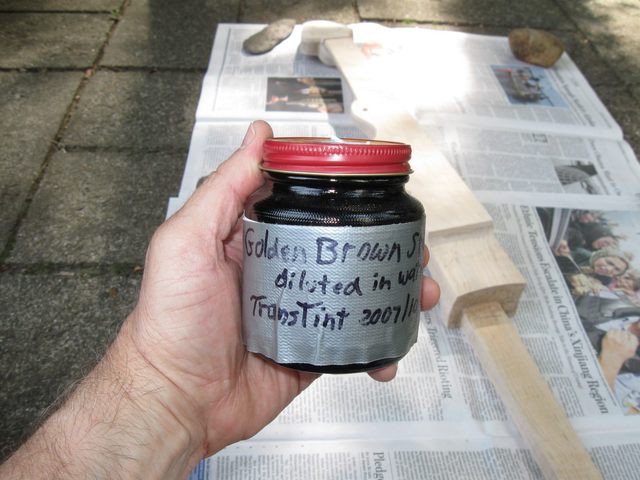
The stain is left over from my two previous banjos. I bought a small bottle of concentrated stain and did not know how much to make. I ended up with a cup of the stuff, and it turns out that I only need an ounce or so for a whole neck. So I put it into ajar and labeled it with duct tape.
Here is something really important. Gloves!

I don't want to end up looking like I have tobacco stains on my hands. LOL. I used a piece of paper towel to put on the stain. I don't have any photos of the actual process of staining the neck because I didn't want to stain the camera as well. Here is a photo of the neck all stained.
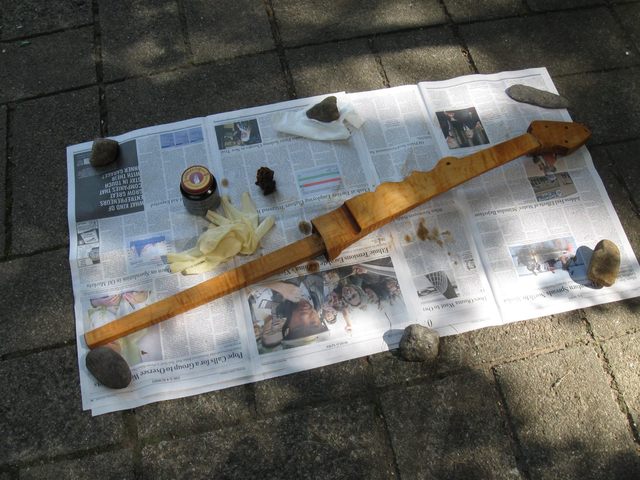
The color I am looking for is the same color as the gourd. I put the gourd next to the neck to see how it came out.
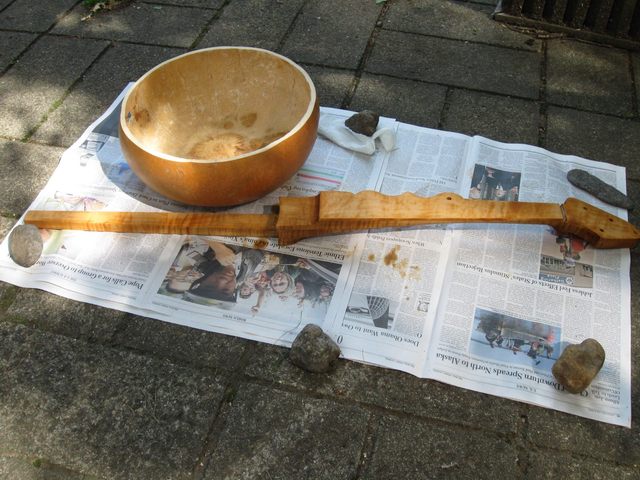
That's not bad. But then again I have done this twice before so the outcome is not a surprise. Staining the neck is always fun because it is easy to do and the change is dramatic.
I spent 1 hour doing this work.
Original post date July 13, 2009