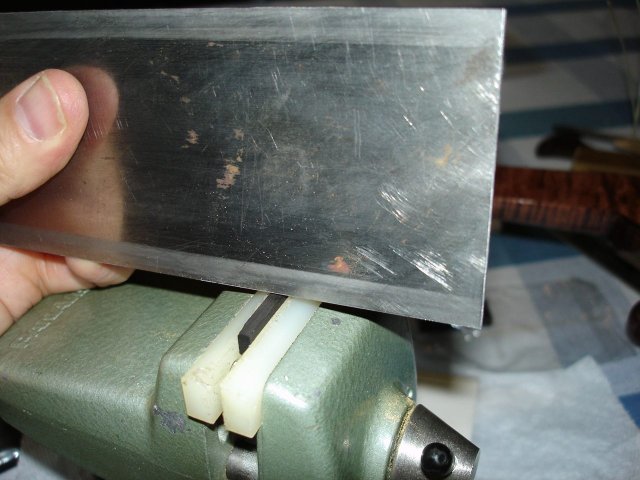
Now it is time to put the string notches in the nut and string up the banjo. When I fitted the nut into the nutslot, I noticed that it wobbled a bit side to side. So I decided to cut a small cup in the middle of it as recommended in the kit directions. The very best tool for this is my cabinet scraper.
A cabinet scraper is just a rectangular piece of hard steel. You sharpen it by moving it on the stone with the edge perpendicular to the stone. So, with the edge of the blade held directly against the stone, you end up with a wire formed on the edge of the scraper. Anyway, that tiny edge is perfect for cutting away very small amounts of wood in a controlled fashion. Here is a photo of me scraping the center of the nut just a tiny bit to make a depression.
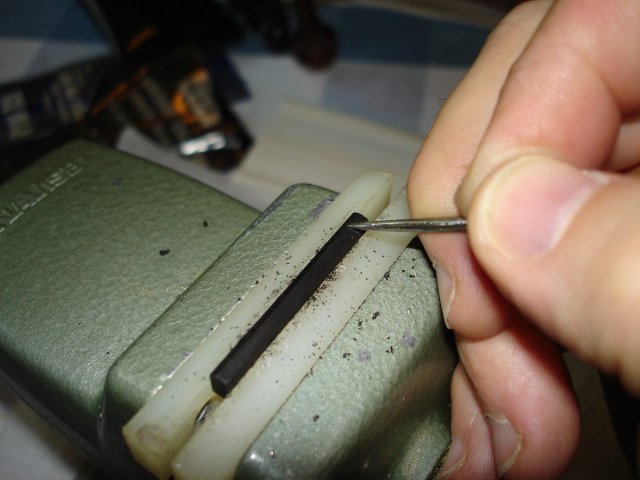
If you look carefully, you can see the little wire on the edge of the scraper right over the nut.
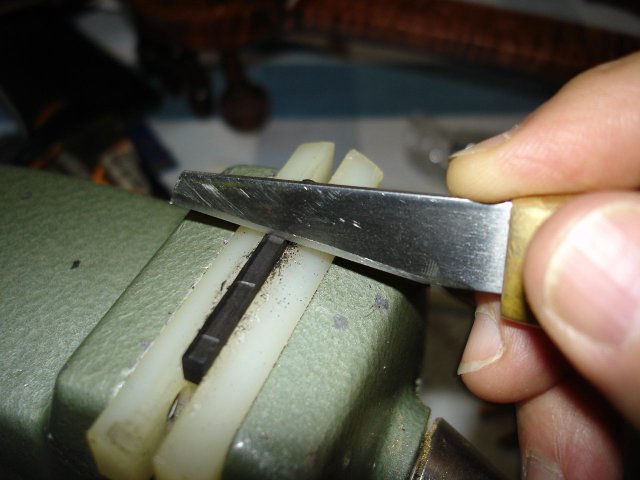
Next I marked off the nut for the string slots. The directions said to cut the 1st and 4th string slots 1/8 inch in from the edge of the nut, so I measured that and marked it.
I have turned the nut over in the vise so that the business end is up. The nut measures just under 1 1/2 inches in length. If I divide that number by 4 strings I get 3/8 inches per string. So that is how I will space the other strings. I measured 3/8 inch in from the outside marks and marked the places for string two and string three. I started cutting with my sharp knife to make it as precise as possible.
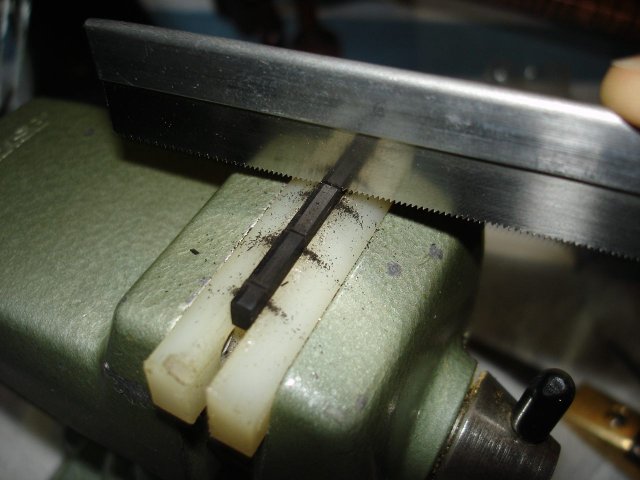
After that, I used several different tools to cut the slots for the strings, including a small triangular file and my trusy fretsaw, as you can see in this photo.
The chamfer on the nut goes toward the peghead, so I slant the string slot downward in that direction. This allows for a smoother path for the string to follow down to the peg and avoid buzzing. I also turned the slots side-to-side toward their respective pegs since this particular peghead pulls strings 1 and 2 off at a rather sharp angle to the right. I left the nut standing pretty tall above the finger board to provide some deep slots that will hold the strings.
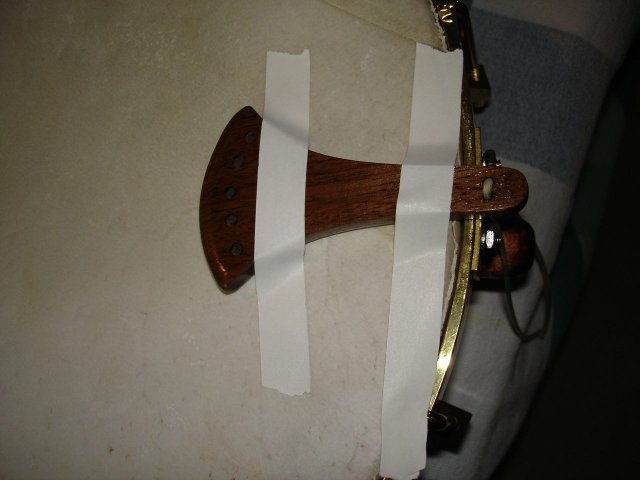
Next I had to tie on the tailpiece. So I taped it down to the head in the proper position over the end of the dowel stick.
Then I tied the tailpiece gut into what I thought would be a square knot. Here it is.
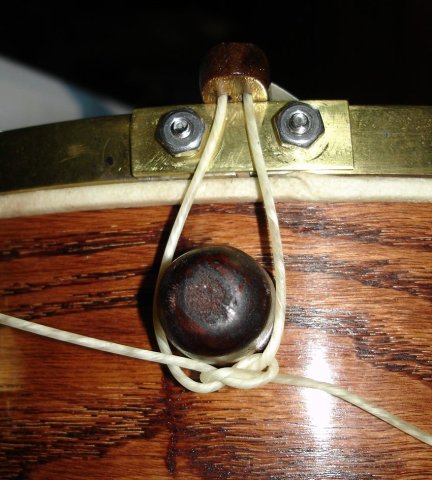
Oh, my! I'm not so good at knots.
I stuck the nut into the nutslot and started to string up the banjo, following the kit directions. They say to start with the middle string, so I did. Here is how I tied the string onto the tailpiece. The gut strings appear to be rather rigid and dry to the touch, but they really are very easy to tie, and they hold a knot well.
Then I stretched the string over the nut and tied it to the peg. I have removed the 4th peg here to get easier access to the 3rd peg.

The nut slot now has to be cut so that the string will come off the nut about 1/16 of an inch above the finger board. I cut a tiny bit out of the slot and then popped the string into it to see how it looked. Then I popped the string out and tried again until it looked right. I used my knive to cut the slot deeper and a small triangular file to open up and turn the top of the slot.
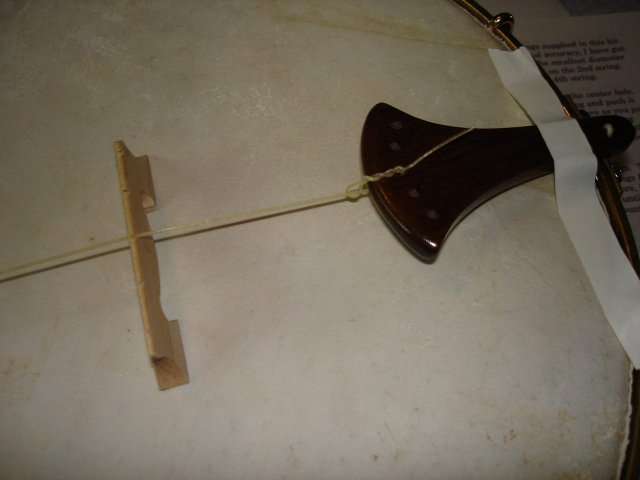
The other strings were done the same way. There is no nut for the 5th string. It simply goes from the tailpiece to the peg. Here is the tailpiece:
And here is the peghead:
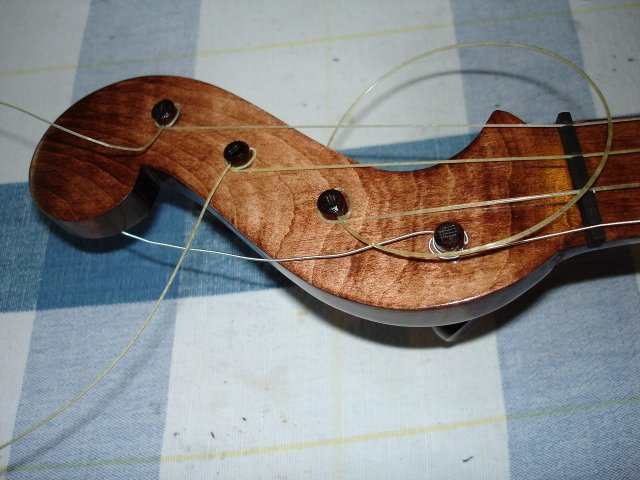
Check out the angle the first string takes as it goes from the nut to the peg. I have to keep that string from popping out of the slot, so I have made the slots in the nut pretty deep.
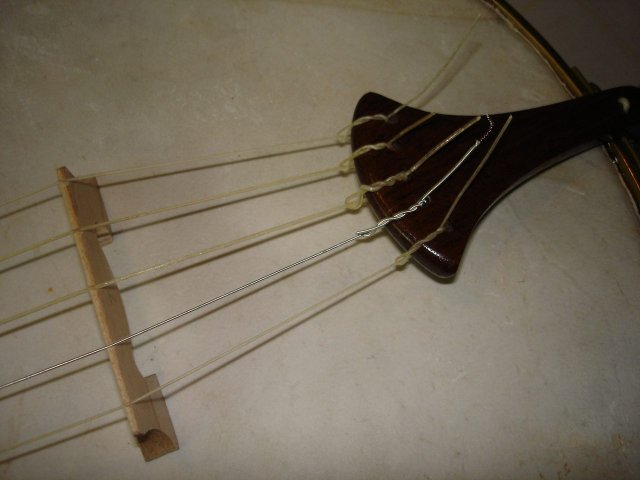
Here is the whole thing, all strung up.
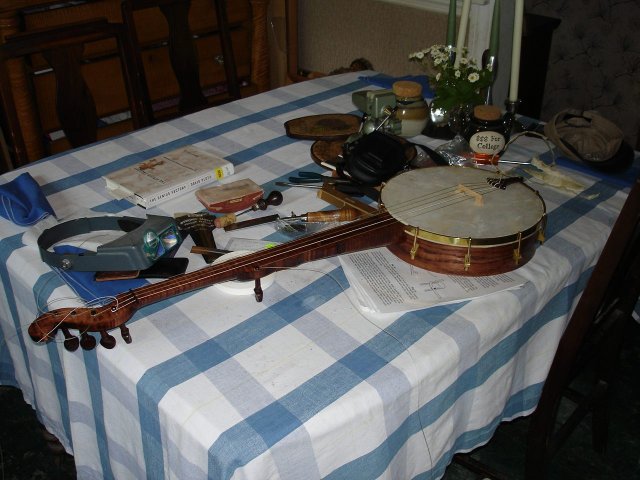
The next thing is to tune it up and polish off any outstanding issues. I am sure that some setup issues will show up as I tune it and play it. It took me about two hours to do this part of the project.