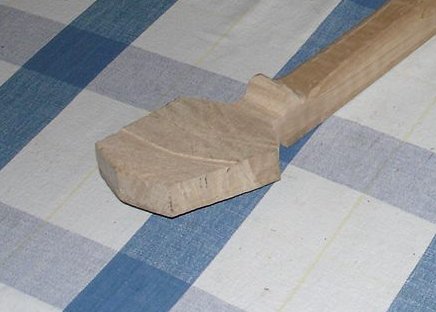
Another week has gone by, and it is time to get back to carving the neck of the banjo. As I left it, there is still a bit of wood to remove. I think that I should concentrate on making the peghead right. I left it in pretty rough shape. Here is a photo of the peghead from last week.
Perhaps you can see in the photo that the saw has left some deep gouges in the back of the peghead. I have already made the front of it flat and glued the veneer to it, so I will address the back of the peghead today.
I am using my usual tools today, my shoe rasp, the Surform® plane, my new spokeshave, and of course my trusty scraper. I took the time to put a really fine edge on the spokeshave blade to see if I could get it to work better. I tried it on the neck a bit, and I had better luck. After a few minutes it started to grab and chatter again, so I put it aside and started on the back of the peghead. The spokeshave takes off a lot of wood quickly when I can work it, but it is going to take a while to learn how to use it properly.
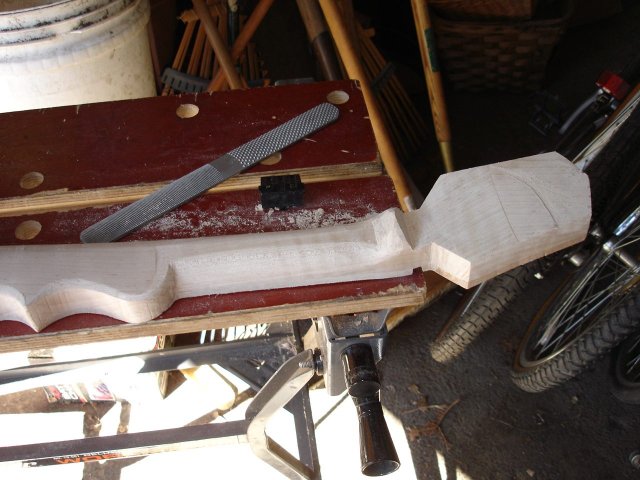
I filed the back of the peghead with the shoe rasp and "planed" it with the Surform plane and scraped it with the scraper. It is really slow removing the hard maple. After about an hour I had a bunch of it cut down, but there is still a nasty gouge in the back of the peghead. Here is a photo
Here is a closeup of it.
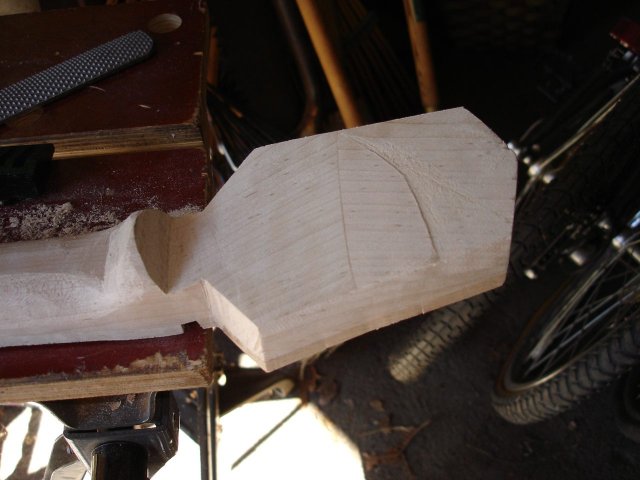
That is still a nasty gouge. It is taking forever to get rid of. This project is beginning to feel like a "more-patience-than-brains" type of project. Oh well. I will soldier on and see what I can do.
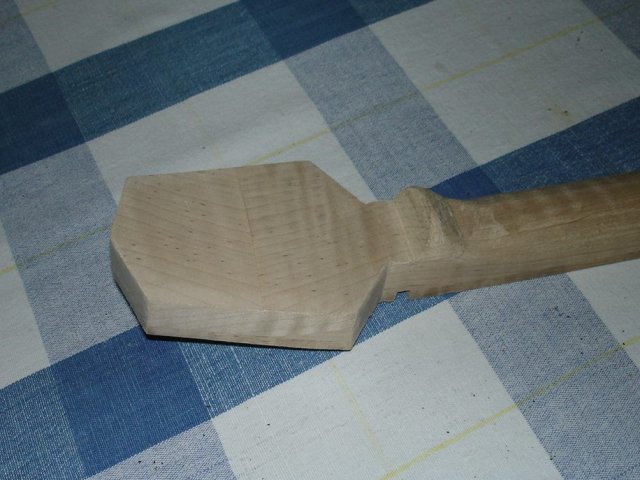
A couple of hours later, here is the result:
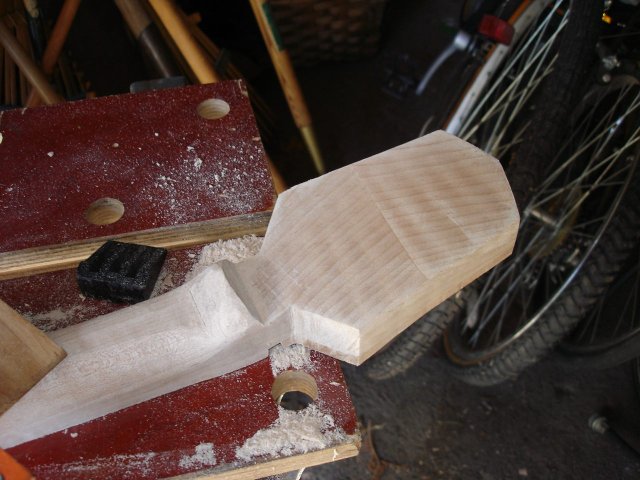
I am almost done. There is just a bit of a nick in it now. While I was testing my patience doing this I did manage to learn some things about using the tools. One thing is that the fine side of the shoe rasp cuts almost as fast as the rough side, and it leaves marks that are a lot more shallow. I also learned that it is difficult to get rid of deep nicks using the scraper. The edge of the scraper drops into the dent and cuts in there as well as around it, thus making the mark worse instead of better.
I found that I need to move the scraper in the direction of the defect, with the blade perpendicular to it. That way, the straight edge of the scraper keeps the edge out of the nick and cuts along the edges of it. I also found that if I pull the scraper to one side as I move it along the dent, it will cut a nicer shaving more easily. It is a slicing action that is difficult to put into words, but it is a motion that is both perpendicular to the edge of the scraper and parallel to it at the same time. So I am making a diagonal cut with the edge of the scraper. There is a proper amount of diagonal movement and a proper amount of angle of the scraper to the surface and a proper amount of pressure on the scraper. This is something that must be learned by doing it.
The scraper really is my best tool for this job. Maybe I should write up a page on how I sharpen and use the cabinet scraper. It has taken me a long time to learn how to do that.
Here is a photo of the peghead backside once I got rid of all the blemishes.
I worked for three hours doing this job. Wow. And all I did was to smooth a piece of wood that would have taken about 20 seconds to do on a power sander. That's a "get-a-life" moment for sure.