Today I am going to do some more carving on the neck. I need to finish shaping it so that I can move on to other parts of this project. This is taking way too long to do.
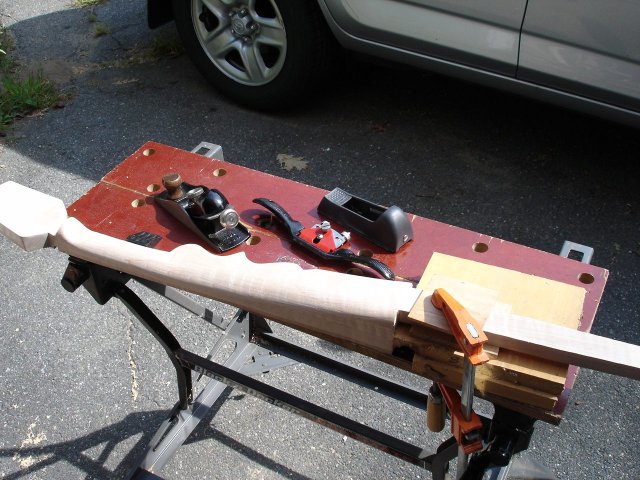
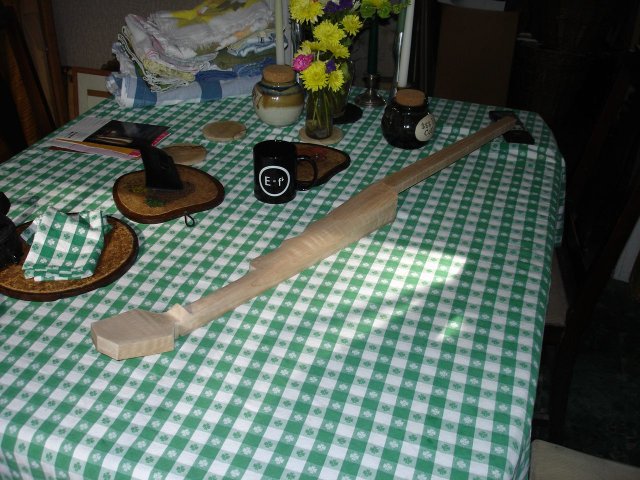
Just for fun, I have added a tool to my kit today. You can see in the photo below that I have found my block plane. I want to see if I can speed up the removal of the wood using a block plane.
I think that the trouble I have been having with my spokeshave is that it is a roundbottom spokeshave. I have read (since I bought the thing) that one does not want to use a round bottom spokeshave on convex surfaces because they are difficult to control and will chatter. Well, why didn't they tell me that before?
Anyway, I thought that my block plane might work like a really really large spokeshave with a flat bottom. Unfortunately, it did not work out. The sole of the plane is too long, and the blade mostly skipped over the wood. I could take some shavings off by angling the plane toward the side of the neck, but it still did not work well.
Nevertheless, that gave me an idea, so I tried my Surform plane again, angling it off to the side. Here is about the angle that I used it.
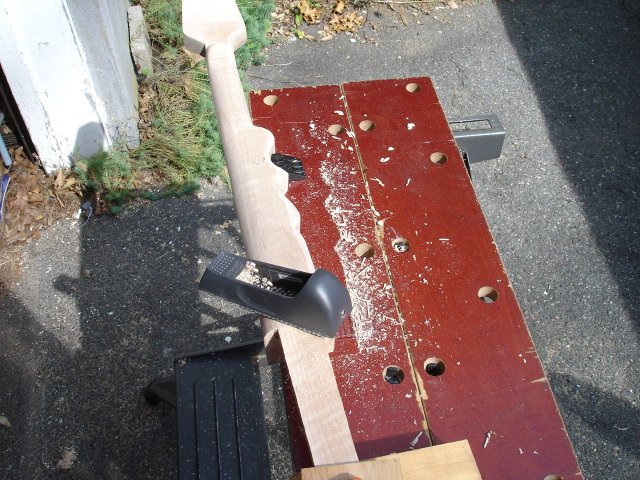
When I cut down the side of the neck like that, it took off wood pretty well. In fact, it felt really good doing it that way. I managed to cut the neck down quite a bit using that technique.
I think I mentioned on a previous page that clamping the neck becomes a bit dicey as the neck gets round. Well I had to be pretty creative to clamp this for carving. I ended up holding it down by the tailpiece.
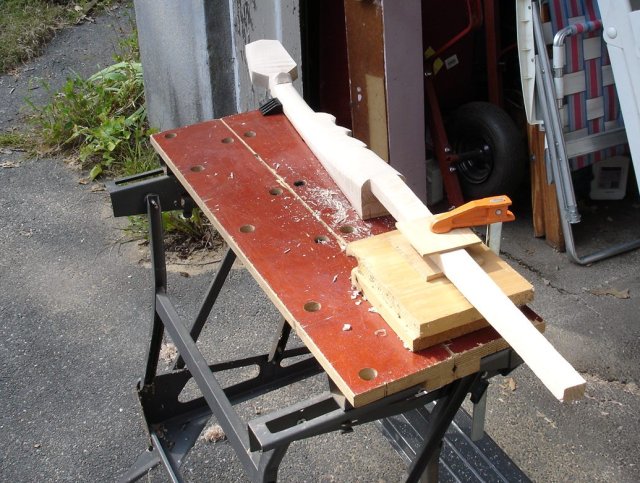
I stacked up enough pieces of scrapwood to fit under the tailpiece, and then clamped the tailpiece down to the stack. I also put a bench dog up at the peghead end to keep the neck from twisting as I work on it.
OK. Enough of that. It is time to carve the handstop. The handstop is partly decorative and partly functional. Its function is to let you know when your hand is up by the nut. Since many banjos do not have a handstop, and the players don't seem to miss it, the real function of the handstop is to be decorative. I decided that I want my handstop to be concave on the bottom and convex on the top.
In order to carve the concave part, I use my hook knife. This is a specialty tool for woodcarving that I bought many years ago when I was dabbling in that art. Here is a photo of it.
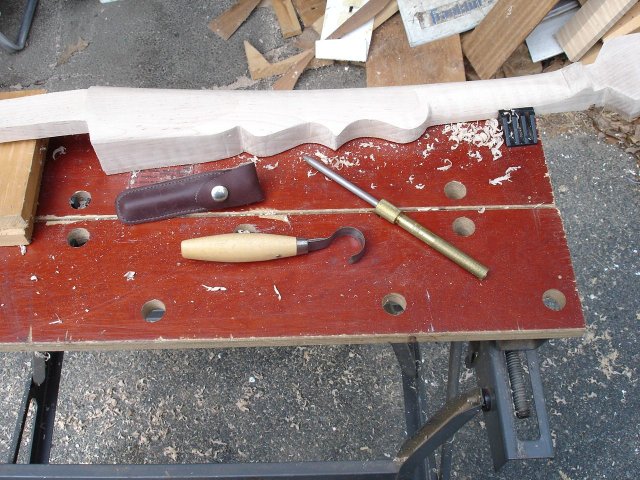
The tool in the right is a fishook sharpener that I use to sharpen the inside edge of the knife. I just use a fine diamond file to sharpen the outside edge. The use of the hook knive is fairly simple. You just use the edge to cut out the inside curve.
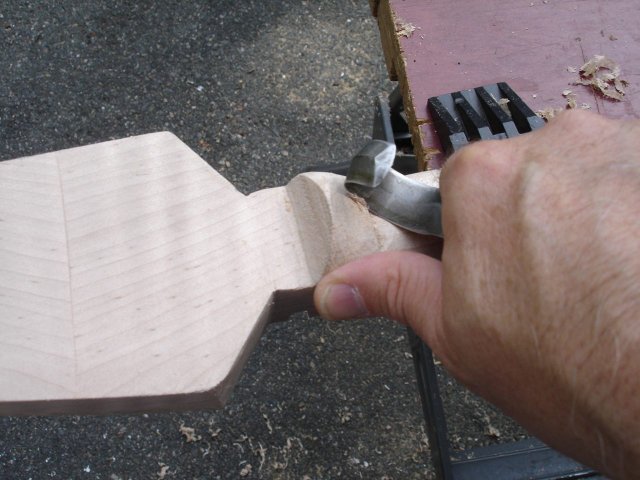
When I started this part of the carving it looked like it would be agonizingly slow since the knife only takes off a very small amount of wood at once. But in fact it only took a few minutes to do the whole job.
I finished up with the shoe rasp, some 80 grit sandpaper and... Ta Daaaa... my cabinet scraper....
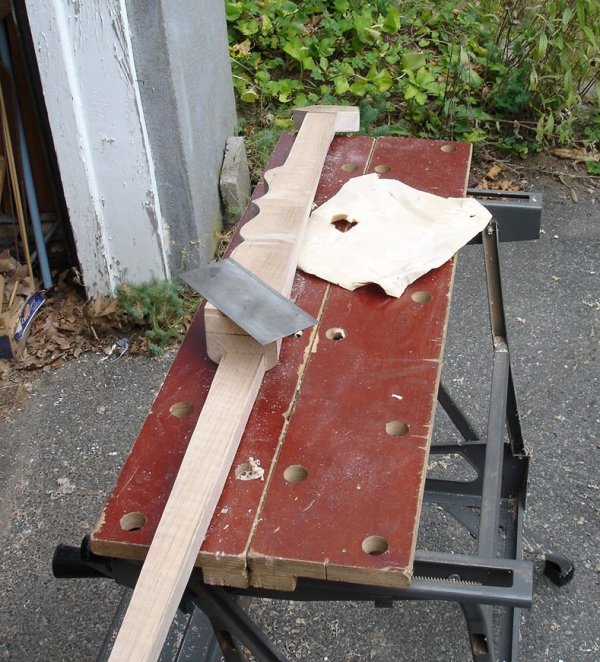
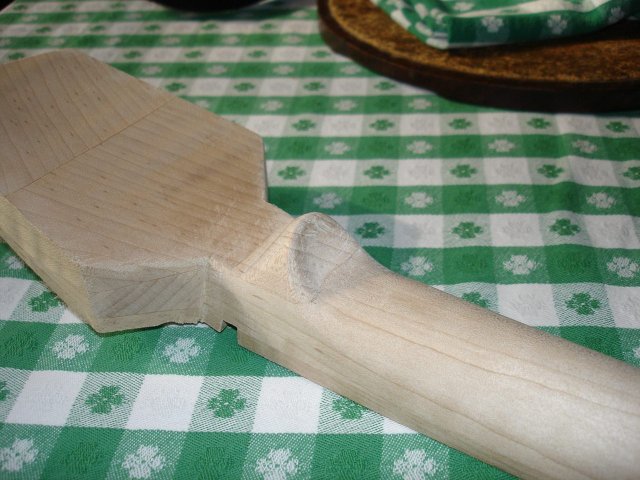
I took a look at it, and decided that it was done. Wow. Just like that, it is done. It isn't sanded smooth and ready to finish, but it is pretty much in its final shape. Here are some photos of the neck as it is.
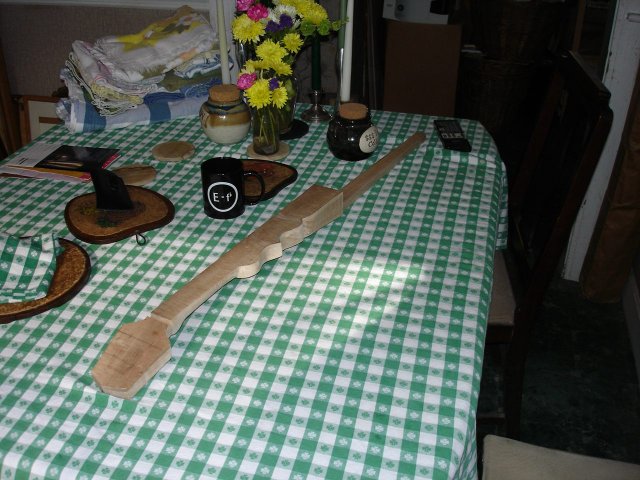
Top
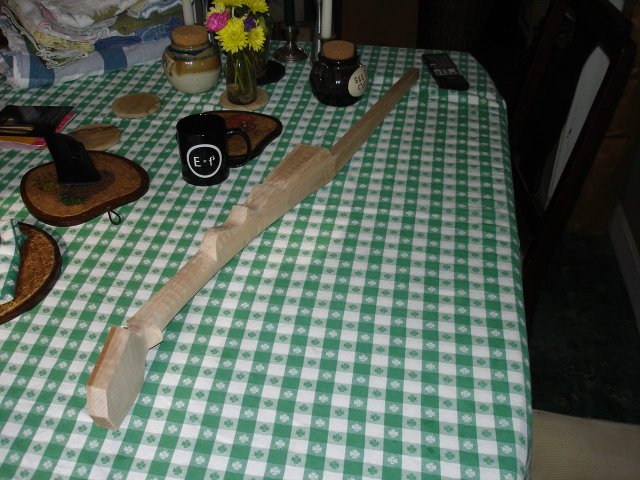
Side
Bottom
I am really kind of happy with the way the handstop turned out.
It took me about two hours and twenty minutes to do this work. I considered rounding it down to two hours because of bathroom breaks, etc. but then I reconsidered and decided to leave it at 2.33333 hours.