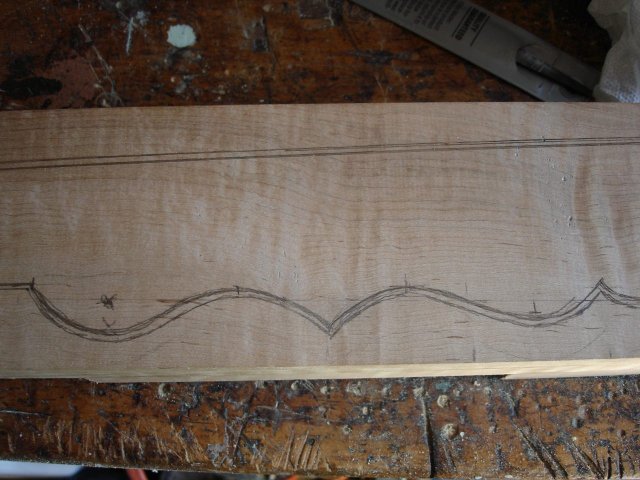
The next step is to cut the blank to the shape of the neck outline. I have chosen to do that dimension first to simplify the task of clamping the neck while I cut it. I decided to leave some extra space around the real outline of the neck so that there will be enough wood left after I cut it that I will be able to smooth the neck down to the real outline with the rasp. Here is a photo.
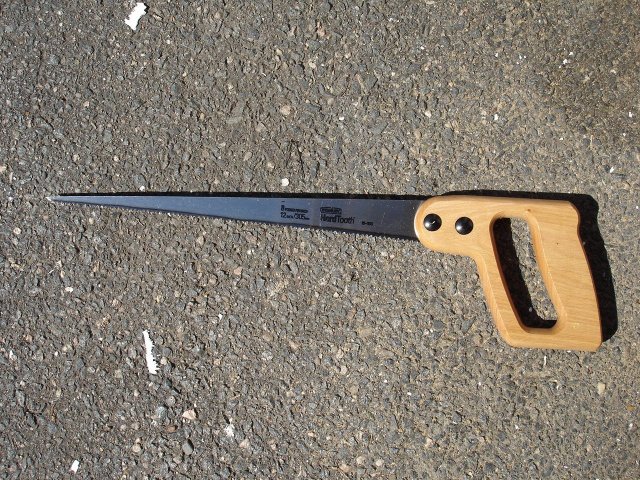
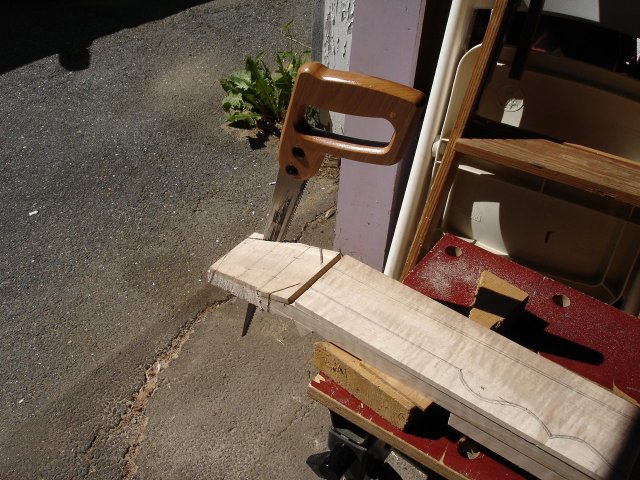
Since I don't have a fancy scroll saw I bought a compass saw to attempt this work. I don't know why it is called a "compass" saw, but it looks like it might be able to make the turns necessary for the curvy side of the neck. Here is a photo of the saw.
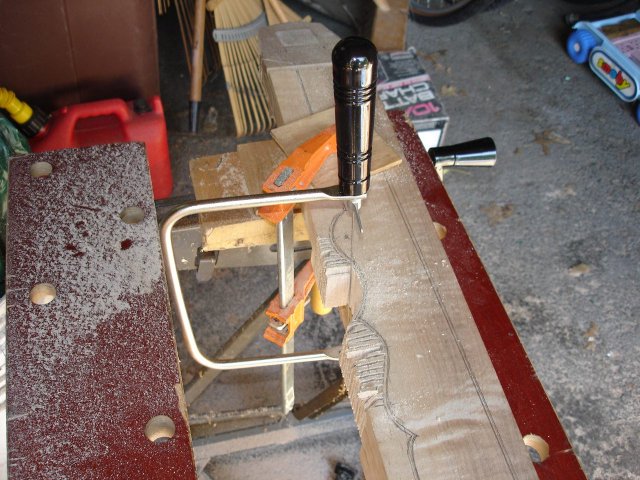
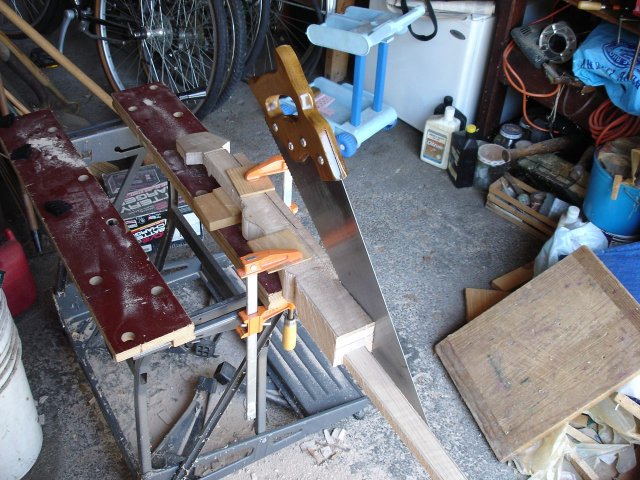
I clamped the neck blank into my Workmate® to begin cutting out the shape of the face. Here it is clamped.
When I tried to start the cut, I found that the compass saw just bound up in the kerf. I could not get the saw to cut because it was binding so badly. When I looked at it, I noticed that the teeth had no set to them at all. The "set" of a saw is the amount that the teeth are bent to the side in order to make the kerf just a bit wider than the thickness of the blade. If there is no set, then the kerf is too narrow, and the saw will bind.
I sharpen my own saws, so I happen to have a "saw set" in my toolbox. It is a tool that allows me to bend each tooth just a little bit to the side. I bend every other tooth to one side, and then turn the saw over and bend the other alternate teeth to the other side. Here is a photo of my saw set.
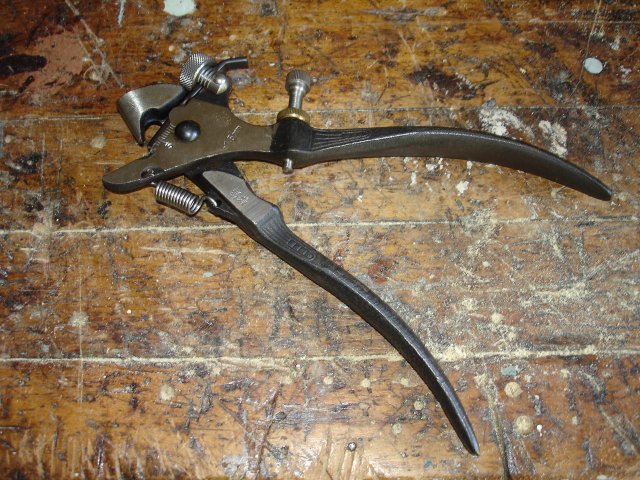
The jaw at the top of the tool presses down on the base of the saw tooth which sits on that lower jaw, thus bending the tooth by a precise amount. The old-timers would just lay the saw down on an anvil and tap every other tooth with a ball-peen hammer, then turn the saw over and do the other teeth. It takes a lot of practice to set a saw properly by hand, so I have this tool.
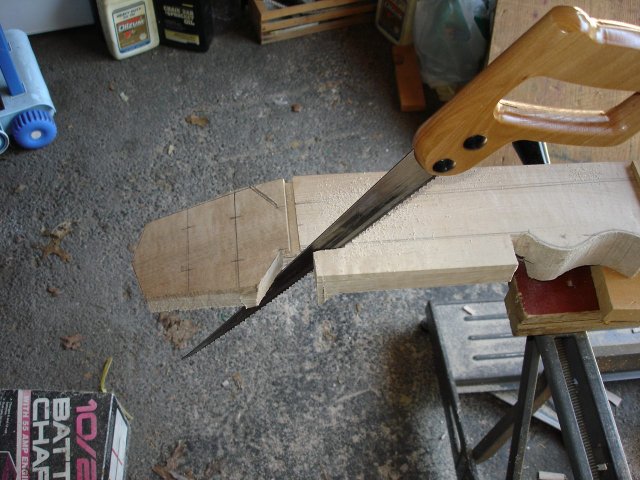
Once I had added some set to the saw, it worked pretty well. Here it is while I was cutting out the peghead shape.
Things were going along swimmingly when I suddenly suffered a brain cramp. I was moving the neck around to various positions and clamping it in place and I forgot to put the caul on top and clamped it naked. I noticed right away that I was being stupid, but it was too late, and I left a dent in the fancy fingerboard wood. Dang!
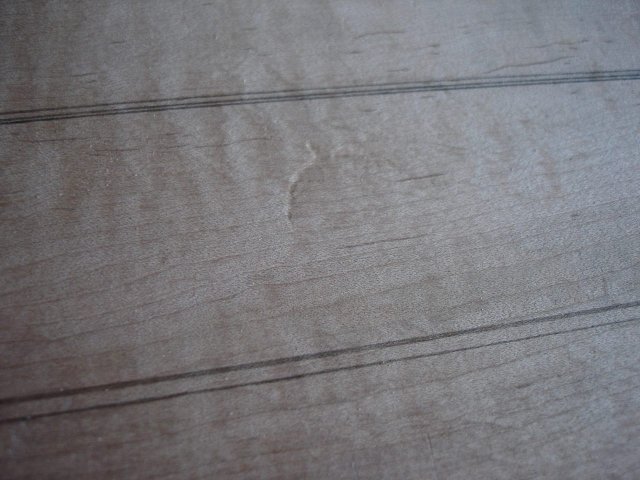
You can see the dent in the photo. Fortunately dents like this are just some crushed wood fibers. They can be removed by making the wood fibers swell up again with steam. I have done this before when I wacked a fingerboard with a mallet while installing frets. I just use my soldering iron and a wet paper towel to inject some steam into the dent.
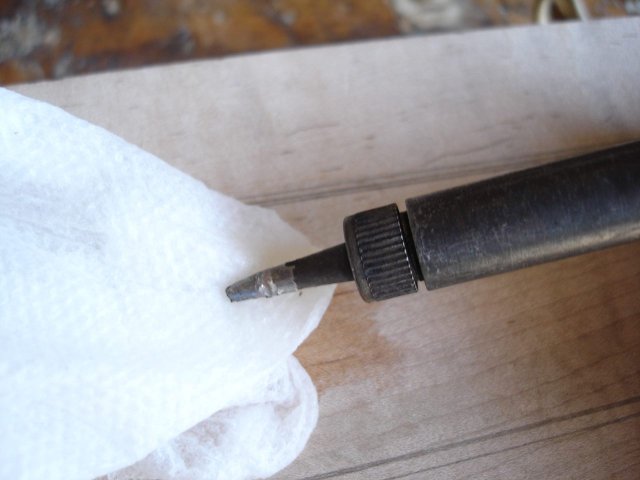
I put the wet paper towel on top of the dent, and then I touch the soldering iron to the paper towel just long enough to make some steam. You have to be careful not to hold the hot iron on the towel too long or you can char the wood. I just tap it several times to get the steam into the wood.
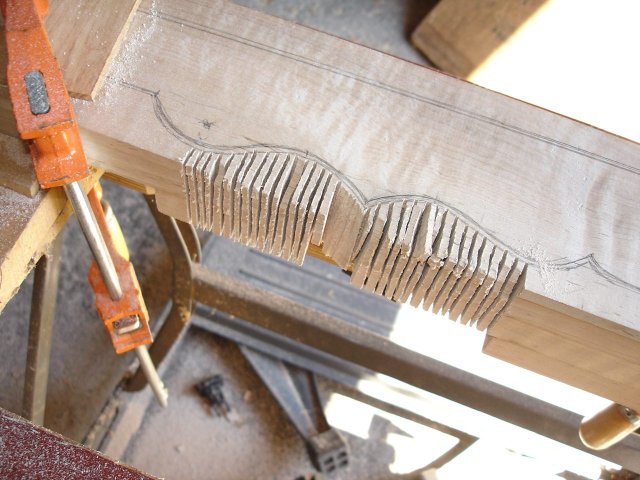
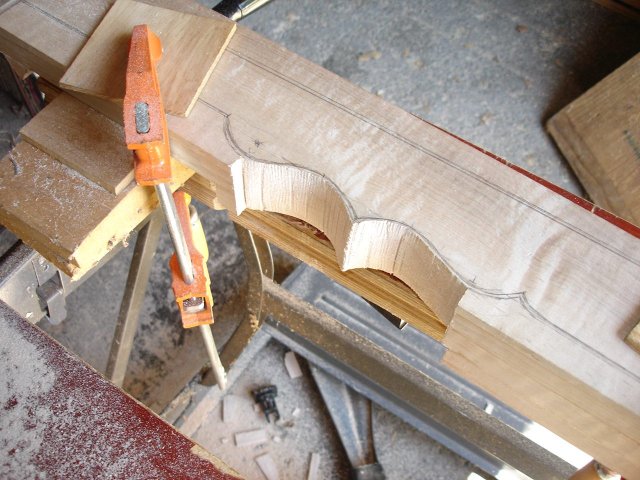
The compass saw proved to be inadequate to the task of cutting the scroll work on the neck. The wood is too thick and hard, and the saw blade is tapered. By the time I got enough movement up and down with the saw, the blade was too wide to turn the corners. So instead of that, I decided to hog the wood out in chucks using my panel saw. I cut a bunch of kerfs right up to the edge of the line, and then I broke out the pieces. Here are some of the kerfs.
Once I had the kerfs cut, I could break them out using my coping saw. The coping saw by itself would be no match for that hard, thick maple, but for breaking out the pieces it did OK.
Here is the result of my first efforts.
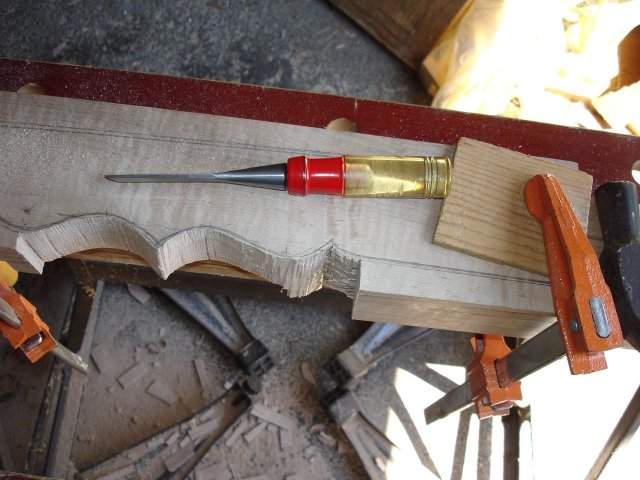
I hogged out some more of the curve down by the heel, but this time I broke out the pieces using my chisel. It made a nasty looking cut, but it was a lot faster than using the coping saw.
In order to do the straight part of that side up by the peghead, I had to get rid of some wood so that I could get a saw blade in there. I used the same technique of cutting some kerfs up to the line and then breaking them out.
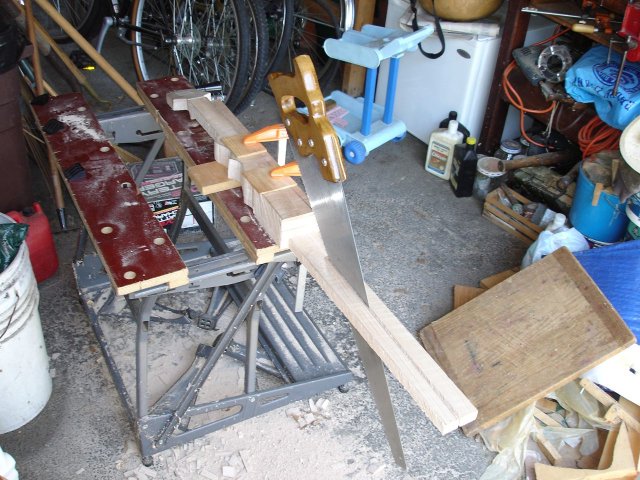
Once I had some space to start the blade, I just sawed out the straight part using the compass saw.
There it is. The curvy bits are done.
Most of the rest of it is straight cuts, which can be done faster with my rip saw. I cut the tailpiece pretty quickly.
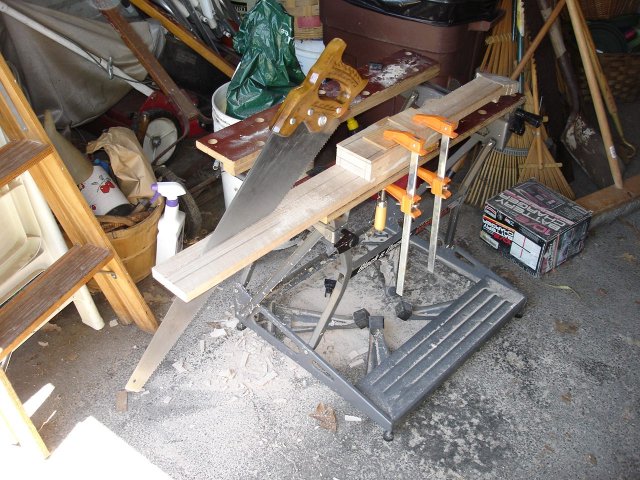
Here is the other side of the tailpiece.
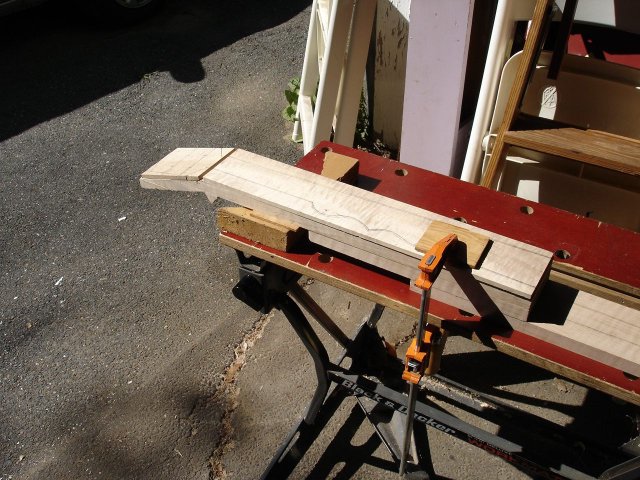
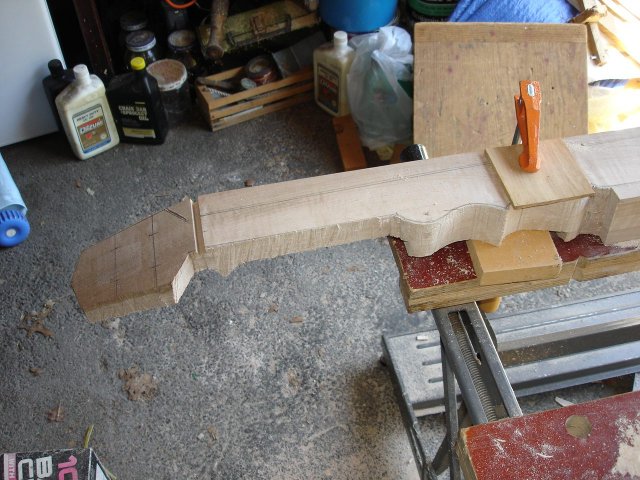
Here is how I cut down the straight side of the neck. Boy, clamping this thing is becoming a pain in the neck!
Here is the neck all cut out.

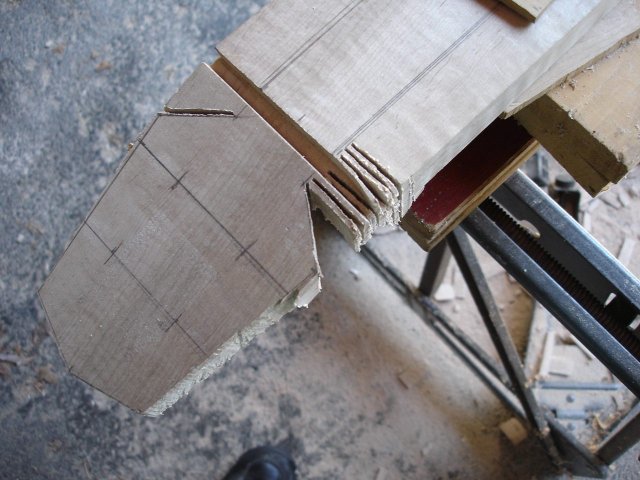
Just for grins I put the gourd on the tailpiece of the neck to see how it will look.

When the neck is done, I will cut two holes in the gourd and pierce the entire gourd with the tailpiece of the neck. The holes will be cut so that the top of the neck will be aligned with the top of the gourd. Then, the skin will be stretched across the top of the gourd, and we will have something that looks more like a banjo.
Cutting out the face of the neck blank took quite a while. I spent at least 4 hours on this part.