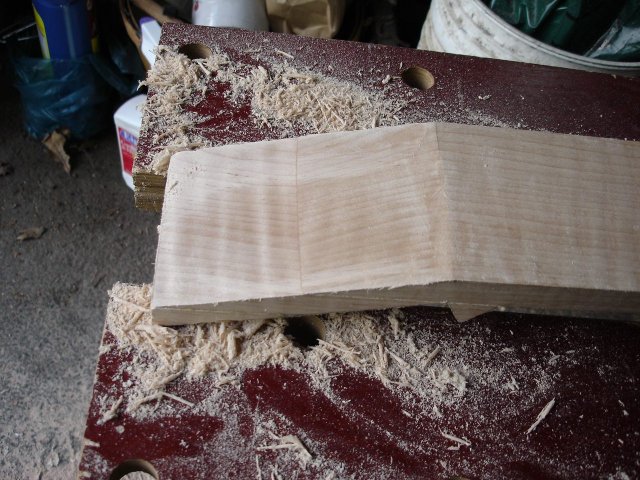
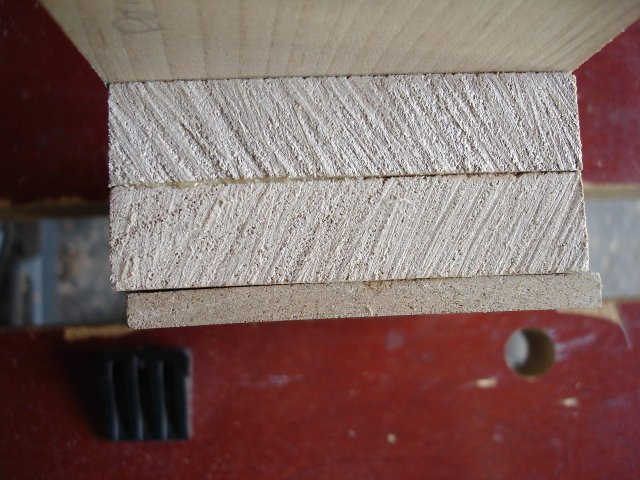
The next step is to glue the fingerboard and the peghead veneer down to the neck blank. In the photo below you can see why a peghead overlay is necessary.
You can see the line where the boards that make up the neck blank come together. You can also see that the grain reverses direction. The grain reversal is not intentional; I was just not careful enough when I glued up the neck blank to make sure that the direction would not change. Some people would say that changing the direction of the grain in the neck will make the laminate more stable, but it still does not look very nice.
When I was poking around in the hardwood bins at Lowes I found a 1/4 inch board that had some fancy figure in it. I plan on making the fingerboard and the peghead overlay out of that one board. It is 3.5" X .25" X 24" in size.
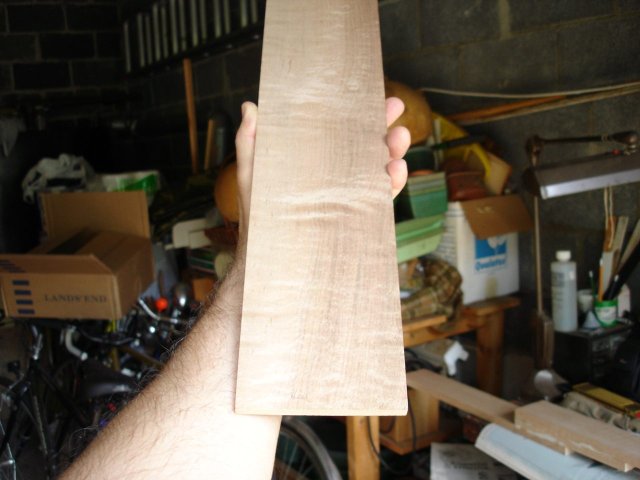
Nice figure.
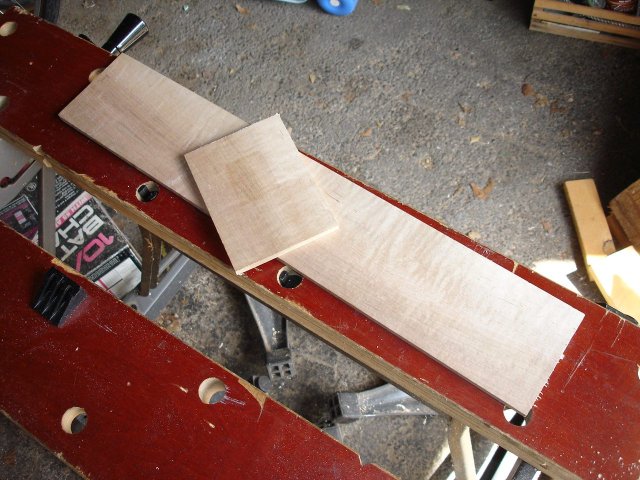
I cut off a 19" section of the board to be the fingerboard. That is the length that the neck will be from the gourd to the nut. The rest of the board (5" of it) will be the peghead overlay.
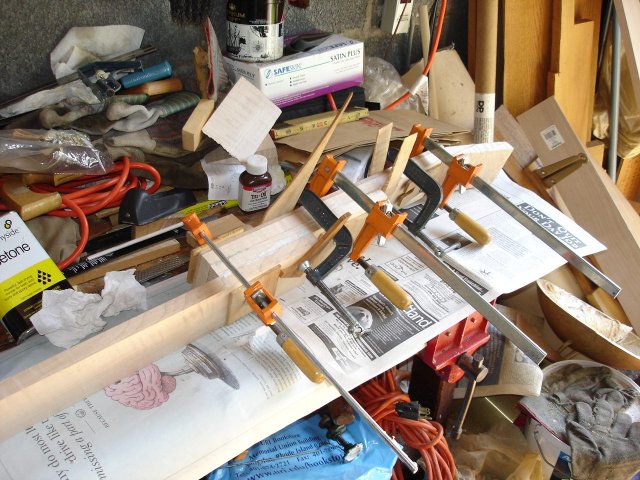
I glued the fingerboard first. Here is how I put the glue on.
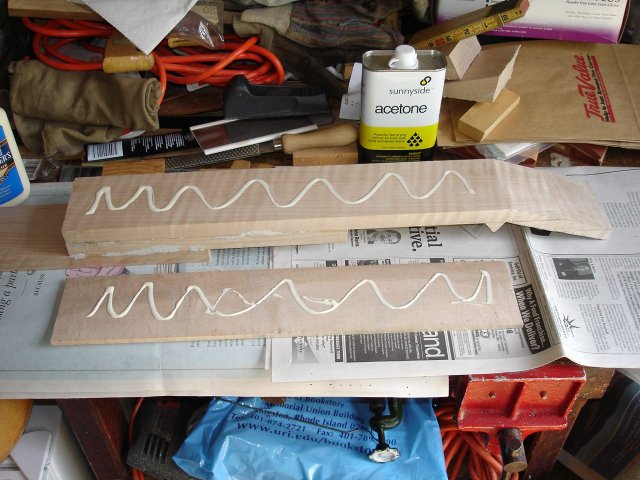
I spread the glue thinly using my fingers so that all of both surfaces were covered with a thin coating of glue. I want to have enough to make a strong joint, but not so much that the boards will slide around. Then I stuck it down and aligned it and clamped it.
While the fingerboard glue dried, I decided to spray the inside of my gourd to keep the moisture out. Whether to finish the inside of a gourd or not is a matter of preference, but I decided to go ahead and put a coating on it to be safe. I procured a can of clear acrylic finish to do this with.
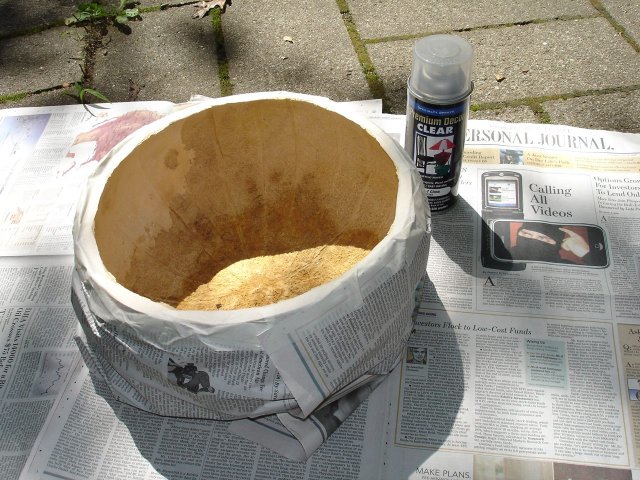
I masked off the entire outside of the gourd for this using masking tape and newspaper. I do not want to get any finish on the outside of the gourd yet because I will have to glue the head down to it, and I want that to make a good, strong joint. I will finish the outside of the gourd once the head is on it.
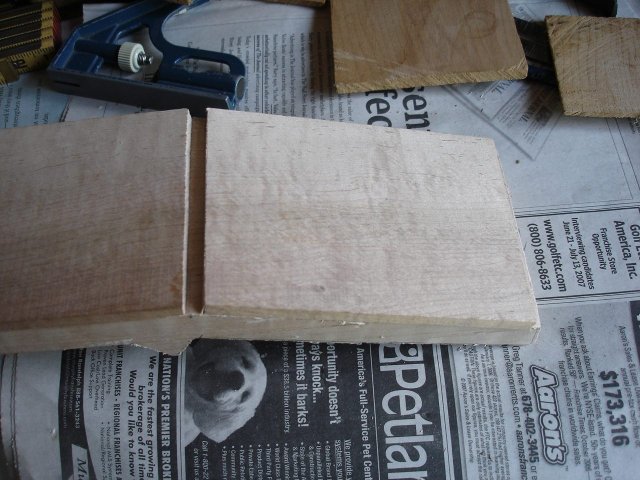
After the fingerboard glue was dry, I unclamped it and took a look. Shoot! The board moved. In spite of my best efforts to keep the two boards aligned they moved. Look at this!
That's the fingerboard down at the bottom. Looks like it has slipped about a quarter of an inch. I don't think that this will be a problem in the end because I will be cutting off more than that when I shape the neck. But this is a close call for sure.
I glued down the peghead overlay the same way. I was more careful, so I had better luck. The trick is to keep re-aligning the boards until the glue is tacky enough that it won't slip - then clamp.

I left slightly more than 1/4 inch between the fingerboard and the peghead overlay for a place to put the nut. This also made it possible for me to cover most of the fingerboard surface with the overlay. The overlay is only 5 inches long, and the peghead is longer than that. I will make up the difference when I cut out the final shape of the peghead. You can see a slight underhang in the photo below.
I spent about two hours putting the fingerboard and the peghead overlay onto the neck blank. That does not include the drying time for the glue, but it does include the time to coat the inside of the gourd with the acrylic.