The blank for the neck is now glued and dry. I must begin to cut away everything that does not look like a banjo neck.
I gave some serious thought to the sequence of cuts that I will make to cut away the wood. The issue is that clamping the neck down will become more difficult as it approaches the final shape because it is difficult to clamp round things securely. I decide that I would cut the peghead angle first since that will be a difficult cut, and it will be relatively easy to clamp the neck down in its current square shape. My plan, based on the clamping requirements at each stage, is this:
I am sure that there will be lots of surprises along the way.
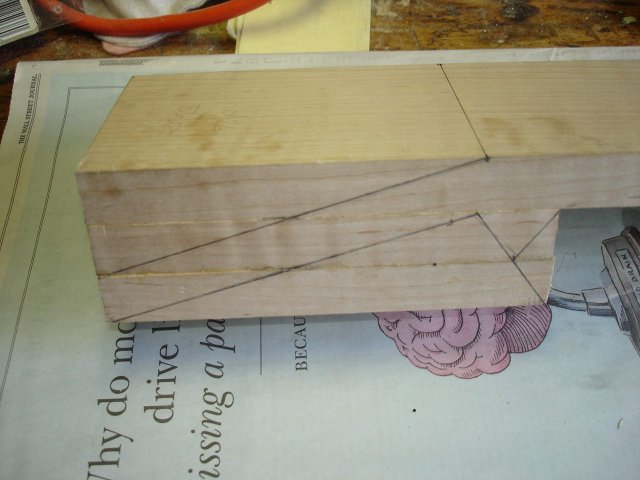
I drew the shape of the peghead onto the laminated, peghead end of the blank. The peghead has to come off of the neck at an angle in order to apply a downward force on the strings to keep them in the nut slots.
Doing this drawing was really easy since I had the standard thickness of the boards to use. I just measured the neck length of 19 inches from the heel to where the peghead starts, and then I used a rule to draw the top line down to the top of the third board. The bottom line is done the same way from the bottom of the third board to the bottom of the first board. The triangular piece on the right hand side will turn into a handstop at the base of the peghead (I hope).
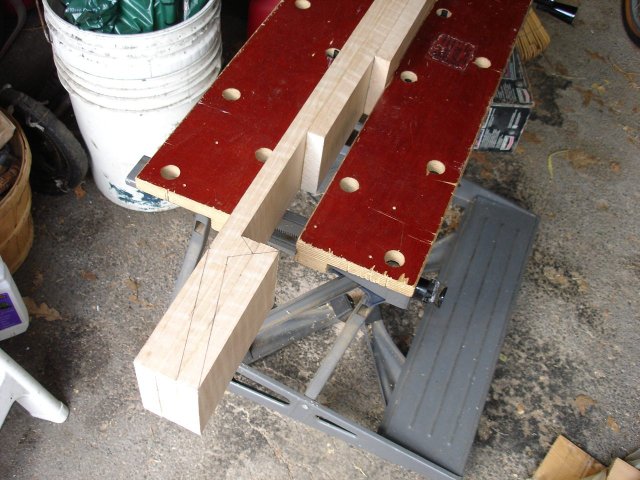
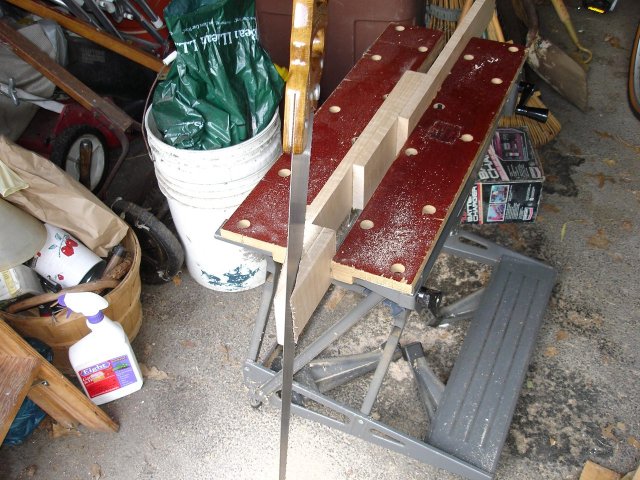
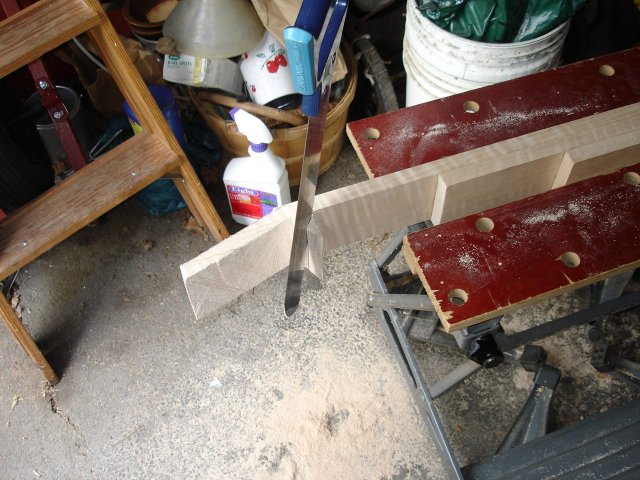
I clamped the piece in my bench to make the cuts. It is pretty well clamped because it is still a square piece of wood.
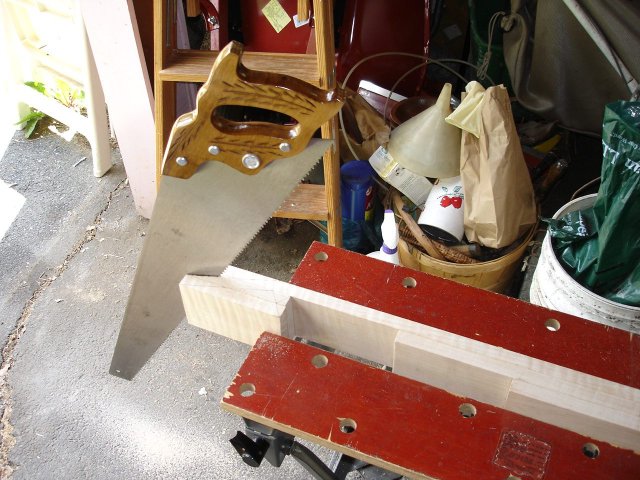
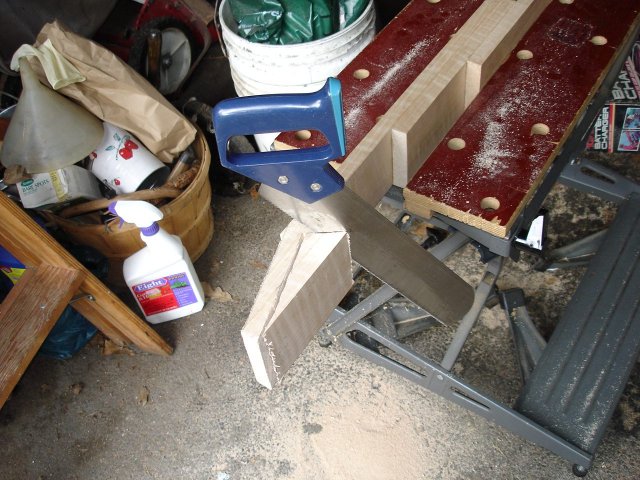
I made the first cut along the top line of the peghead. I just used my ripsaw for this cut.
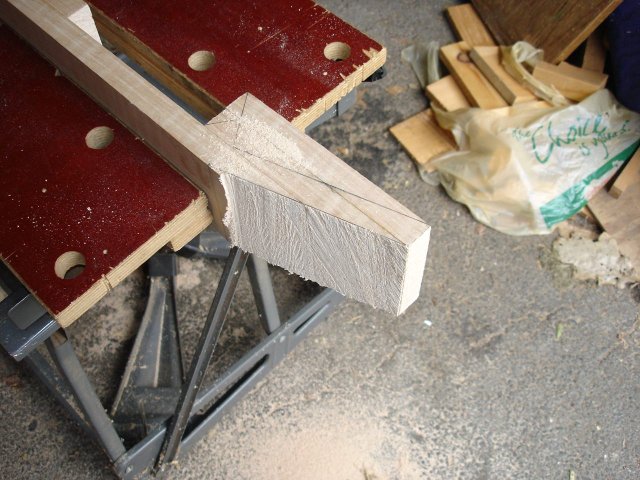
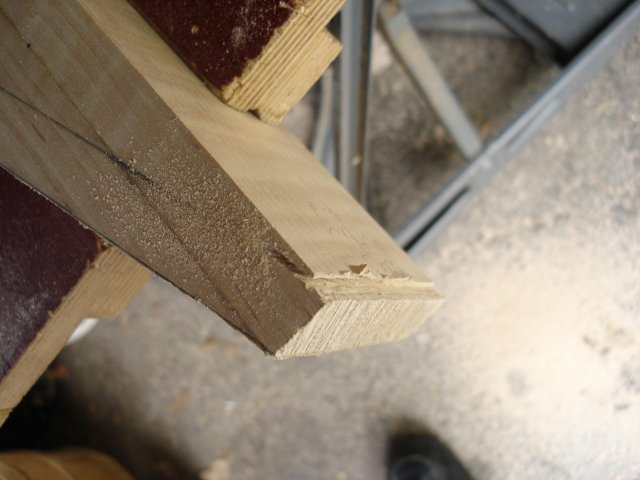
Here it is after I finished the cut. Ugly breakout where the saw came out.
The next cut was more difficult. Getting the saw started on the pointy end required some work. I hacked away at it using my panel saw and chisel until I had made a place where I could get some grip with the rip saw.
Once I got the saw started, it was just a sawing job.
Then I used the panel saw to cut one side of the handstop.
That left it looking like this.
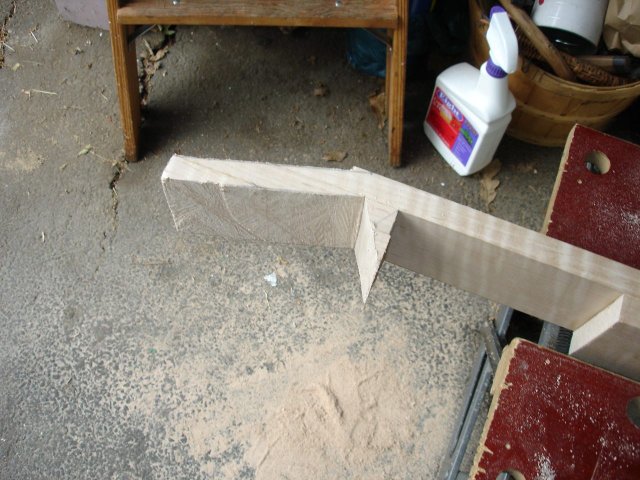
I cut the next side of the handstop.
And there it is.
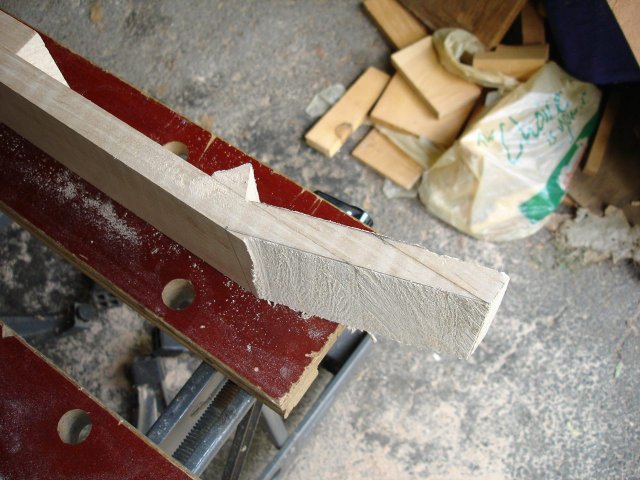
Here it is from the top.
That is a pretty jagged breakout on the top. I need to make the top of the peghead flat and smooth since I have to glue the veneer to it. I did the flatening using my cabinet scraper. Sharpening the scraper is a tricky business. It involves filing down the edge of the scraper so that it is absolutely square, and then using a burnishing tool to roll a wire edge on the sides of the scraper. Here is a photo of me filing the edge.

I just used the tail of the file for a burnshing tool because I was too lazy to go inside and find the real one. Schematically, this is what the edge of the scraper should look like when I am done sharpening it.
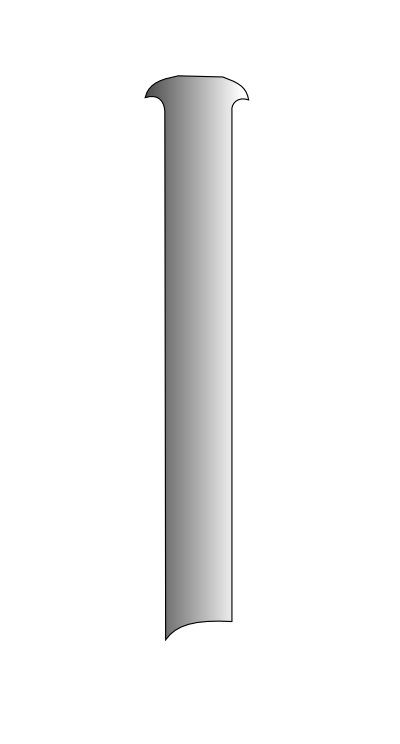
The edges in the drawing are exaggerated. Those hooks are the sharp edges that slice the shavings from the wood. The scraper is used upside down from its orientation in the drawing, with the hooks down against the wood.
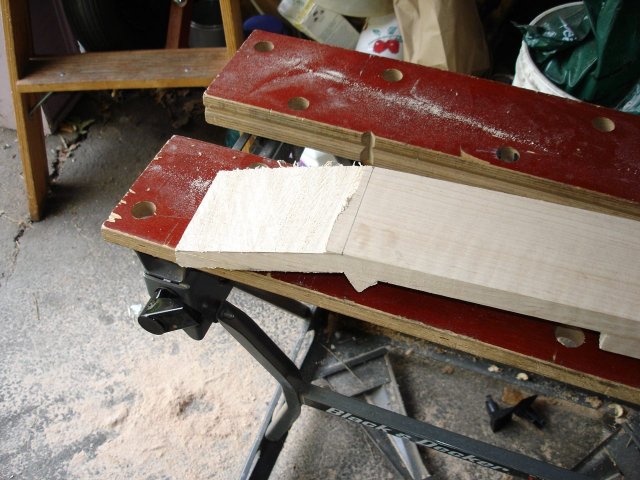
It took a long time with the scraper to remove all of that rough wood, but it was a lot quicker than the rasp or sandpaper. Here is the result.

When properly sharpened, the cabinet scraper takes off tiny little shavings of wood. If it makes sawdust then it is dull. You can see some of the shavings in the photo above.
It took me about two hours to cut out the peghead. I spent an hour doing the saw cuts and an hour scraping the top of the peghead flat. It surprised me that it was only two hours because it seemed like it was longer than that.