The first thing that you need for a gourd banjo is a gourd. It would not be possible for me to grow a large enough gourd up here in frozen Massachusetts since our growing season is too short. So I was stuck with buying a gourd.
I asked about buying gourds for banjos on some of the banjo forums and the answer generally came back that I ought to look into Welburn Gourd Farm out in California. You can see what they have at their web page http://www.welburngourdfarm.com/. I liked what I saw and decided to get my gourd there.
Because of all the handwork required to sort through the gourds and pick out the ones that are the correct size and shape for a custom order, Welburn has a minimum order of $100. In the early Spring you can purchase a pre-boxed set of gourds for less, but I called too late and they were sold out of those. So I told them that I was making a banjo and I needed gourds from about 11" to 13" in size. I ordered canteen gourds since those are a good shape for making banjos. I also told them that flatter would be better than taller.
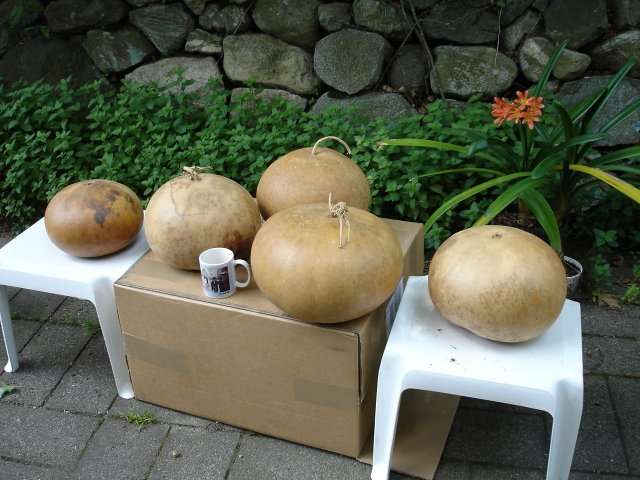
After a couple of weeks the gourds arrived. They ended up costing about $155 for the box with the shipping included (it was a big box!). Here are the gourds I received, sittting on top of the big box. I also had the folks at Welburn clean the gourds before shipping, which added a little to the cost.
I put my coffee mug next to the gourds so that you can get an idea of how big they are. They sent one 11", two 12", and two 13" gourds. All of the gourds are good. They are nice and dry, and they rattle when I shake 'em.
Cleaning the gourds involves scraping the mold off of the outside which invariably grows on them as they dry. There is also an outside skin that is removed. I did not want that mold being shipped to me so I had the folks at Welburn do the cleaning.
Even though the mold has been cleaned off, there is a possibility of it coming back if any of the spores have been left on the gourd. To avoid any problems in the future, I swabbed all of the gourds down with white vinegar. Some people use bleach for that job, but I did not want to chance bleaching out the patterns on the gourd so I used vinegar. Some people say that vinegar is actually better for killing the mold than bleach.
After I swabbed the gourds with vingar, I spent some time contemplating them to see if any one of them jumped out at me to be my first victim. Finally, I chose one of the middle sized gourds, the one in the middle on the back of the box. Here is a closeup of it:
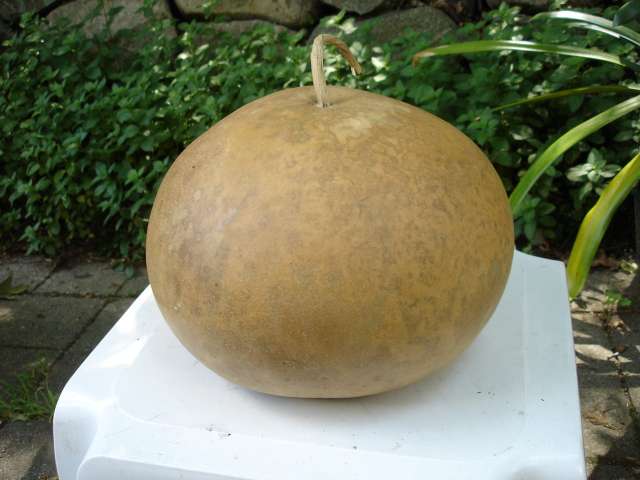
It is nearly a perfect shape, and it has some nice patterns on it from the mold.
The first thing I have to do to the gourd is to cut its top off. I want to make it an even cut that is parallel to the bottom of the gourd so I made a little jig to help me mark where to cut. Here is a photo of it.
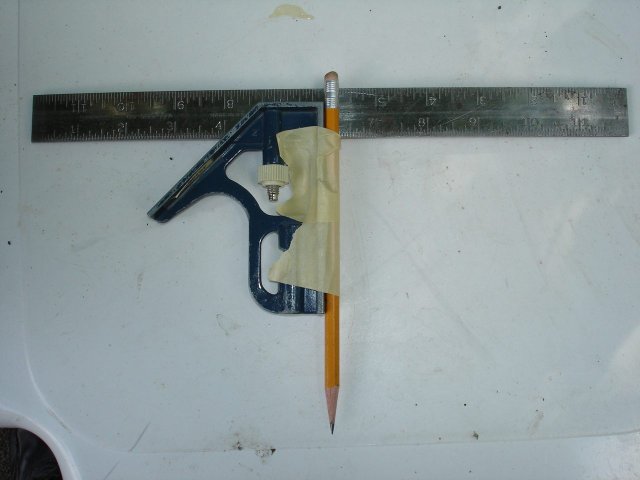
It is just a pencil taped to my try square with masking tape.
I clamped the marking jig into the vise on my workbench, and then I placed the gourd flat on the top of the bench and spun it around while the pencil made its mark. I drew the mark about 1/3 of the way down from the top. The location of the cut is a guess. I want it down far enough to make a large enough hole for the skin, but I don't want to cut it down so far as to weaken the gourd; it has to stand up to the tension of the stretched skin.
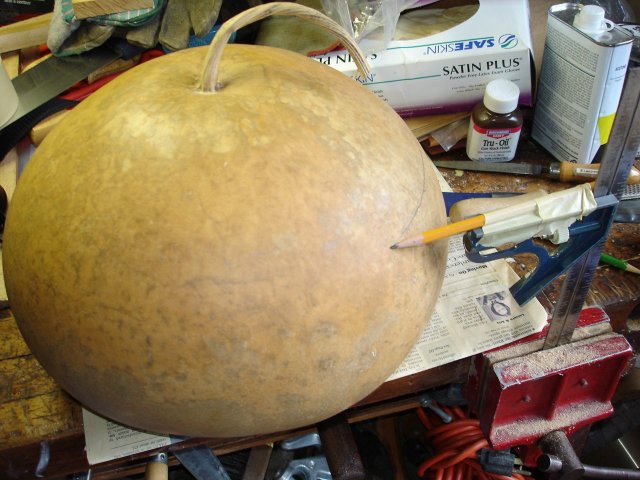
This was actually trickier than it looks since the gourd is not perfectly even. I went around the gourd a couple of times and ended up with the mark not lining up with where I started. I simply had to take special care not to let the gourd wobble as I spun it, and I finally got a pretty clean line out of it.
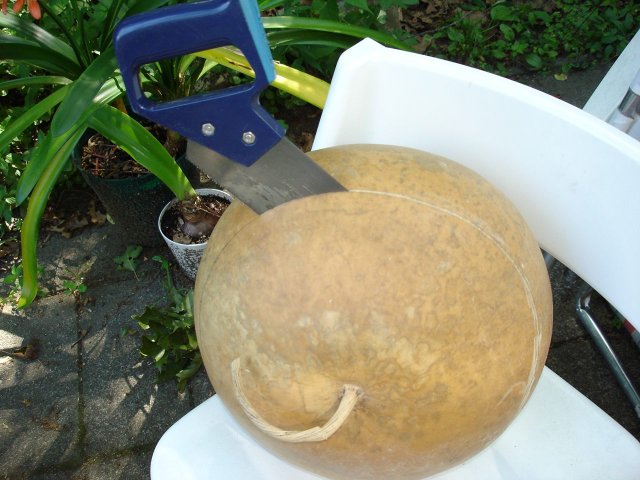
Then, I got out my panel saw and just started sawing.

I use my panel saw for just about everything. It is called a panel saw because it is used to cut holes in paneling that is already mounted on a wall. It has teeth on the curved end which can be used to start a kerf in a flat panel, and once started, the saw can be used like a regular saw to cut the hole.
I did not need to use the curved part of the saw to do this work since the gourd is round. I just started sawing on the line. After I had broken through the side, I could bury the nose of the saw in the gourd and just saw around it.
After I had cut all the way around and popped the lid off, here is what I found.
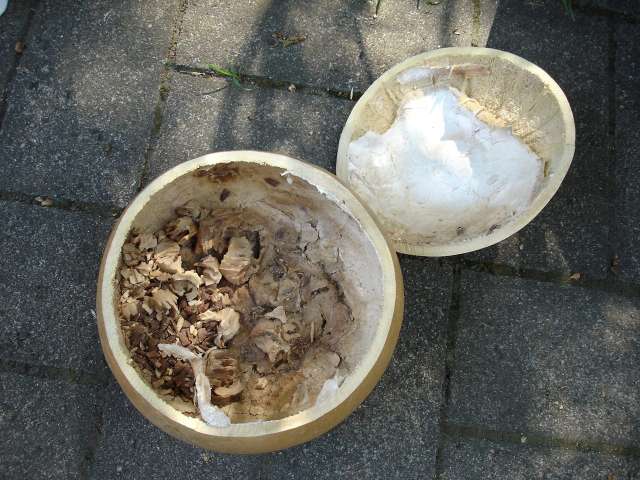
Gourd guts! Ewww.
At least the gourd guts are dry. It is just a bunch of seeds and the supporting membranes all dried out. It is like a pumpkin, only dry and hard. I got a whole cup of gourd seeds out of this thing, so maybe I will try growing gourds some time. You never know what is going to happen.
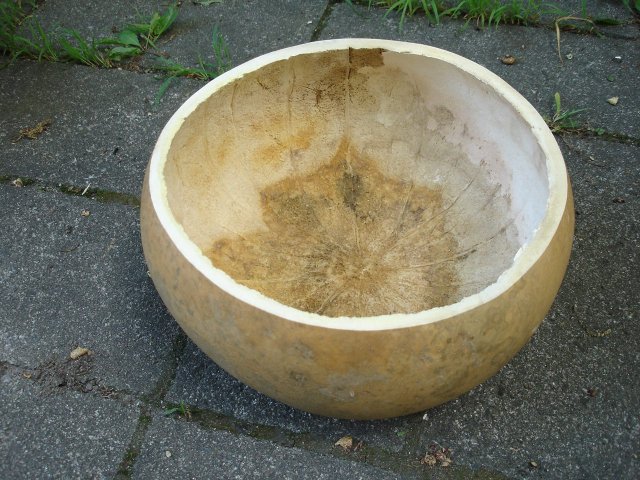
I wore a dust mask while I scraped out the inside. People in the know say to wear a dust mask any time you are working on a gourd to keep the mold spores and gourd dust out of your lungs, so I did. After I scraped out the guts, the gourd looked like this.
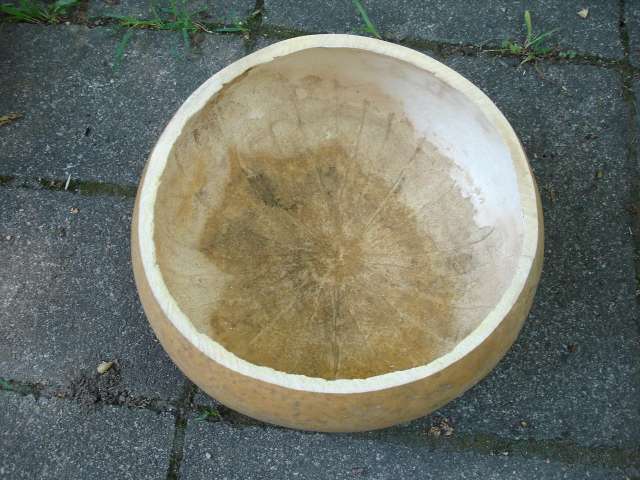
That is way better!
To scrape the inside clean, I used my fancy cabinet scraper.
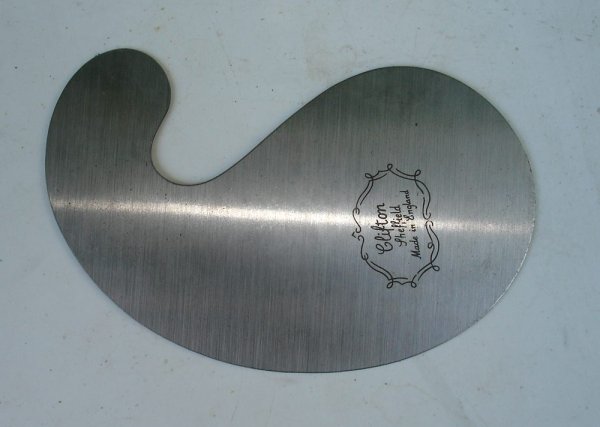
This is just a flat piece of steel cut to that funny shape. Scrapers come in all sorts of shapes. This one is for scraping out the flutes and scrolls on fancy furniture, but since I never make fancy furniture I figured that it was OK to use it for scraping out gourd guts. I use my rectangular scraper all the time for finishing up wood projects.
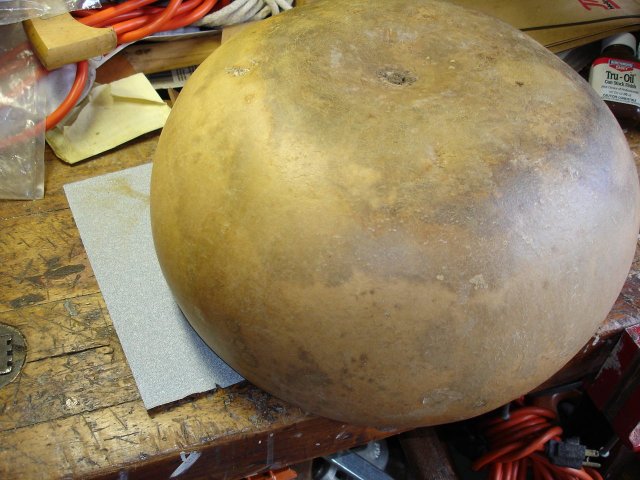
I have read that it is a good idea to sand the saw line flat before mounting the skin on the gourd, so I did that. I put a sheet of 80 grit sandpaper down on the bench and pulled the edge of the gourd across it. Some people say that you should glue the paper down to the bench and then move the gourd around on it, but I did not bother doing that. I just put the gourd down on the paper
and held down one edge of the paper while I pulled the gourd across it like this:
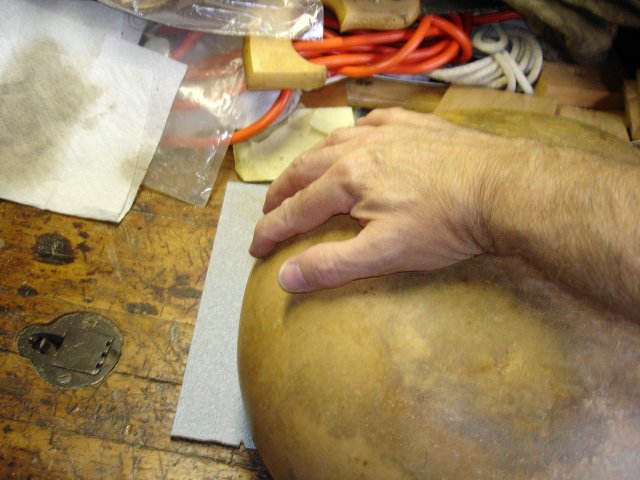
When I was actually doing it, my left hand was holding down the sandpaper at the left edge, but for this photo my left hand was holding the camera. Here is the result of this effort. It looks pretty flat to me.
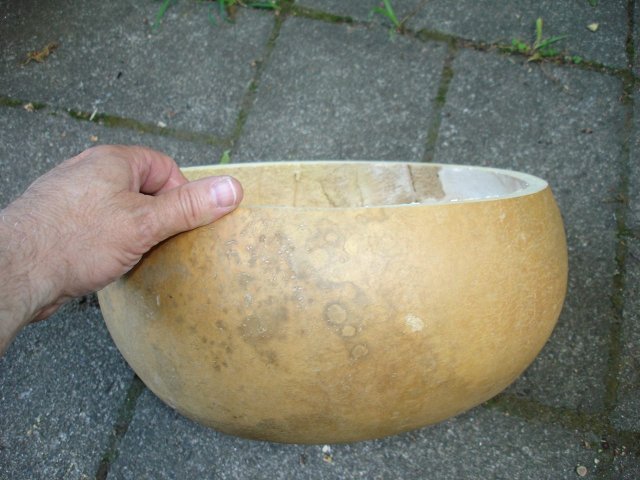
And here is the gourd again, all cleaned and flattened.
It looks about the same as in the "cleaned out" photo, but the edge of the cut has been dressed. I also took my shoe rasp and relieved the inside of the edge a bit to keep the skin from buzzing on any high parts.
That is about all I can do on the gourd for now. Cutting the holes in it to fit the neck would require a neck, so I put the gourd aside for now. It took me about three hours to do this work, including wiping down the outside of the gourds with vinegar.