
Now that the gourd has been decapitated and gutted, I am going to make the neck. I cannot do anything else with the gourd until I have the neck because the next step with the gourd is to cut two holes in it for the neck tailpiece to pass through.
In order to save some time and money, I have decided to make the neck out of laminated boards instead of one solid piece of wood. Since I can laminate the boards into a shape that looks sort of like a banjo neck, it should also make the cutting of the neck a bit simpler. It is a lot easier to find dimensioned lumber than it is to find specialty wood in sizes large enough to make a neck.
Here is a drawing of my basic plan for making the neck blank out of regular hardwood lumber. The peghead will be cut at an angle from the parts on the left side of the drawing, and the tailpiece will be cut from the boards at the right.
The neck blank will be glued up using sections of 1 X 4 lumber as shown in the picture. The drawing above is done to scale.
After searching unsuccessfully for hardwood lumber at a lumber yard, I finally found what I needed at Lowes. I had gone into Lowes for some parts and I just happened to walk by the hardwood section to see if they had any cherry wood. My original plan was to make the neck out of cherry.
The big box stores generally have a pretty pathetic supply of hardwood, but I thought that I would take a look anyway. Here is what I found.
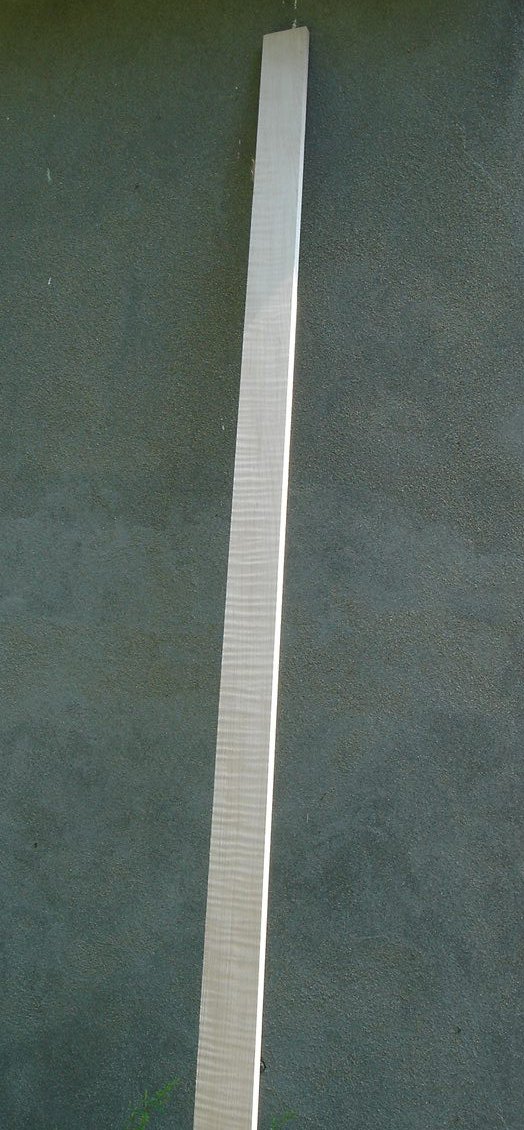
Dude, that is curly maple! Click on the image to see a full sized version and you can see the curl. I could not believe how much curl was in that board, and it was not any more expensive than the rest of the boards, which were all straight grained.
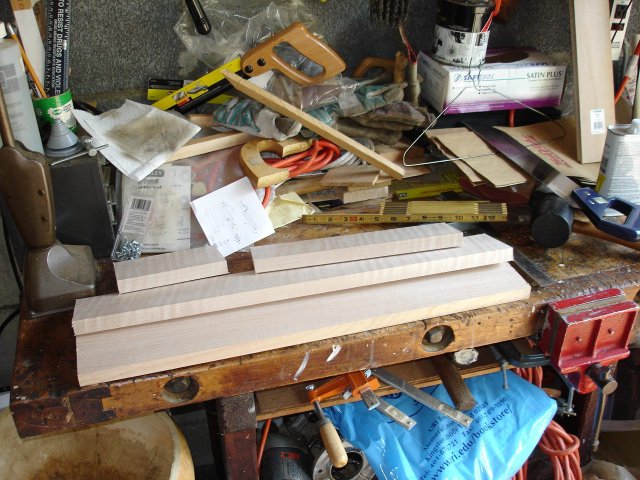
I measured the pieces from the diagram on the board and cut them using my panel saw. Here is a photo of the pieces after I cut them out.
Here is what the pieces look like when stacked together as they will be glued.
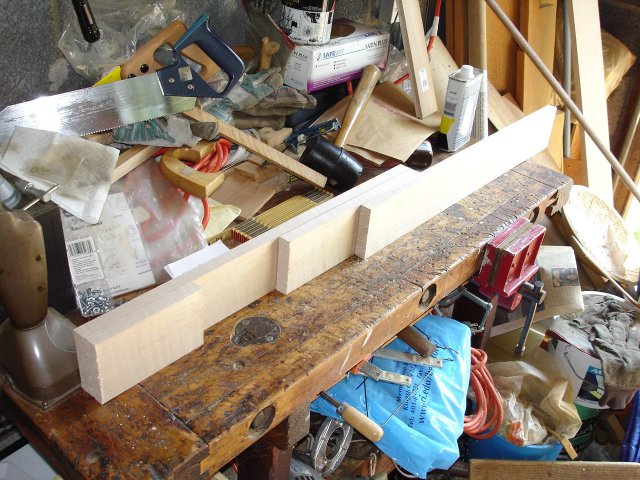
I don't like the look of that peghead area. It looks way too shallow. I think I will add a second layer to that end. So, I cut another piece of wood 6 inches long. Here is what it looks like now.
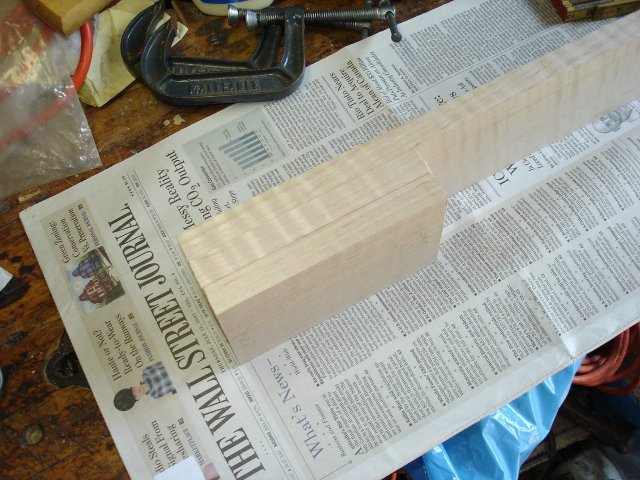
I like the way that looks better. It doesn't follow the plan, but one of the joys of making a banjo like this is that I am not bound to a plan. I can make it look like what I want it to look like. Let's start glueing the pieces together to make the blank. First, I will do the first peghead piece.
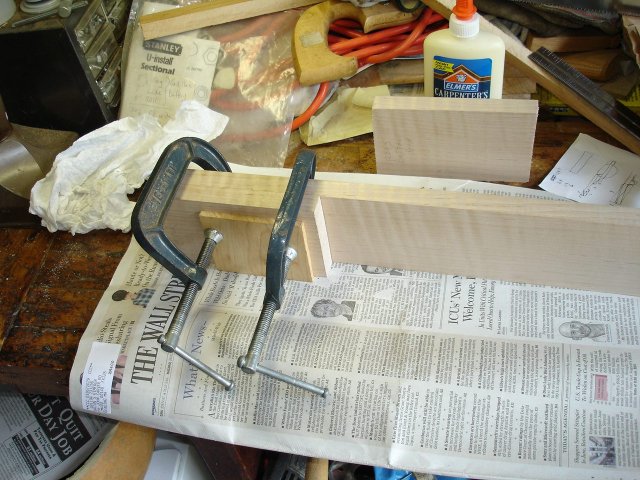
I spread some Elmer's Carpenter's® glue on both pieces of wood and clamped them together with some cauls to protect the wood from being marked by the clamps. The glue is slippery when it is wet, so I stayed around and made sure that the pieces did not slip out of place until the glue had dried enough to keep them in position. Next I put the 12 inch piece on the heel end.
I have enough clamps that I could glue this piece on before the other one has dried. However, at that point I must stop until the whole thing is dry before I can attach any more wood.
After a few hours I glued the second peghead piece onto the first one. Here is how I applied the glue.
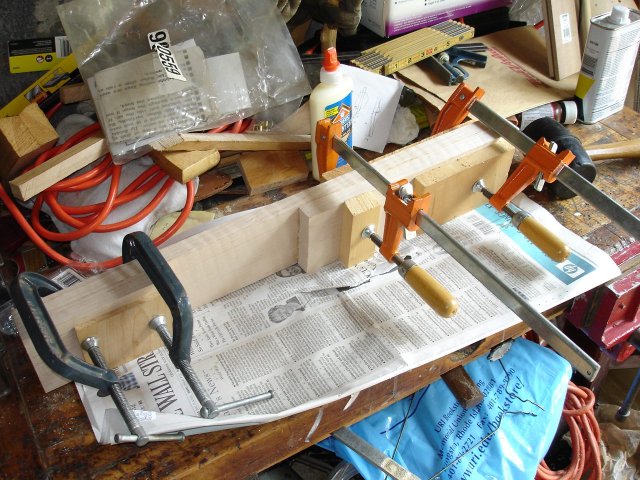
After putting the glue on like that, I rubbed it into both boards with my fingers. I tried to get a very even coating of glue while removing any extra. Here is the second piece clamped to the first.

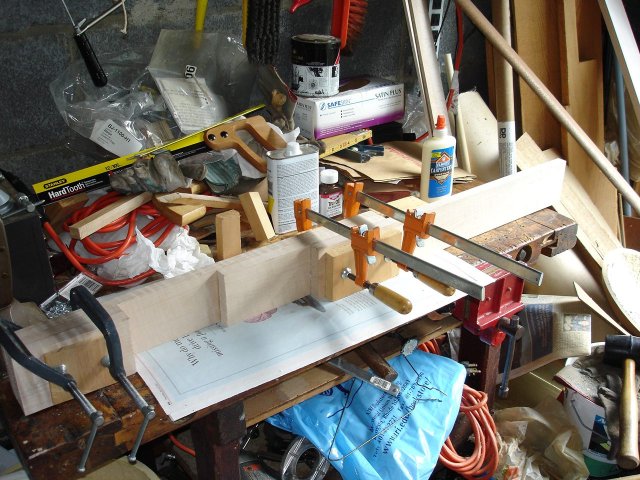
Finally I glued on the board that will become the tailpiece.
Here is a photo of the neck blank after all the glue has dried.
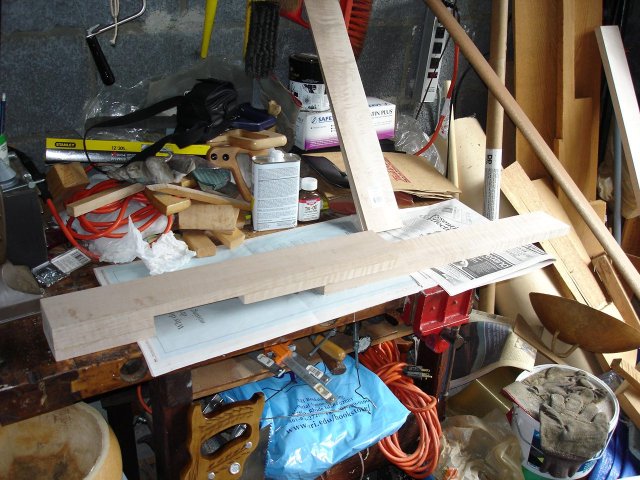
It doesn't look much like a banjo neck yet, but there should be a neck somewhere inside all of that wood. It took me about two hours to do this work if I count just the time I spent working and not the time I spent waiting for the glue to dry.