I have taken the neck as far as I can go before I drill the pegholes. I want to put the peg holes in it before I take it down to final finish. Unfortunately, I have never done this before, and I have no pegs, so I think I will go off on a short tangent and make some pegs.
Um. I have never made any pegs before either, so this should be interesting.
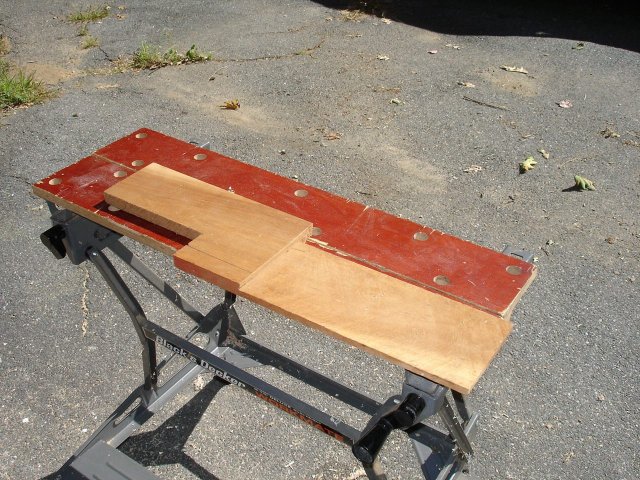
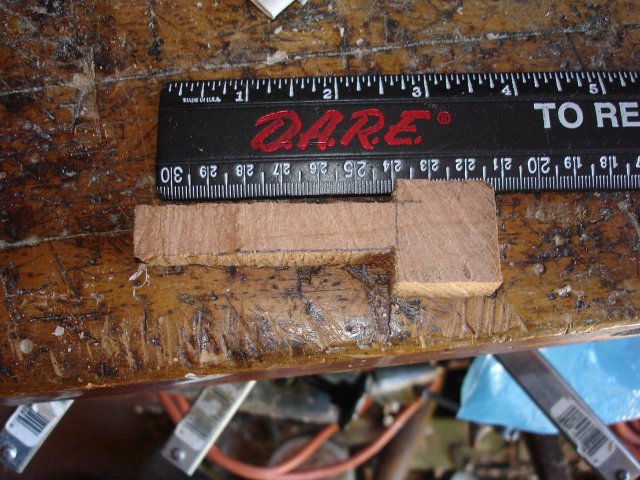
I am going to make the pegs out of cherry wood, partially because I have a chuck of cherry lying around, and partially becauase I really like cherry. Here is a photo of the board I have.
You can see that I chopped it up pretty well during a previous project, so it isn't useful for much except small stuff. If you look closely, you can see a pencil line on the front of the board where I will cut out a peg blank.
After measuring the pegs on my minstrel banjo (which are standard violin pegs) I decided that I would make my peg blanks 3.5" X 1" X .5". That should allow me to carve a peg which will be the right size for the peghead I have made on this banjo (it is a bit thicker than they normally are).
I didn't take any photos of it, but I actually sharpened my ripsaw for this. I figure that I will be ripping a bunch of small pieces of wood, so it will help if the saw is sharp. Here is a photo of the saw as I ripped off the blank from the board.
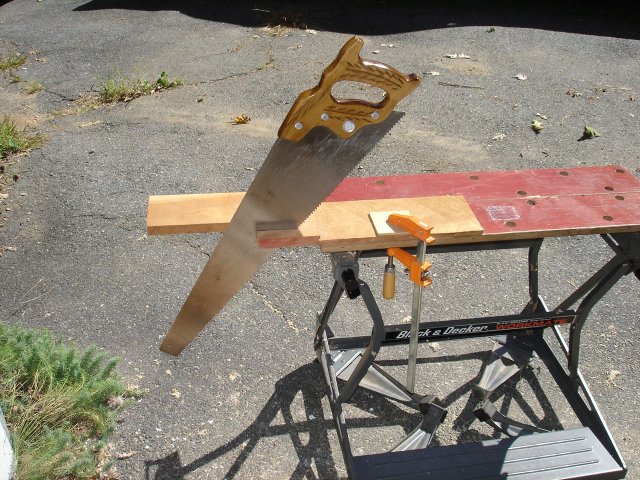
That cherry wood cuts like cheese with my sharp saw! I kinda wish I had found some cherry for the neck since it would be a lot easier to work than that hard, curly maple.
Nah! I like the curly maple.
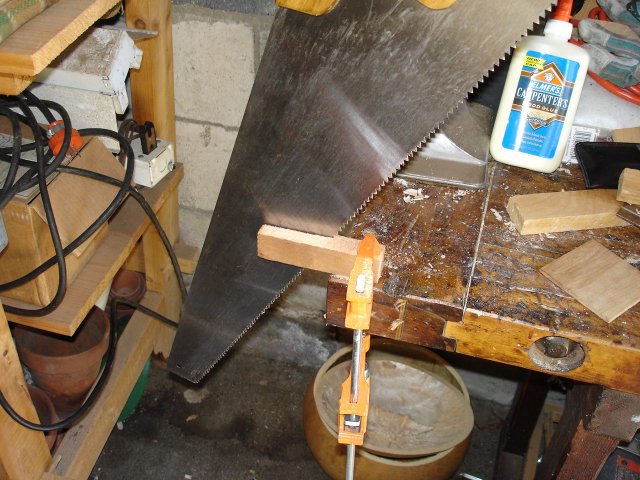
I took the small piece of wood into the garage to rip it down to size. The piece I cut off was 3.5" X 1" X .75"
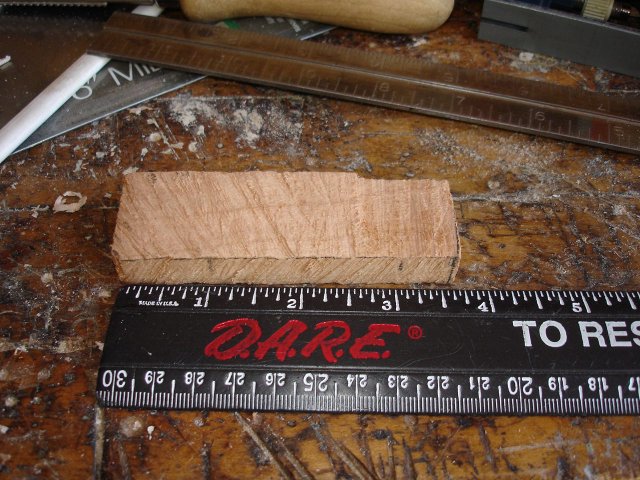
OK. Here it is. That is my blank for the peg. It is 3.5" X 1" X .5". Boy that is a nasty looking cut! I need more practice with the saw!
Next I cut off the sides of the blank to make a pin and a square shaft that is .5" X .5"
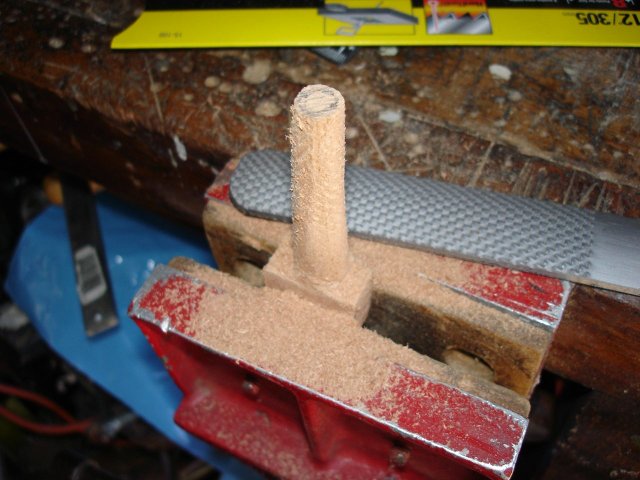
I took my shoe rasp (the rough side) and cut the square shaft into a round one that is sort of tapered.
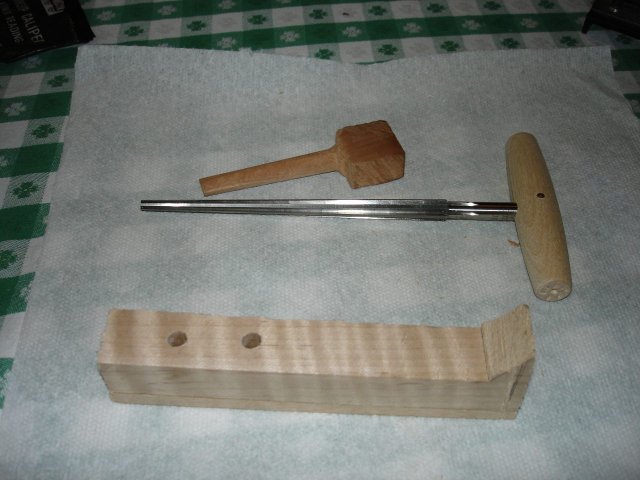
Now here is where it gets tricky. In order to do this properly, I had to get some real luthier's tools. I ordered the tools below from Stewart MacDonald, a luthier's supply house, http://www.stewmac.com/.
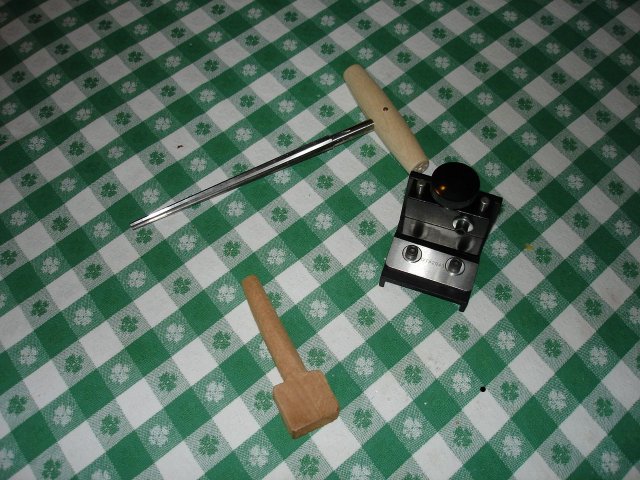
The tool at the top is a violin peghead reamer. It is used to ream out the holes that the pegs go into. It is set at 2 degrees, which is a standard for violin pegs.
The tool beside it is a peg shaver. It is used to shave violin pegs to the same 2 degree taper that the reamer puts on the hole. The pegs and holes have to be tapered to get a good friction fit between them.
The two tools together cost me about $100 including shipping (in 2007 dollars). That is a pretty steep price, but I figure that I am getting an education out of this as well as a banjo. Anyway, 100 bucks doesn't buy dinner for two any more anyway, so what the heck.
I tried shaving the peg down first using my new shaver. It works like one of those cheap pencil sharpeners that we used to have when we were kids.
You just shove the peg in there and turn. But, man! That thing was tearing up my peg something awful! It was gouging chips out of it! So I turned it over.
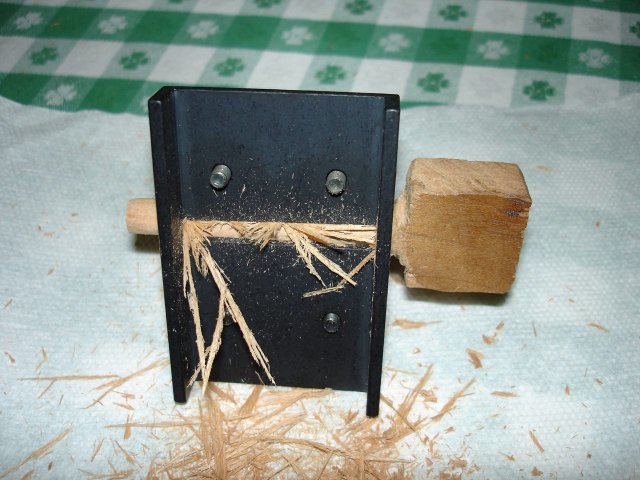
Ick! What a mess! It think maybe this thing was not designed to hog out so much wood. I took the peg back out to the garage and took it down some more with the rasp, then I shaved it again, being a bit more gentle. I also stopped to clear out the chips more often.
The shaving tool has a knob on top of it that lowers the part holding the peg against the blade. The blade is at the bottom. I found that if I keep working the knob while I shave the peg I can cut very fine shavings off of it without having it bind up so badly. It is a gentle process rather than a brute force process.
I finally got the peg shaved down to what seemed to be a reasonable size, so now I need a "peghead" to try it in. Rather than risk my real (one-and-only) peghead, I took a piece of scrap to play around with. I drilled a couple of 1/4 inch holes in the scrap wood.
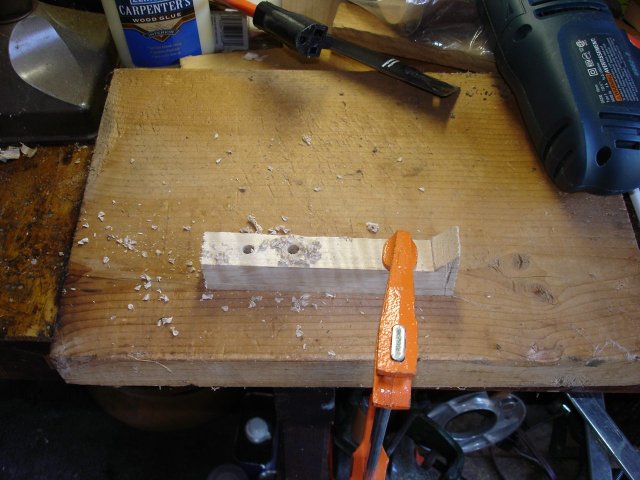
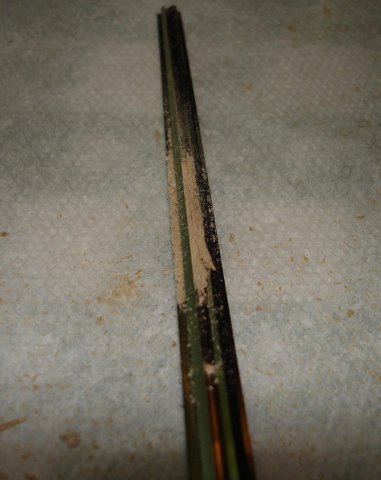
That looks like a piece that came off of the neck near the handstop. It is just about the same thickness as the peghead, so it should be a good test for my reamer. Here we are, ready to go.
Man! Look at that curl! I can't believe that I have a piece of wood with that gorgeous figure in it and I am using it as scrap! Oh well. I will now ream out the holes to see if the peg will fit.
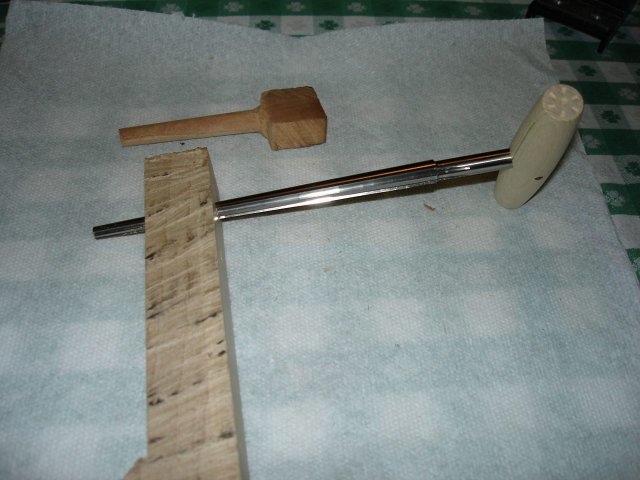
Unlike the shaver, this tool is easy to use. I just stick it in the hole and turn it. You can't see it in the photos, but one half of the tool is just round, and the other half has the cutting edges. This keeps it aligned in the hole very nicely. The only problem is that the wood chips clog it up pretty fast.
I just took it out of the hole after a couple of turns and cleaned it out using a pencil. The wood chips simply fall out with some gentle nudging.
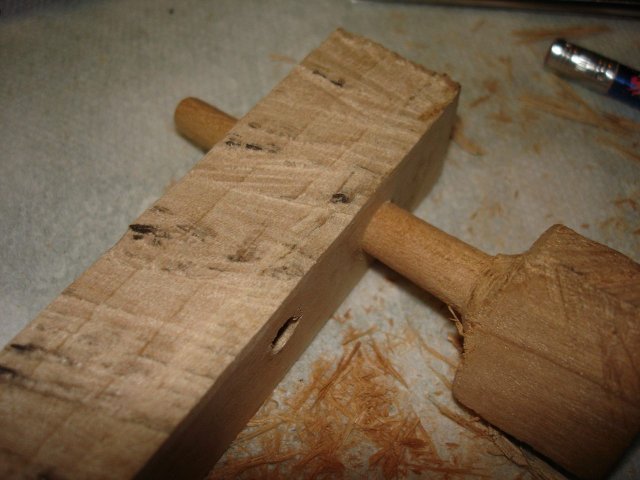
Here is the peg fitted into the hole.
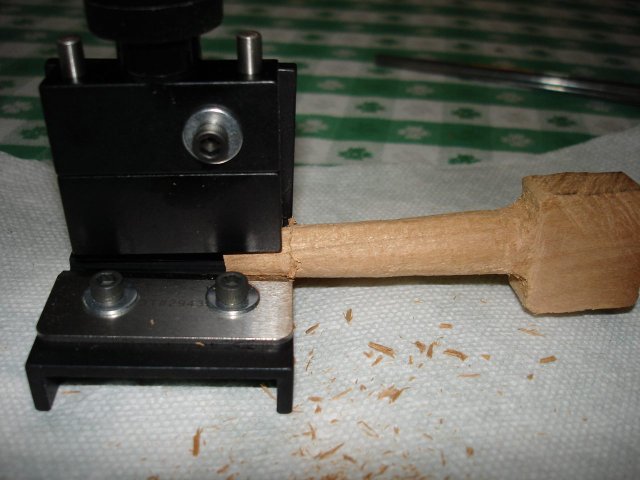
That went fairly well, but it is clear that the shaving tool is not intended to do the gross shaping of the peg. I need to get it closer to its final shape by hand, and then the shaving tool ought to work better. To confirm this, I made another peg. This time, I took it down closer to its final size, and I sanded it down so that it is almost done. It starts out slightly larger than the one I have already done.
That is the new peg blank at the top of the photo. I shaved it to its final shape like I did the other one except that I took it out more often to clear out the chips. I did a couple of turns and then removed it and cleaned out the shaver. It worked better using it like that.
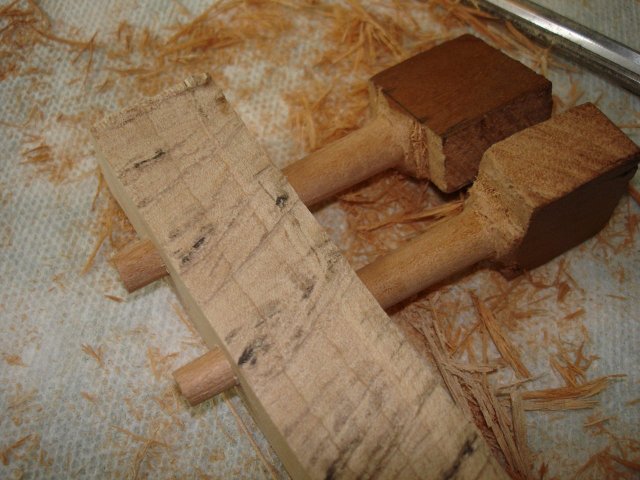
I also discovered that I can keep the shaver from gouging out wood chips if I gradually back off the part that pushes down on the peg while I push the peg farther into the tool. I do that with the knob on top of the shaver. I turned the knob on the top to keep a steady cutting resistance against the peg and it came out pretty smooth. I now have both pegs installed in both holes in my mock peghead.
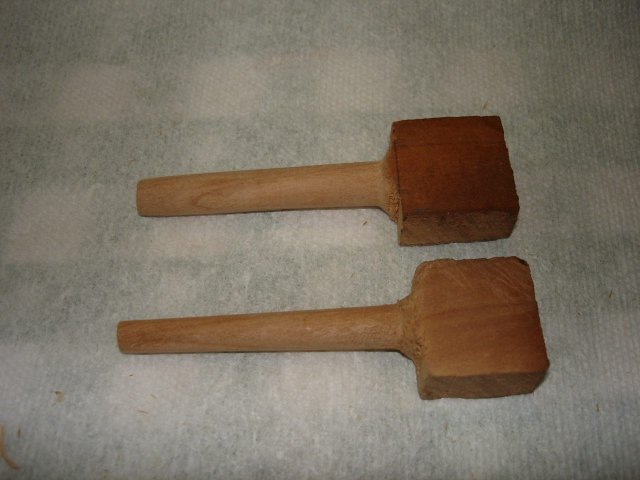
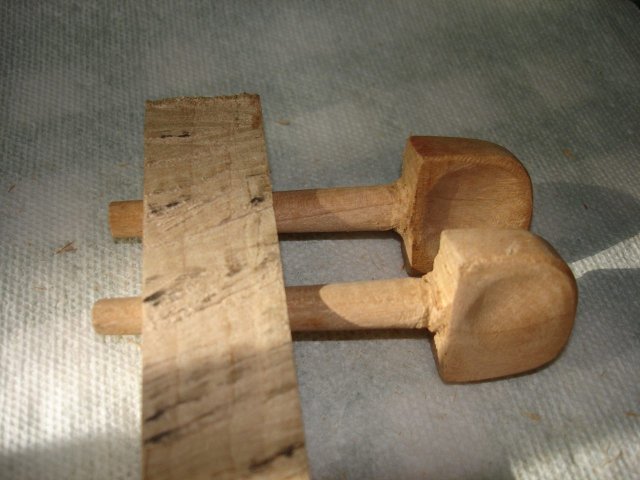
Finally, I took my saw and my rasp and put some shape on the button. I cut out the hollow of the button using the hook knife that I used for hollowing out the handstop. The buttons look better, but they are not completely done yet. I think that I will start over with the pegs when it comes time to make the real ones. These were done as a learning experience.
The pegs turn nicely in the holes, which is a good thing. Smooth operation is important for tuning ease. Unfortunately, I know from my experience building the minstrel banjo that the pegs will change shape as they absorb or give up moisture. The peghead holes will change too. So the pegs may need a tuneup after they have aged a while. We will see later on.
Carving those two pegs took me about 4 hours if I include the half hour I spent sharpening the saw, which I fully intend to do!