Stretching the head is always an exciting part of building a banjo. Since my gourd banjos have tackheads this part is a one way trip with time constraints. The head has to be stretched wet, and the glue that holds it on must be applied at the same time that the tacks are driven in to hold it all in place before the head and the glue dry out.
So I planned the whole thing out and marked up the gourd before starting. Once I started, I could not stop until it was done. I got all the parts out and found that I only had 29 tacks left from my previous banjo. I had put 31 tacks in that gourd. But this gourd is a bit smaller, so I can get away with fewer. The trick is spacing them out to look nice and provide enough holding power to keep the head stretched.
Since I cannot put tacks where the heel of the neck meets up with the gourd, I put the neck into the gourd and marked where the sides of the neck are.
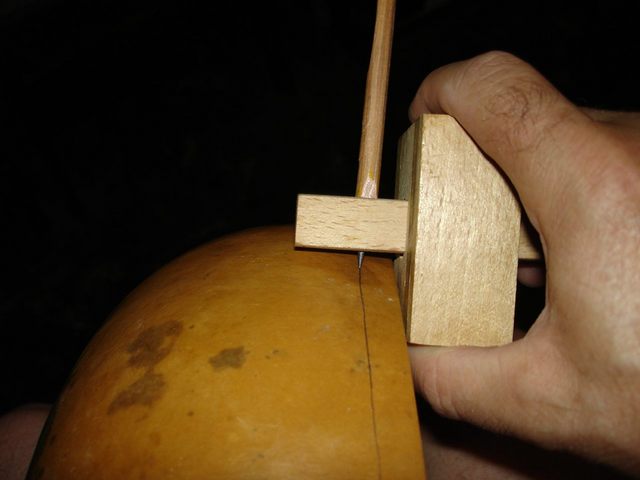
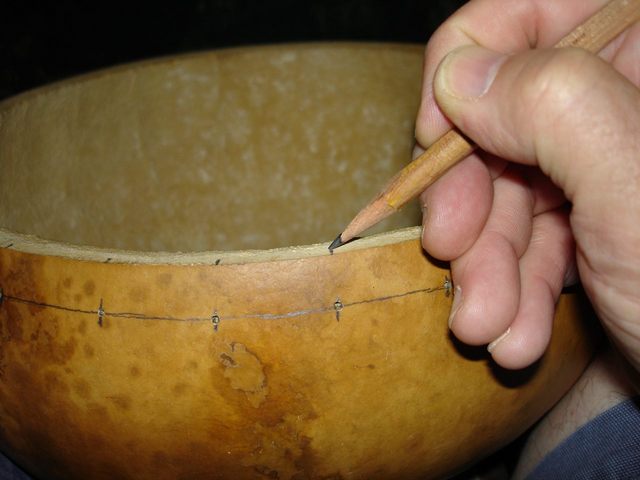
I placed the tacks 1/2" down from the top of the gourd, and to do that evenly, I used my marking guide. I wanted to use a pencil mark instead of a cut, and the marking guide has a knife blade in it, so I cobbled together a way to put a pencil into the guide. First I shaved the sides of the pencil point some to make it fit into the hole in the guide.
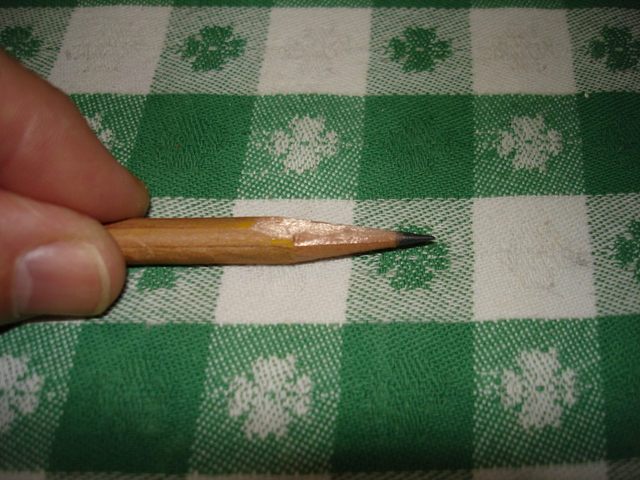
That kind of wrecks the pencil, but then it is a lousy pencil anyway, so what the heck. Then I wedged the pencil into the hole where the knife blade is usually placed.
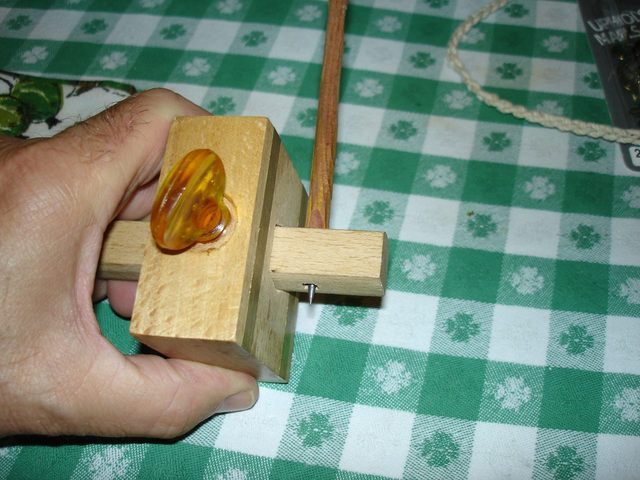
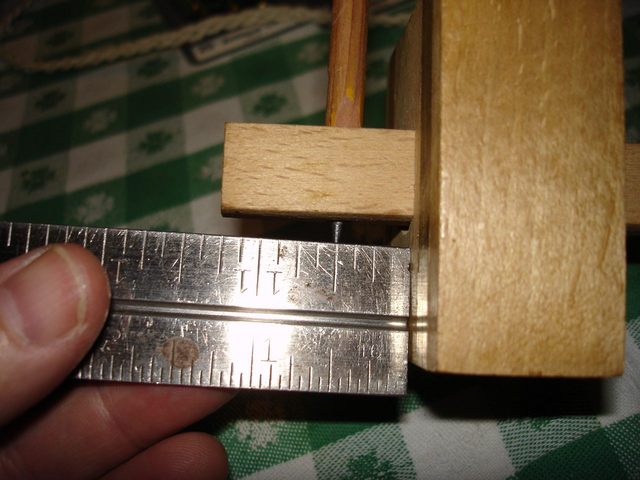
I set the point of the pencil so that it was 1/2" from the edge of the guide.
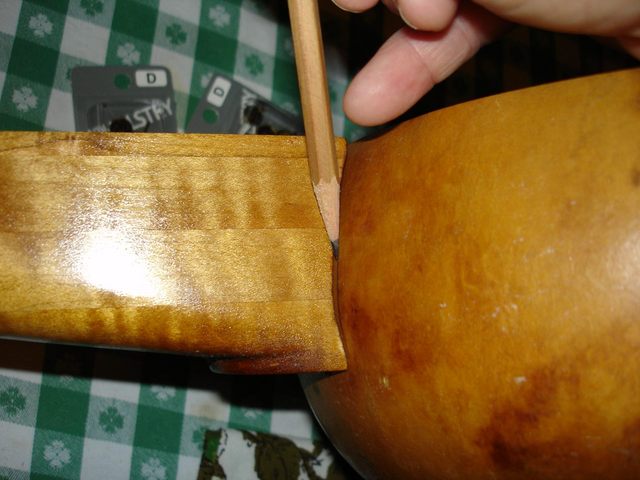
After that it was a simple matter of running the pencil around the rim of the gourd with the fence on the top edge.
The next order of business was to place the tacks around the gourd trying to keep them even. Since there can be no tacks beneath the heel of the neck where it comes in contact with the gourd, I needed to place some tacks right next to neck to hold down the skin head. I measured the size of the tack heads and found them to be 7/16" across. If I round that up to 1/2", that means that I have to place the hole 1/4" from the side of the neck in order to make sure that the tack head clears the side of the neck. So I put a mark there, one on each side of the neck.
I then needed to calculate the distance between the tack holes given the number of tacks I have (29). I also don't want to use all of of the tacks in case there are some failures. I cannot run out to buy more tacks while I am doing this.
I measured the distance half way around the gourd from the mark that is 1/4" away from the side of the neck using a string. I wrapped the string around the gourd and then measured how long the string was. It was 15 1/2". So I needed to space my tacks through 15 1/2" on each side of the gourd.
I took a guess at 14 tacks. Because there is one tack at the beginning and the end of the 15 1/2", 14 tacks mark out 13 intervals along the distance. Dividing 15 1/2" by 13 comes out to 1.1923" between the tacks. Since my ruler is not marked in metric inches (whatever that means), I guessed at 1 3/16", which comes out to 1.1875" between the tacks, which is close enough.
Each side of the gourd will require 14 tacks to bracket the 13 intervals of 1 3/16", however the last tack at the tailpiece will be shared by both sides, being centered on the rear of the gourd. So instead of 28 tacks, I only need 27. Since I have 29 tacks, I will have two to spare. I hope I don't need them.
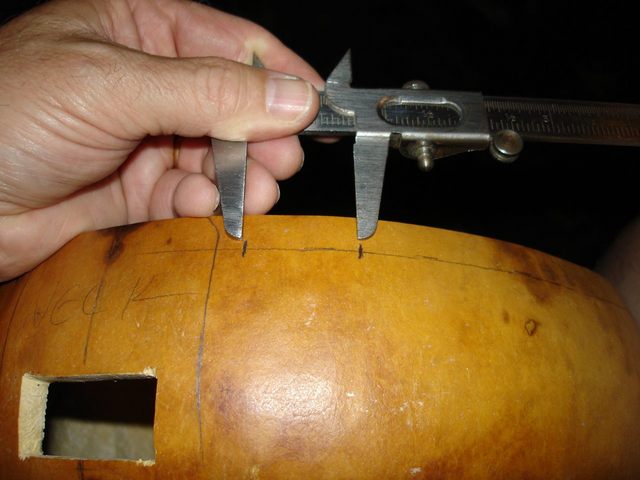
The calculations were done, so I just needed to mark off the positions of the tack holes. I set my calipers to 1 3/16" and started marking off with a pencil from the tack mark by the neck.
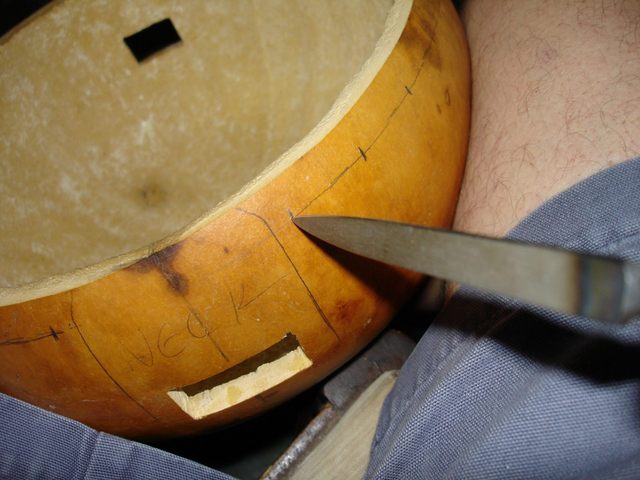
After marking all of the tack holes, I punched them to provide a starting hole for the tacks. The gourd wood is really quite delicate, so I don't need much as a starter hole. I just need to break the tough outer skin of the gourd since the wood on the inside is about the consistency of balsa wood. To make the starter holes I used my burnishing tool. It has a very sharp point so it went in easily. Any kind of sharp object would work for this job.
Just to make absolutely sure that I had not done something stupid in my calculations, I put the neck into the gourd and started a couple of tacks next to it. This was to make sure that the neck will actually clear the tacks before I commit to this layout.
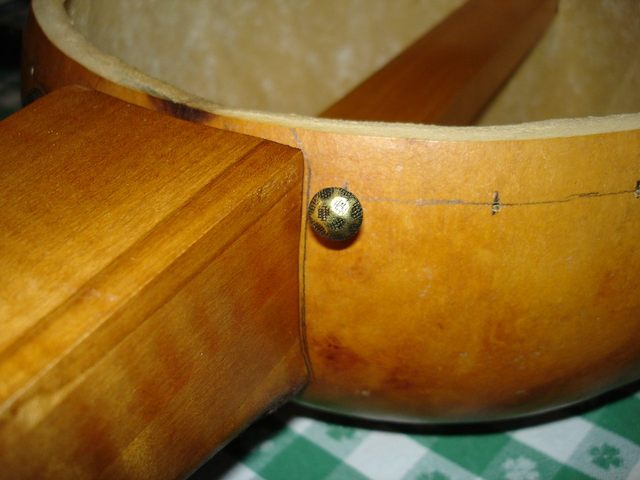
Looks pretty good. I think this is going to work. To make sure that I could find the marks when I was stretching the head I put another mark on the rim of the gourd.
On to the head! I have three heads left from my last attempt at building one of these things. Here they are.
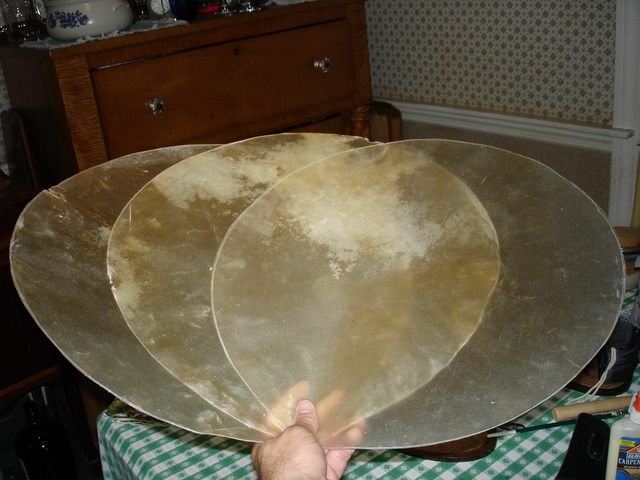
The skins are as stiff as cardboard when they are dry. I needed to soak one of them to make it flexible enough to stretch.
The one on the right is almost perfectly even. I left that one to use on a larger gourd. The one on the left has a major crease in the middle. I chose the one in the middle. The one I chose has some thin spots toward the edges, but they will be outside the hole of this gourd, so they are not an issue. Here is the skin sitting on top of the gourd.
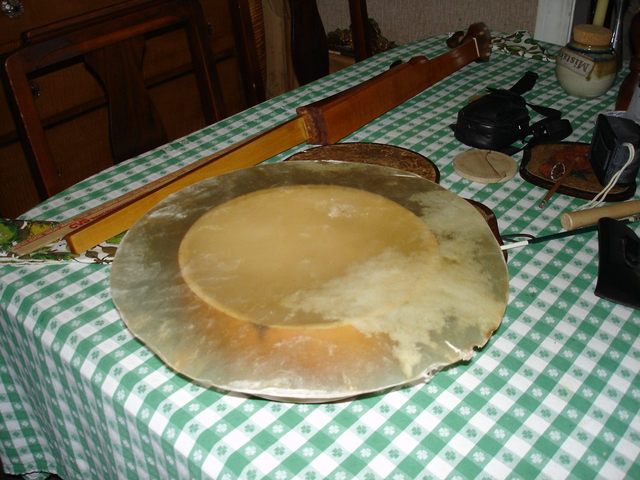
The skin is 16" across, and the hole in the gourd is only about 10" across, so there is quite a bit of overlap.
Here is the plan of attack. I need to wet down the skin to make it pliable. I also need to put a bead of glue along the top rim of the gourd. The glue actually keeps the skin on the gourd and without it the tacks will tear out and the whole thing will be wrecked. Once the head is wet and the glue is on, I must stretch the skin across the top of the gourd and tack it in place. The timing of all this is important.
I put the skin in the sink with cold water in it to soak.

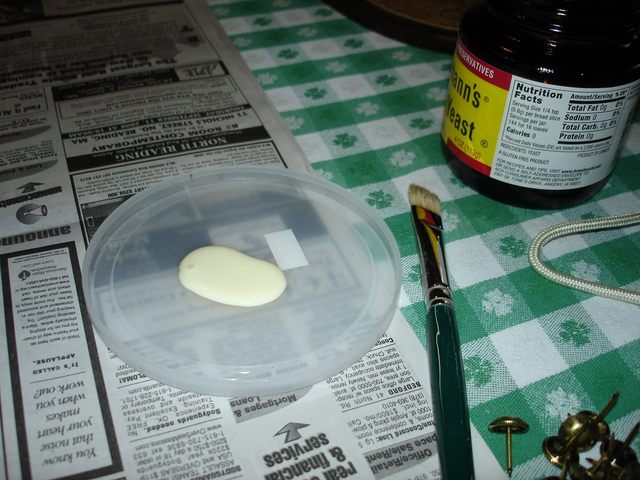
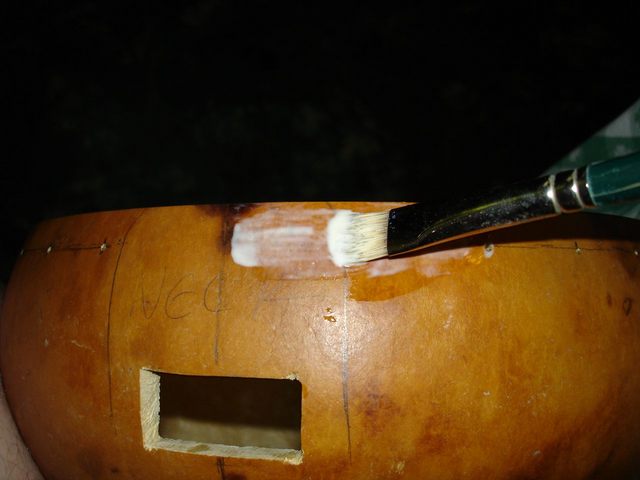
The flatwear keeps the skin under the water so that it will get evenly wet all over. I put some plain carpenter's wood glue on a plastic lid for spreading on the gourd. That old brush is just a bristle brush that is kind of worn out. If I wreck it with the glue it is no great loss.
I dipped the brush into the glue and painted it onto the gourd about one inch wide. The tacks go about 1/2" down from the rim, and I want to glue the head down an additional 1/2" down from that.
I gave the head about 10 minutes to soak. It is not necessary to soak the head for hours or days. In fact, soaking it for more than just a few minutes can make it bloat up with too much water and be impossible to stretch. If that happens then all you can do is let it dry out for a day and start over. So I set a timer for 10 minutes, and when there were about 5 minutes left I painted the glue onto the gourd. Once the glue was on, I fetched the skin out of the sink. It was actually in the water for about 8 minutes.
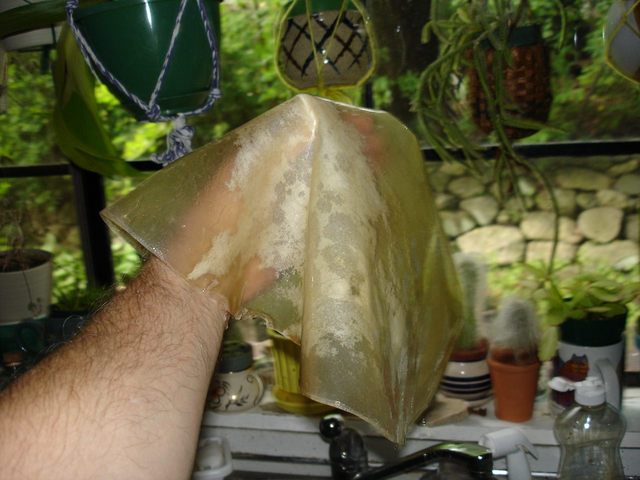
There it is, all limp. A banjo head is rawhide, which means that it has not been tanned. Tanning would make it impossible to do what we need to do, which is to make the skin soft and pliable with water and then let it shrink as it dries out. When it is wet the skin is pliable, and when it dries out again it will become stiff and shrink. So I need to stretch the skin over the top of the gourd while it is still wet.
I centered the skin on the top of the gourd and put in the first tack. Then I reached across to the opposite side and pulled the skin tight with my left hand.
While I had the skin stretched I picked up a tack and pushed it into a starter hole with my right thumb.
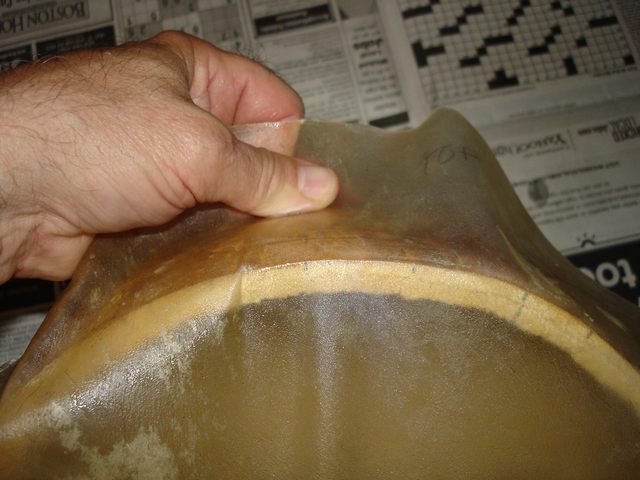
OW! That hurt a mite. Those first two tacks left a wrinkle across the top of the head. Not to worry. You can see the wrinkle at the bottom of the photo. Next I chose a location that was 90 degrees off from the wrinkle and tightened that and tacked it. Then I pulled the skin straight across from the third tack and tacked it there. I went around the head, installing tacks back and forth across the head around the gourd trying to keep the head stretched evenly and to remove all of the wrinkles. This sounds a lot harder than it actually is.
The tension on the head is not very much. I just pull it so that it stretches a little. Some people say that they really crank the head down using pliers, but I don't do it that way. I just stretch it a little.
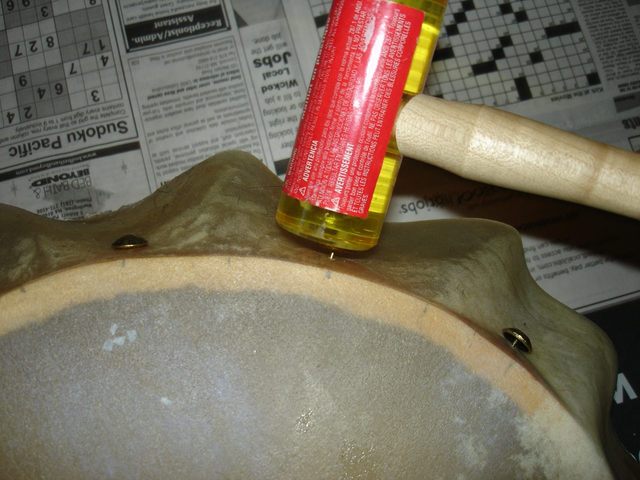
After a while my thumb got sore, so I got my plastic mallet and started tapping the tacks into the gourd using that. Even though the mallet is small and light it easily seats the tacks into the gourd.
While I was messing with the head some of the glue had dried up. The head was not sticking to the gourd, so I lifted up the edge of the skin and dabbed some more glue under it between the tacks.
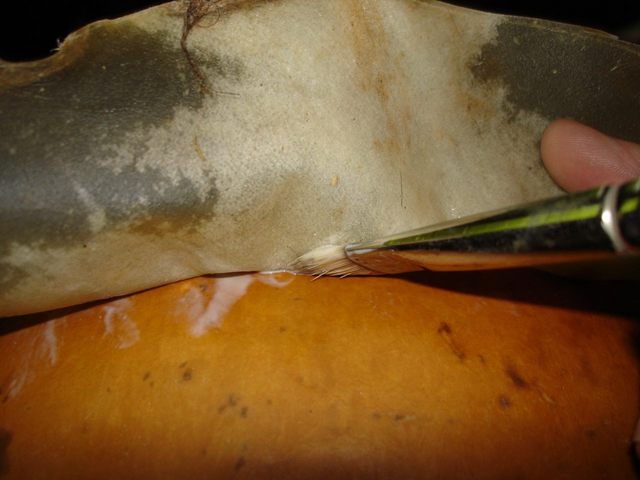
OK here's a mistake. Somehow I stuck a tack right above the neck hole which I had carefully marked off to keep the tacks out of it. I got a screwdriver out of the tool box and pried it out. You can see in the photo where the head has refused to stick down to the gourd.
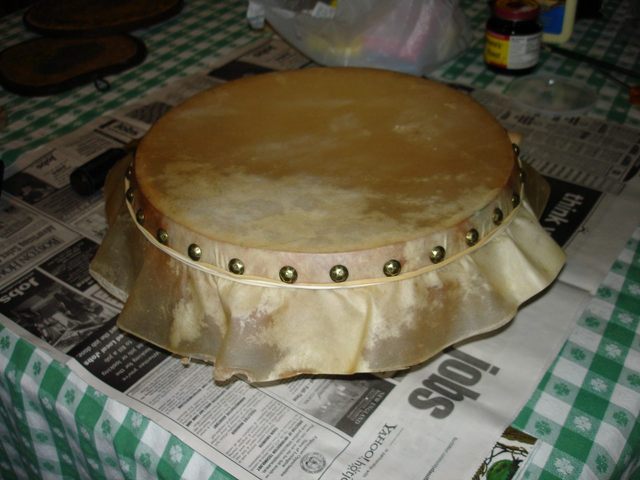
Here it is all stretched and tacked down. For some reason the head will not stick down to the glue.... especially in the wide space where the neck heel goes. To help it stick down under the neck I put that extra tack back in... plus another one. So I have actually used all 29 tacks in this. I am glad I kept those two spares. I will pull those two tacks out after the head dries. The holes will be under the heel of the neck and will not be visible.
The head would still not stick down to the glue. I guess that is because the head is wet.
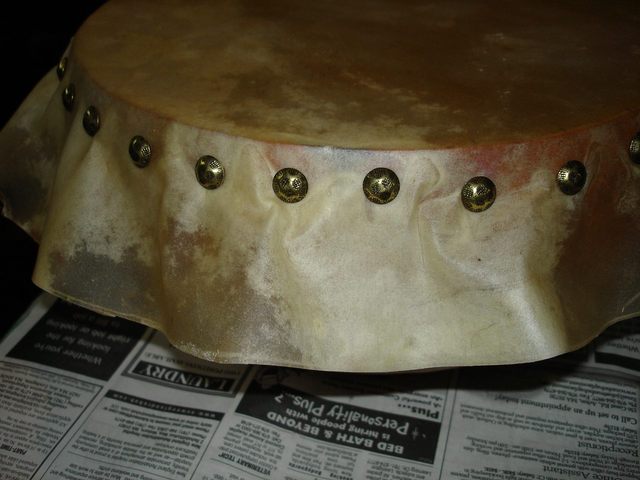
Then I remembered what I had done last year to solve that problem. Rubber bands! I should go back and read my own web page before I start one of these just to refresh my memory. I found some big rubber bands and stretched them around the gourd just beneath the tacks.
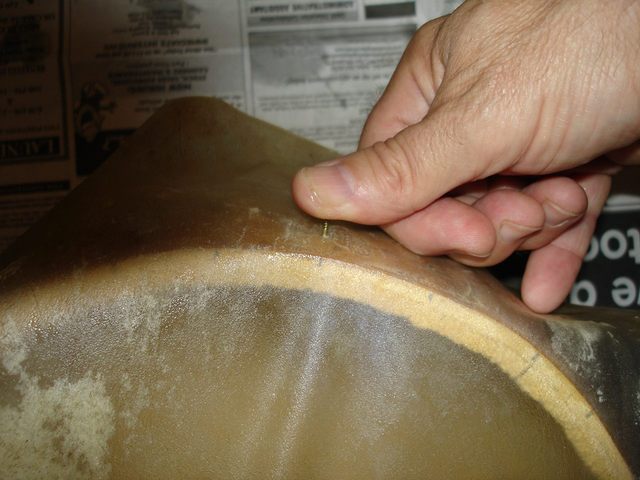
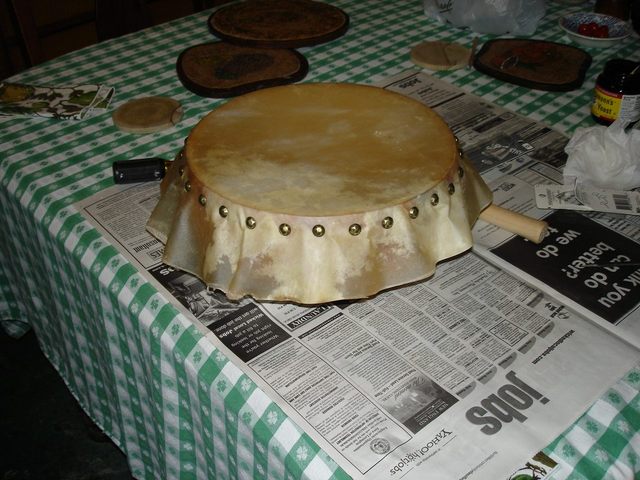
Yes! That is working now. The rubber bands are holding the skirt of the skin down on the glue. This thing is done! I pushed my finger down on the head to see how tight I got it. I want it tight, but not too tight because it will tighten up as it dries. If it is too tight now, it could crush the gourd when it dries out.
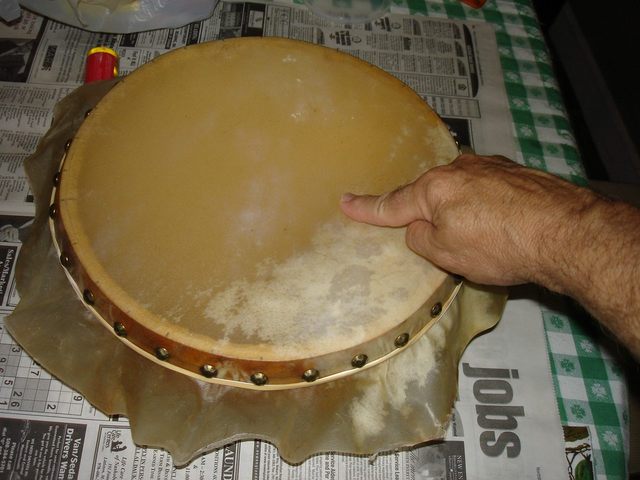
I could push my finger down about a half inch with no problem. You can't see that in the photo, but I think that is about the right tension on a wet head. It's looking good. I spent about 2 hours stretching the skin. An hour and a half of that was preparation, and about a half hour was the actual stretching.
Original post date September 9, 2008