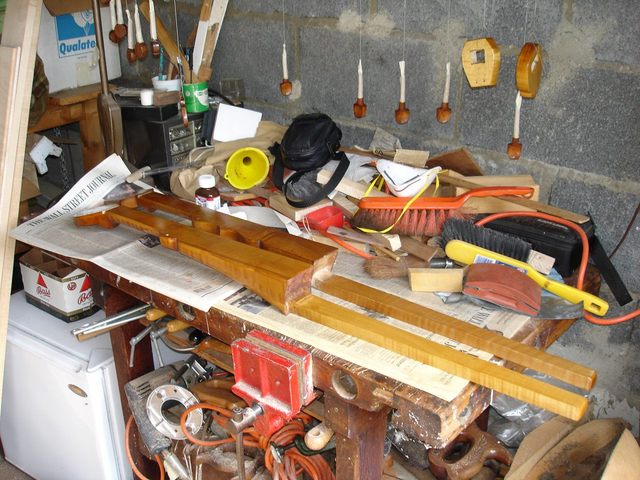
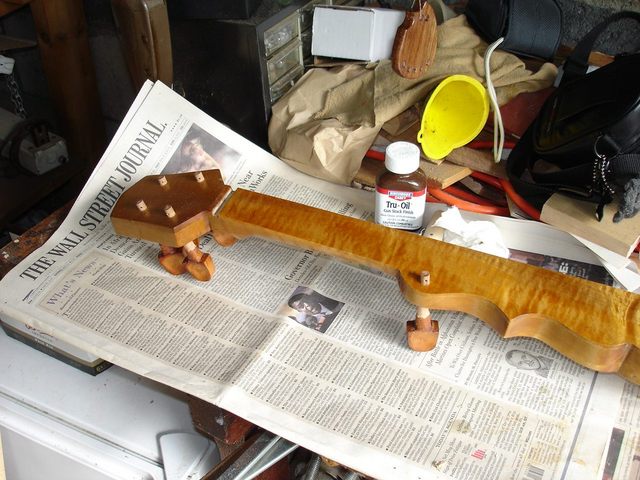
The finish is dry, so now it is time to continue with the small parts. Here are the two necks sitting on the bench all finished. The little parts are still hanging from their strings.
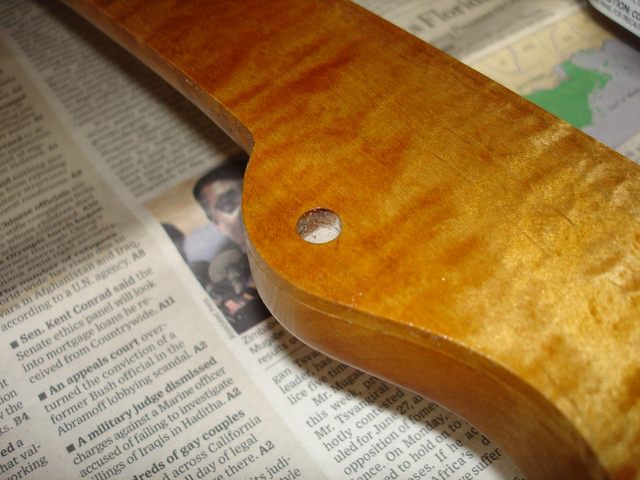
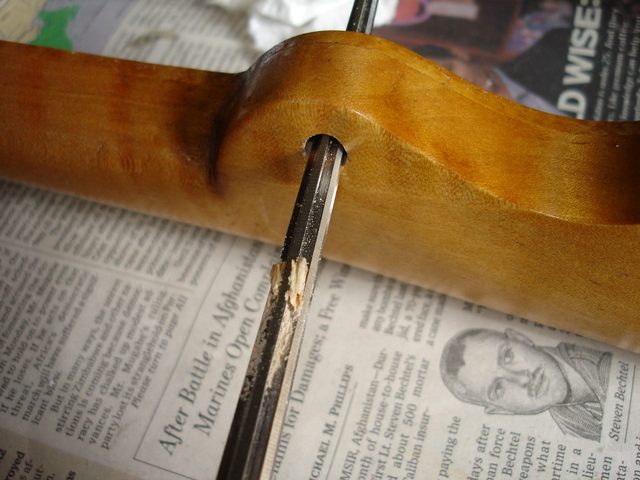
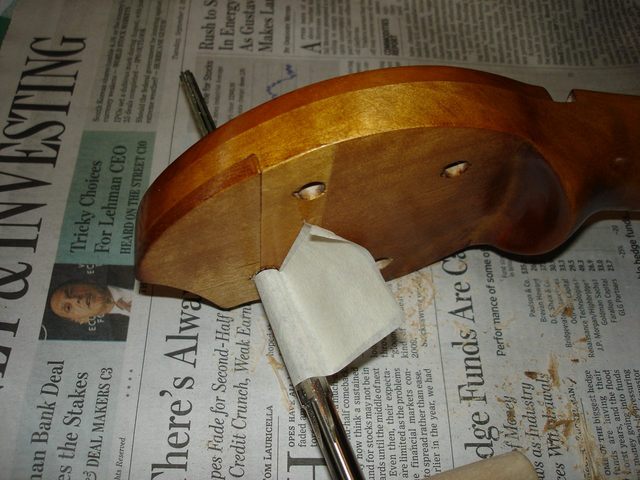
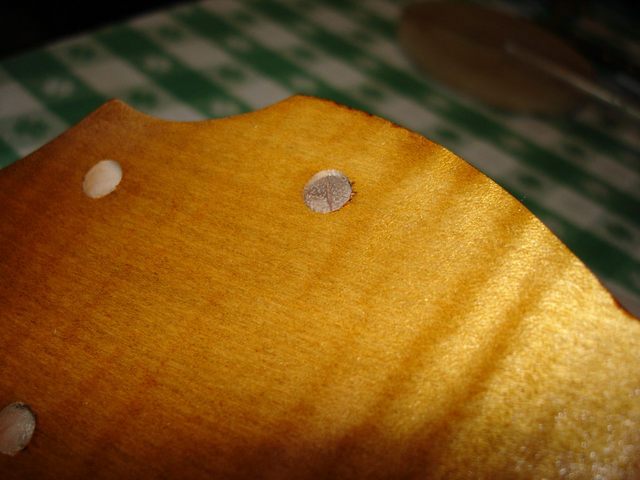
Before I started on the new parts, I wanted to get the old neck out of the way. There isn't much to do on it except for reaming out the 5th string peg hole. When I refinished the fingerboard, some of the finish got into the hole, and that will affect the operation of the tuning peg. The sides of the hole should be plain, unfinished wood. Here is a photo of the finish in the hole.
Oh, and BTW, here is a possible reason that people use wood that is harder than cherry for the pegs. I noticed this as I was putting the pegs back into the holes.
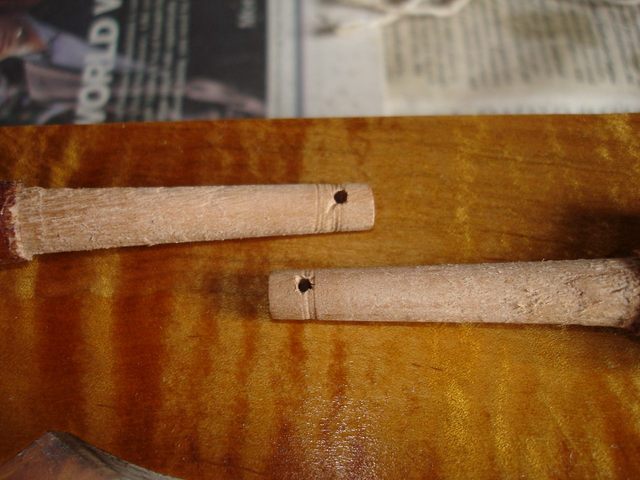
Even the nylon strings leave their mark on these pegs. Oh well. I don't care. These pegs are much easier to tune than the violin pegs on my other banjo. As long as the strings don't cut all the way through the pegs (unlikely) I will do better with these.
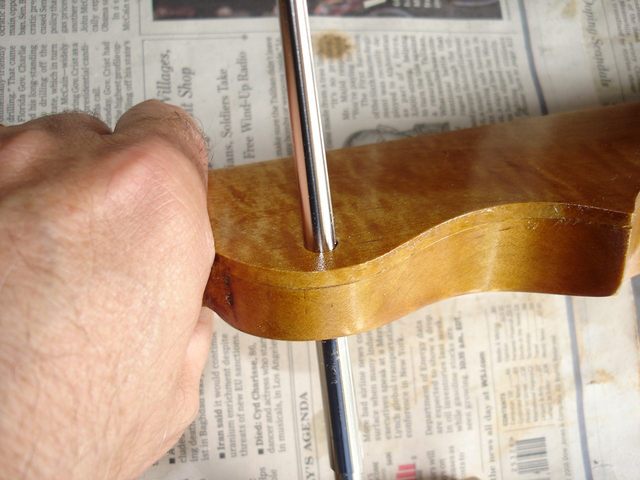
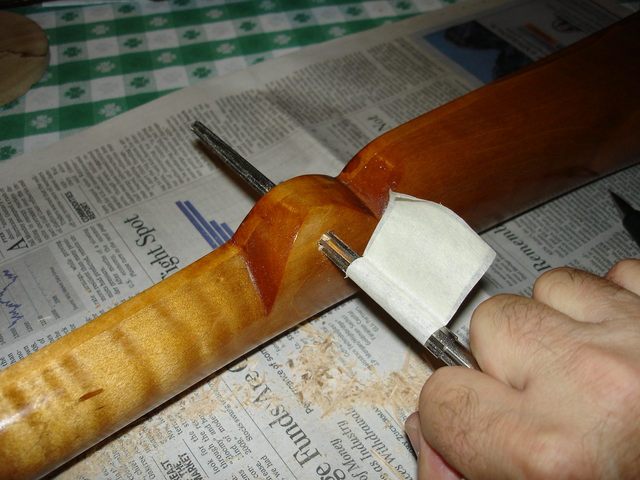
I reamed out only the hole for the 5th string peg since I did not refinish the peghead. I did not want to take out very much wood since the hole was already the correct size, and reaming it will make it larger. So I put the reamer in and turned it around just one revolution.
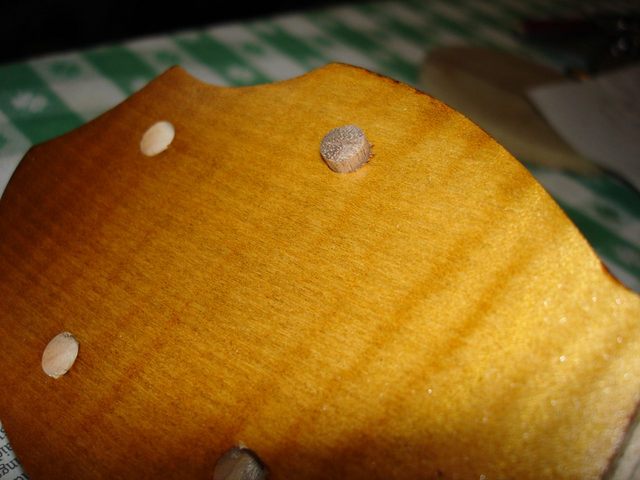
Here is the amount of wood I took out of the hole. Not very much at all.
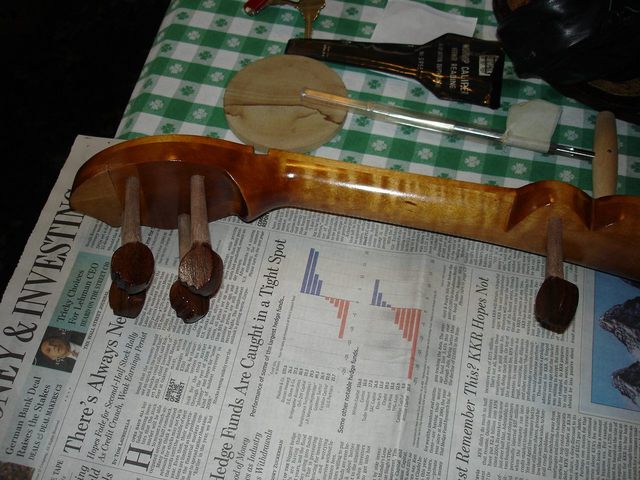
Then I stuck all the pegs back into their proper holes and here is the result.
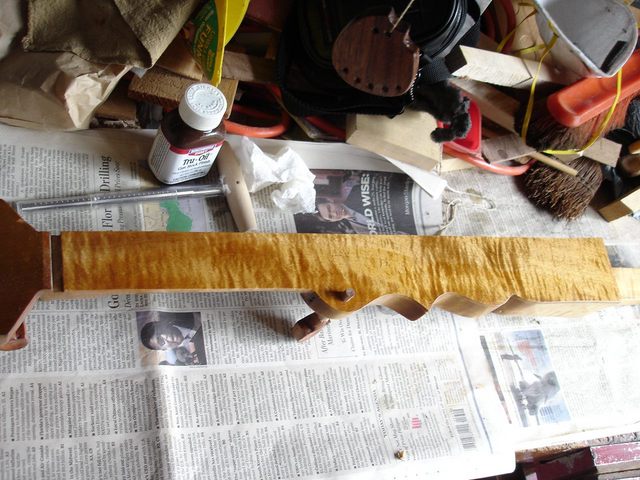
The neck is all ready to put it back into the gourd and string it up. While I was working on it, I noticed once again the spectacular figure in this finger board. I couldn't help but take a photo of it. Look at this!
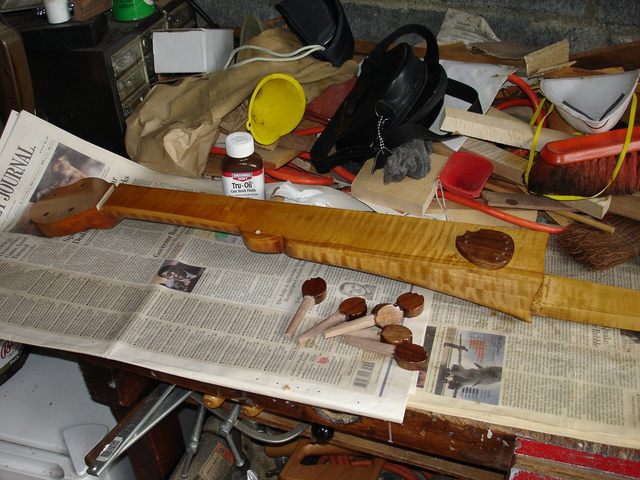
OK. Enough of that. On to the new neck. There is more work to do on that one. Here it is with all the parts.
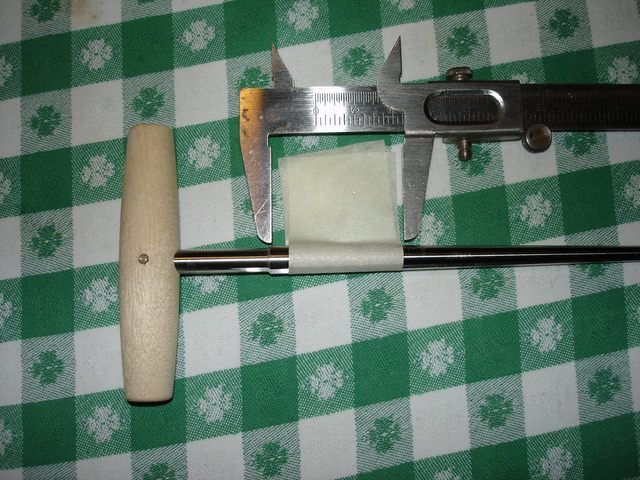
The first thing I have to do is to ream out the peg holes to their final size. This step was left until after the finish was on for the same reason that the hole on the other neck had to be reamed - the finish gets into the holes. I measured 1 9/16" up from the end of the cutting flutes on the reamer and put a masking tape flag on it.
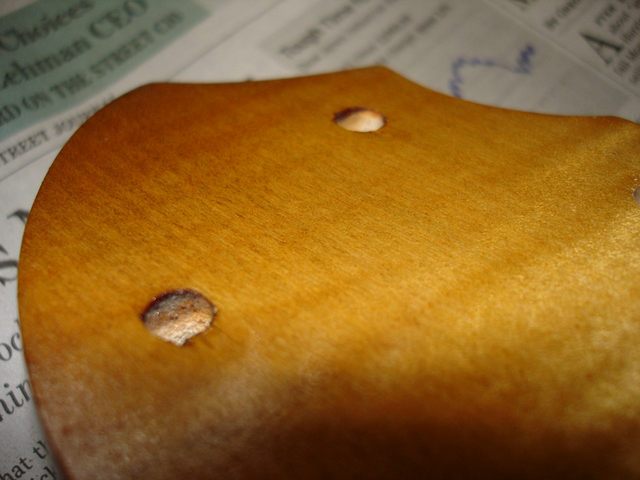
Here is a photo of the holes with the finish in them.
I started at the hole for peg one and simply twisted the tool in the hole a few times, then took it out and removed the chips.
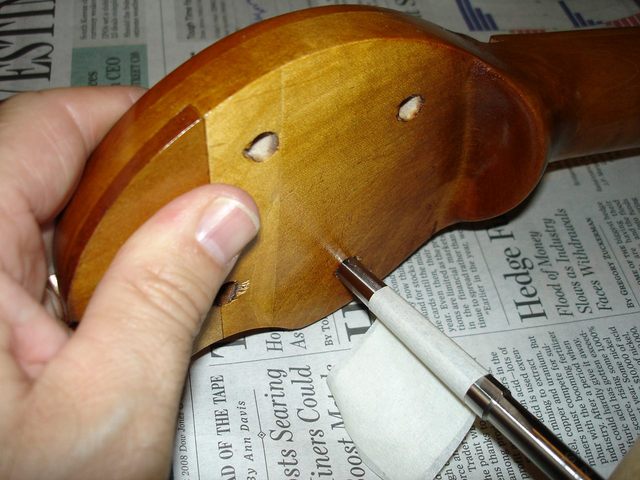
I went through the holes in order, reaming them out right up to the flag.
I reamed the 5th string hole last.
One I had reamed all of the holes to their final size, I tried the pegs in them. As planned, just the very tip ends of the pegs fit into the holes. You might remember that I had shaped the pegs by hand until just the tips fit into some test holes that I had made.
At this point the pegs are not assigned to any holes. I just picked them out at random. Once they have been fitted to a particular hole, each peg is mated to that hole for good. To keep the pegs sorted out, I marked each one with the number of the hole that it belongs in. I marked the pegs using my wood engraving burin. Here is a photo of the tool.
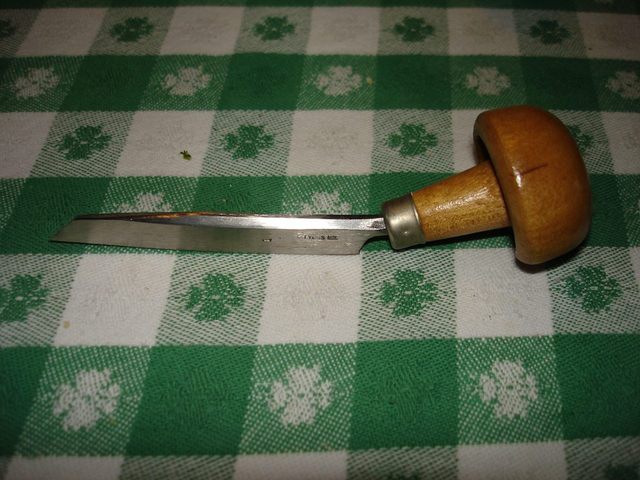
That is my #1 burin. It was designed for cutting end grain wood blocks for making wood engravings that were used for illustrations a hundred years ago. It is the perfect tool for marking the end grain of my pins. I just clamped the pin in my vise and cut a Roman numeral I into the end of the pin.
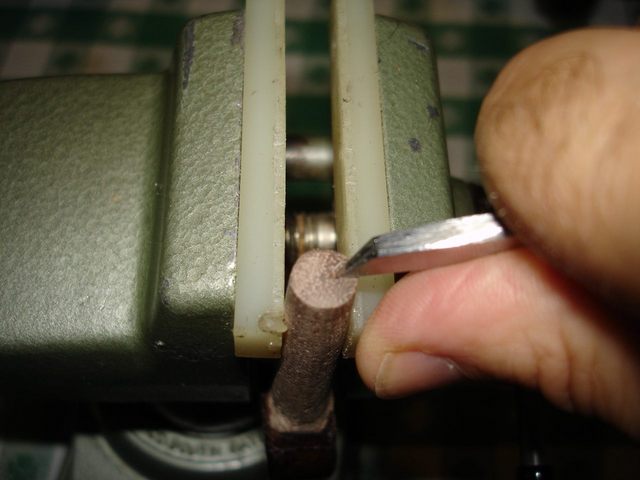
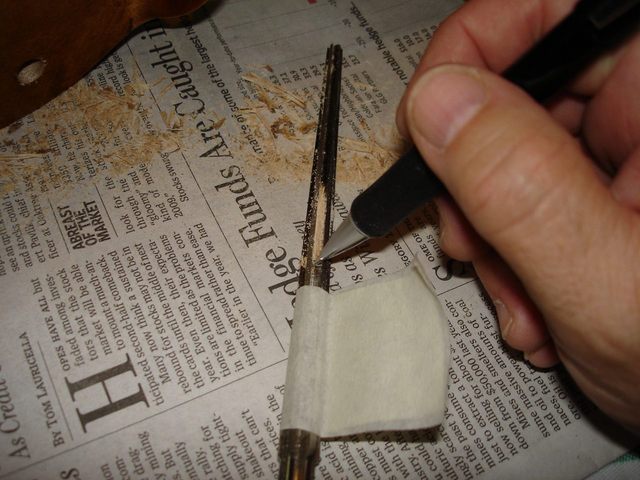
Once the pin was marked, I began to shave it down to fit it precisely into the hole. To do that work I used my pin shaver. I cannot show you exactly how I used it because it takes two hands, and I need one hand free to take the photos. So I have tried to explain it using two photos. I hold the tool in my left hand like this:

Then I turned the peg in the shaver with my right hand.
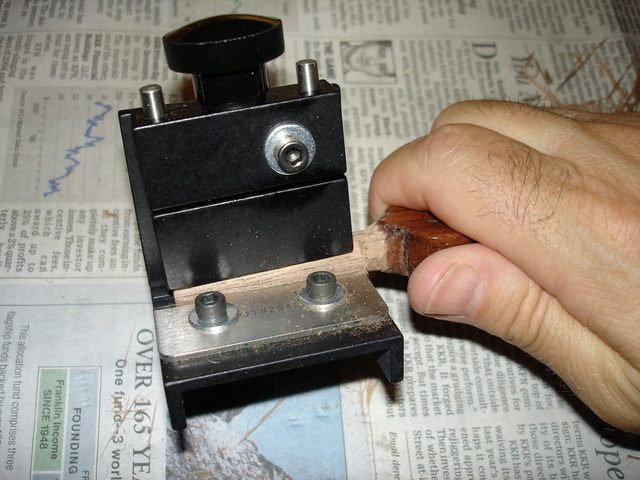
I have changed my technique since I did this last year. I now have more experience using this tool, and I think I have come up with a better way of using it. First I turn the knob on the top until the blade is fully retracted. Then I put the pin all the way into the tool. I gradually turn the knob until the blade bites into the wood. The hardest part is the first few cuts when the peg is not quite round yet. I have to make sure not to cut too deeply until the high points have been cut off and the blade is cutting evenly all around the peg.
Once the blade is cutting evenly around the peg, I slowly adjust knob on the top so that I can feel the blade is just barely cutting into the peg. After a while it became fairly easy to keep a constant shaving coming from the peg as I turned it. So I shaved some and then tried the peg and then shaved some more and tried again to see how it fit into the hole. Here is a photo of the number one peg just coming up to the level of the peghead overlay.
Shave and fit; shave and fit; shave and fit. Here it is standing proud of the overlay, but not quite there yet.
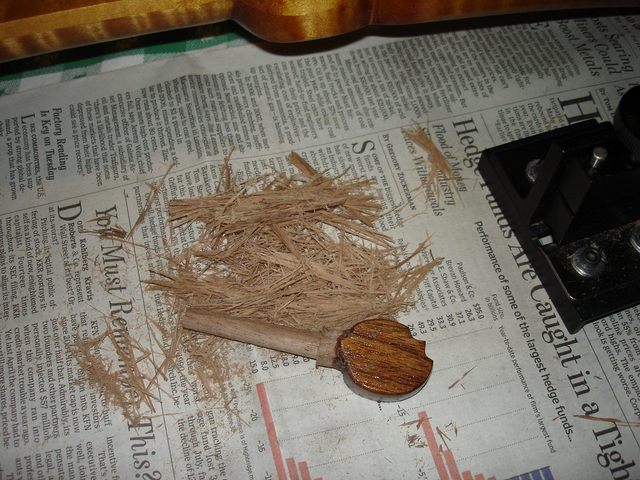
I continued doing that until the peg stood exactly 5/16" above the surface.
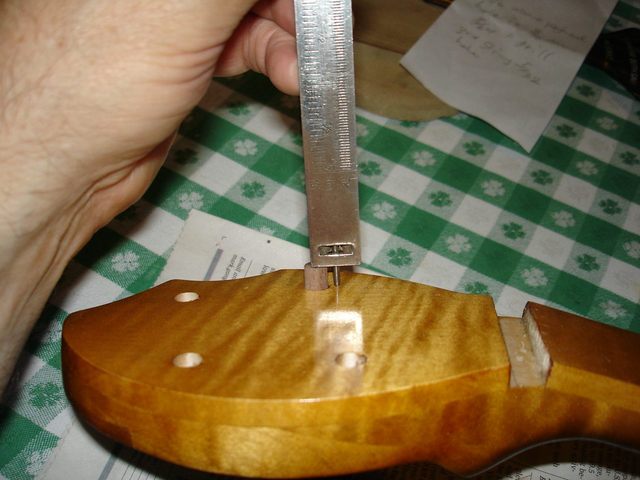
I took that measurement from my other banjos. I gives me enough room to wrap the string without being too tall. Here is the pile of shavings that I took off the peg to cut it down to size. Wow! I could probably cut the blanks down a bit smaller using the rasp so I won't have to use the shaver so much. I will have to remember that next time.
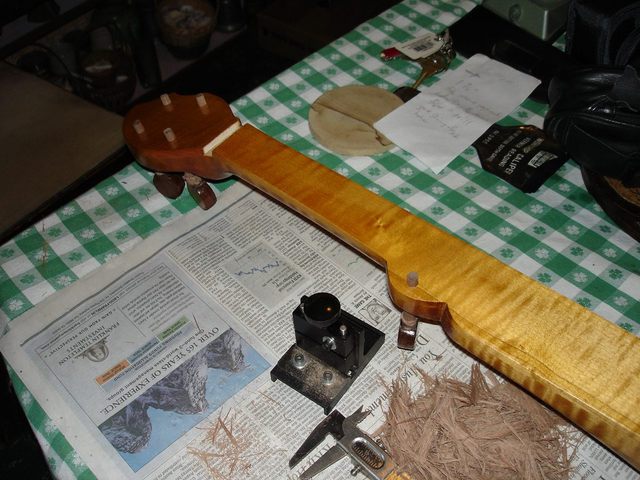
I did the same thing four more times and here are the pegs installed in the neck.
That is it for this session. It took me one hour to fix up the old neck and about three hours to fit the new pegs, so that is 4 hours for today.
Original post date September 8, 2008