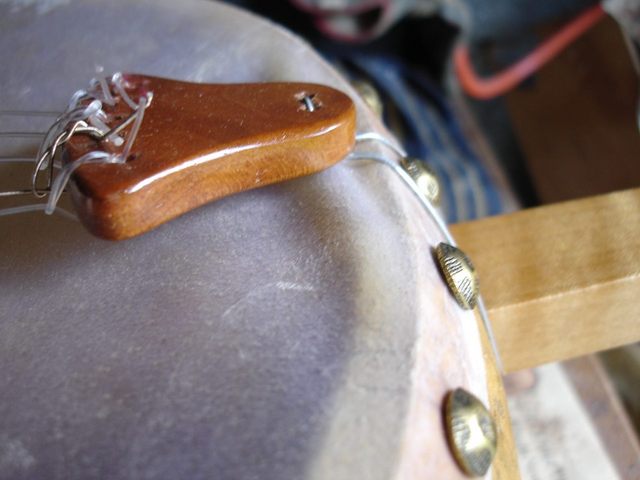
It is time to make the tailpiece and some nut blanks. In order to figure out how big to make the tailpiece I got my other gourd banjo to compare. I built the other banjo last Summer, so it is about a year old now. When I checked out the tailpiece on the other banjo I found that the gourd on it has changed shape and the head is buckled.
Nuts! Here is a photo of what I found on my other banjo.
This is not a good thing. I have heard of this happening, but I do not remember what the fix for it is. I don't want to give up on that banjo because I really like the way it sounds, but I am at a loss about how to protect the gourd from collapse.
An even more worrisome problem is that it might happen on my new banjo. After all of the hours I have spent on this thing, I do not want the gourd to collapse and wreck it. I think I will have to devise some sort of support inside of the gourd. I can't just put a bar across the top because when the head sinks into the gourd in humid weather the bridge will sit down on the pole and it won't work right. As a case in point I put my yardstick across the top of the gourd and measured how far down the head is right now.
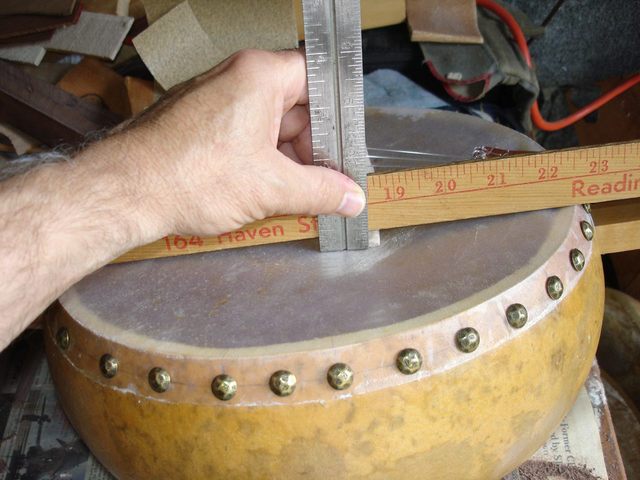
I measured the depth of the bridge feet to be about 3/8" beneath the top of the gourd. Some of that is due to the fact that the gourd has changed shape and let the head go loose, but some of it is also due to the high humidity. I will have to think about this.
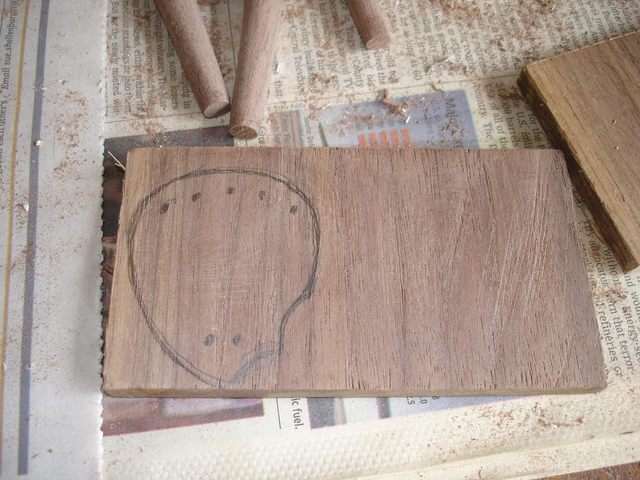
Right now I need to make some more parts. I started with the tailpiece. I liked the shape of my peg buttons so much that I decided to do the same thing with my tailpiece. This is what makes a project like this so much fun. Instead of laboriously following a plan I can just let it go where it wants to go. I found one of the pieces of walnut that I had resawn to 3/8" thick and just drew a nice shape on it freehand. Here it is.
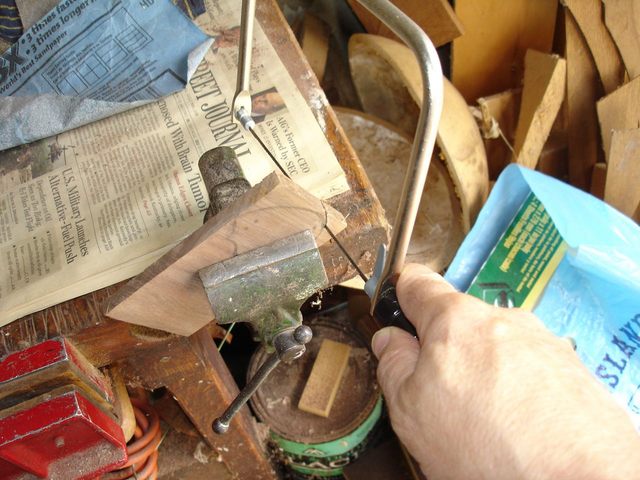
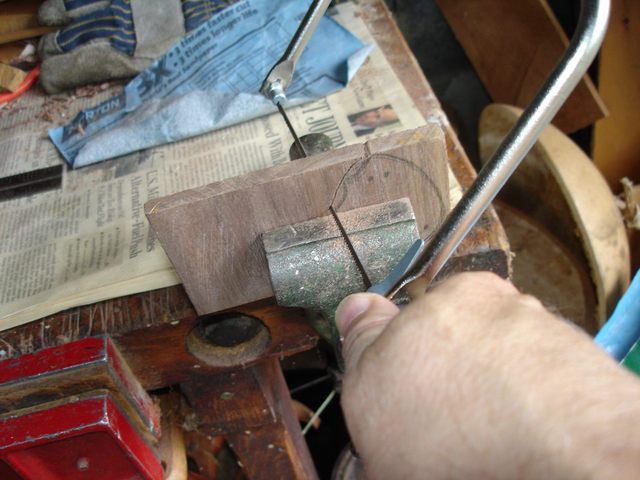
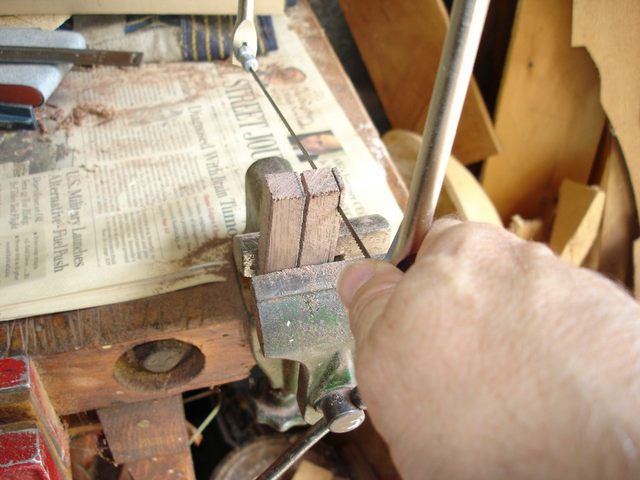
I like that shape. I clamped the piece into my metal working vise and cut it out using my coping saw.
When I got to the fancy part I just cut around it. I will shape it later with my rattail.
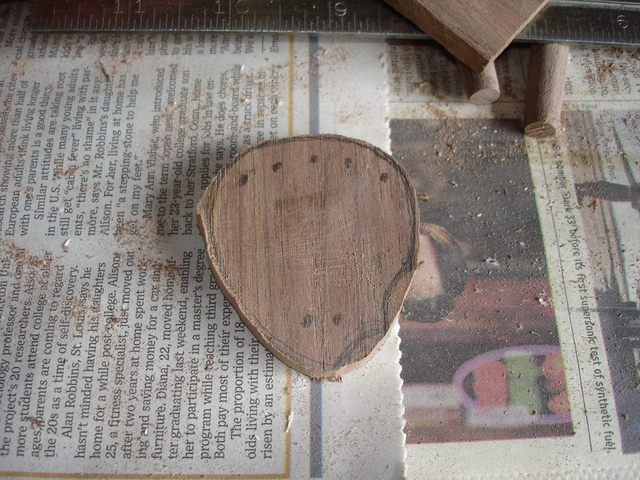
Here it is rough cut to shape.
I took my rattail file to it.
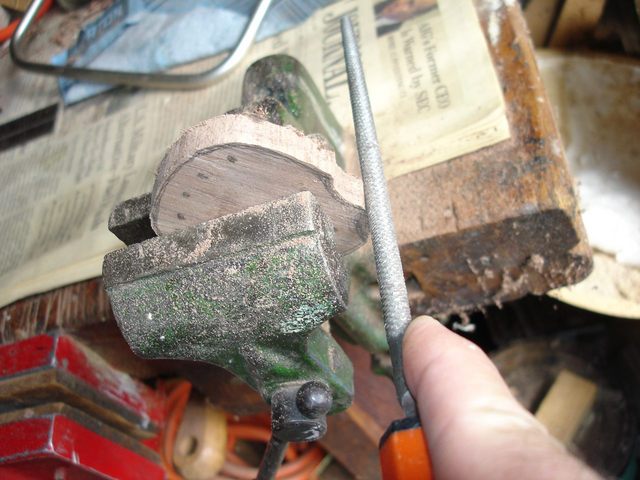
There are the notches.
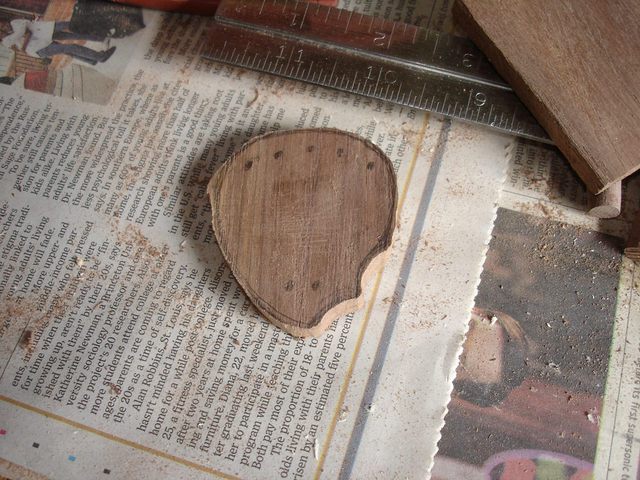
I smoothed it out with my rasp.
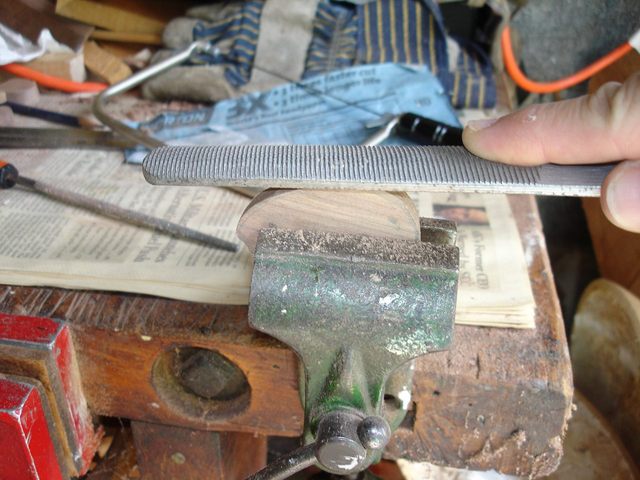
And there it is.
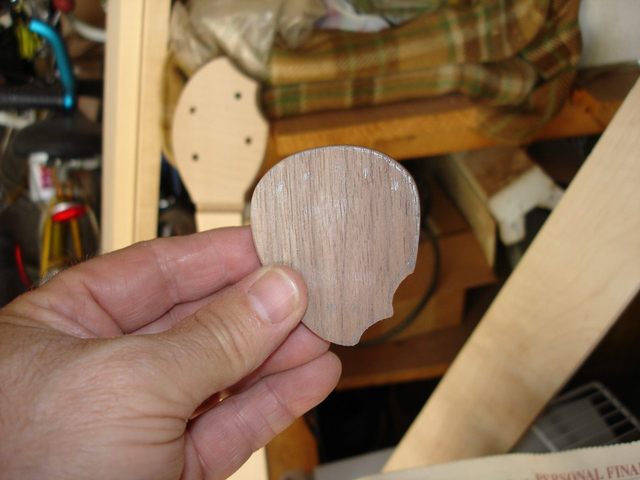
You might see a resemblance to another shape that is visible in the background.
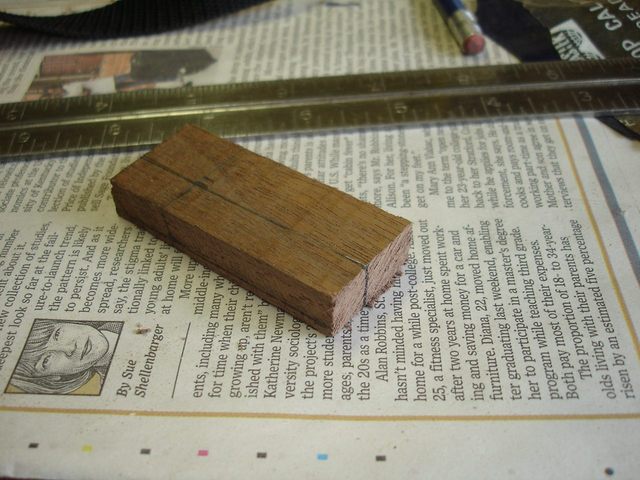
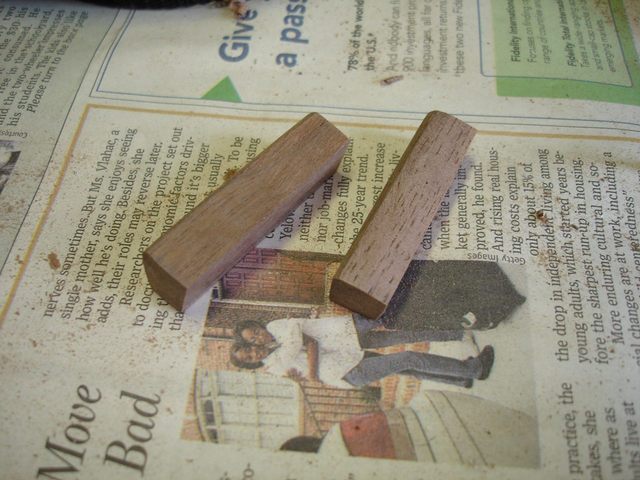
Next step was to make some blanks for the nut. I plan on making two or more so that I have some spares when it comes time to cut the string notches. I measured the size of the nut slot in three dimensions and came to the conclusion that I will need a piece of wood that is 3/8" by 3/8" by 1 3/4".
I had some wood left over from the strips that I used for the peg blanks. The leftover pieces were 3/8" by 1" by about 2" so I should be able to get some pieces out of those. I found one of those pieces and marked it with a pencil.
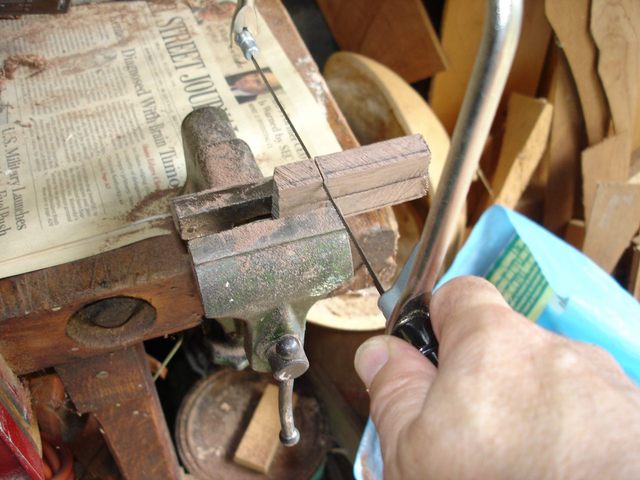
Then I took my panel saw and resawed the wood down the line.
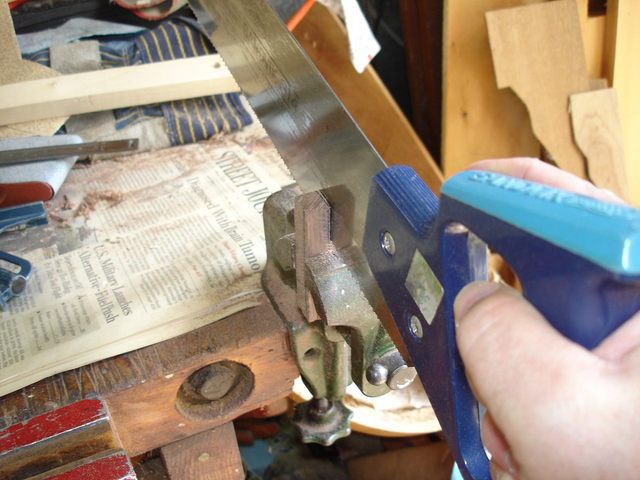
I had enough wood on that piece to make another blank, so I marked off another one and sawed that one as well. Since the remaining wood was too thin for the panel saw, I used the coping saw instead.
Then I turned the piece on its side and sawed off the two chunks.
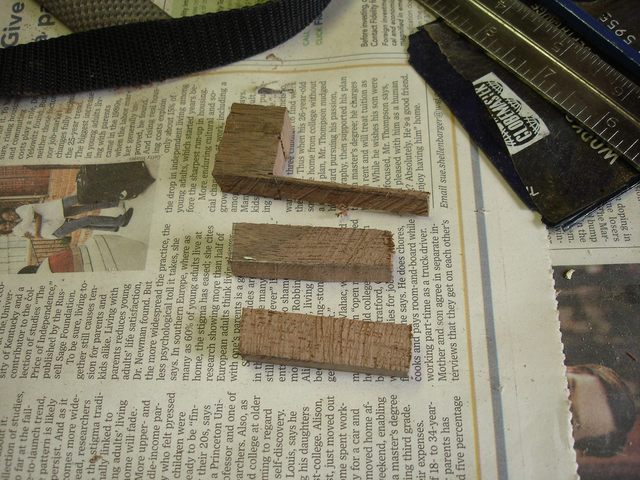
There they are. Two basic pieces of wood 3/8" by 3/8" by 1 3/4".
Now I need to shape them so that they will fit into the nut slot. The first thing I did was to file a small chamfer on the back of the nut so that I won't get confused later about which end goes where.
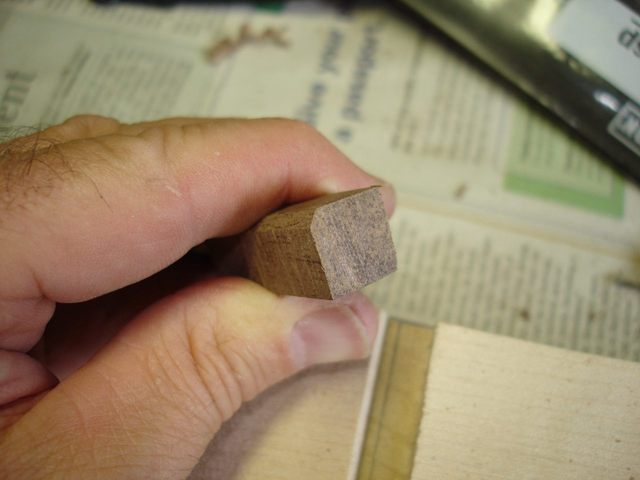
That is the side that will go toward the peghead. Then I took some sandpaper and started sanding down the sides of the blank so that it fits the strange angles in the slot. You can see that the wood doesn't fit into the slot.
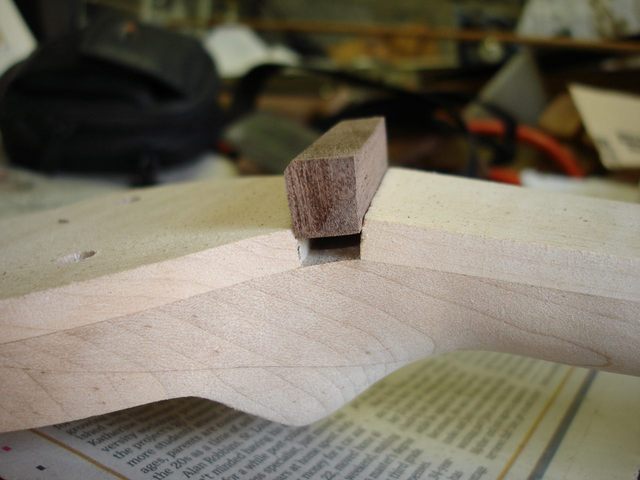
So I sanded and I sanded and I sanded. Here it is part way done. I need to angle the bottom up a bit.
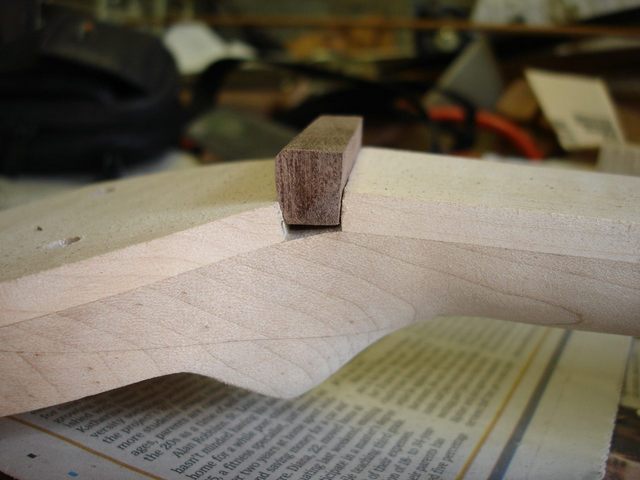
And here it is all the way down in the slot.
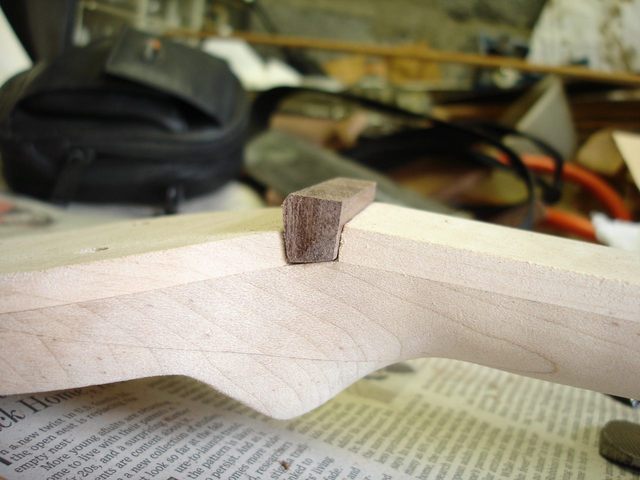
Here it is from another viewpoint.
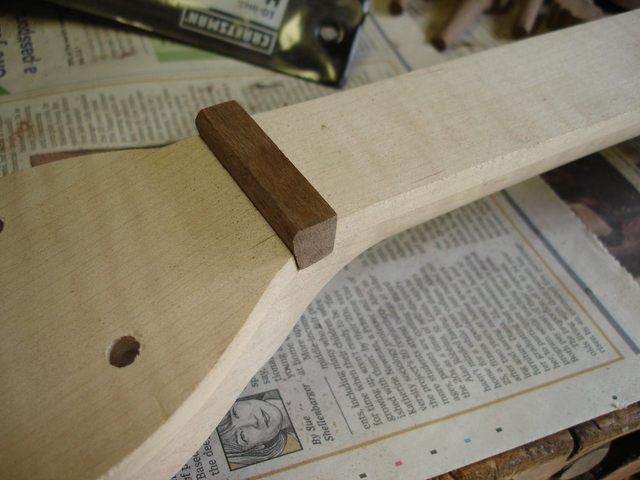
I did the same thing on the next blank, and then I had two.
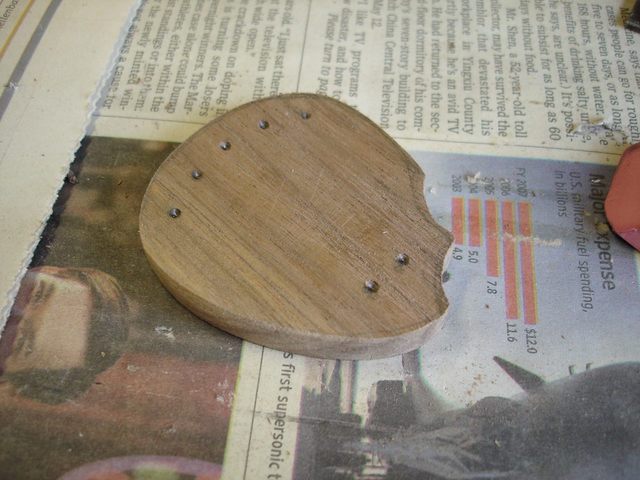
OK. I still had some time left in the day, so I went back to the tailpiece. I needed to drill some holes in it for the strings. I measured the locations of the holes. The string holes are 1/4" from the leading edge and about 3/8" apart. I just eyeballed the positions for the holes for the tailpiece gut. I used my center punch to mark the locations.
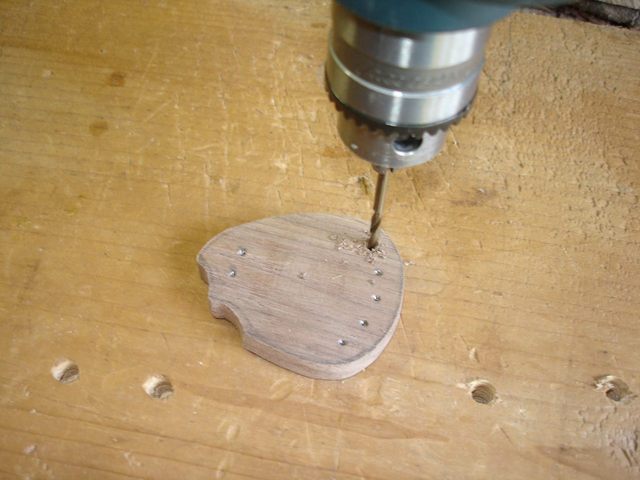
Then I drilled them out with a drill bit that is 7/64" in diameter. That is the size I used last time, and it seems to have worked OK.
In order to avoid string breakage, I chamfered the holes on both sides using a 3/16" drill bit. Of course, on one of them I lost control of the drill and went too deep.
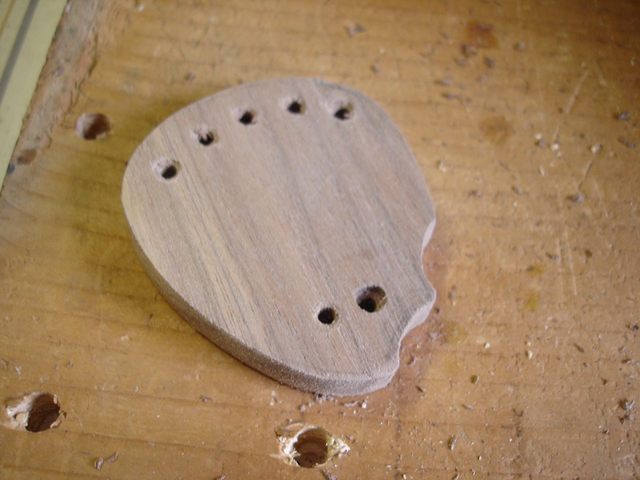
Shoot! I have learned several times on this project that you cannot put wood back on, so what the heck, I just made both holes look the same.
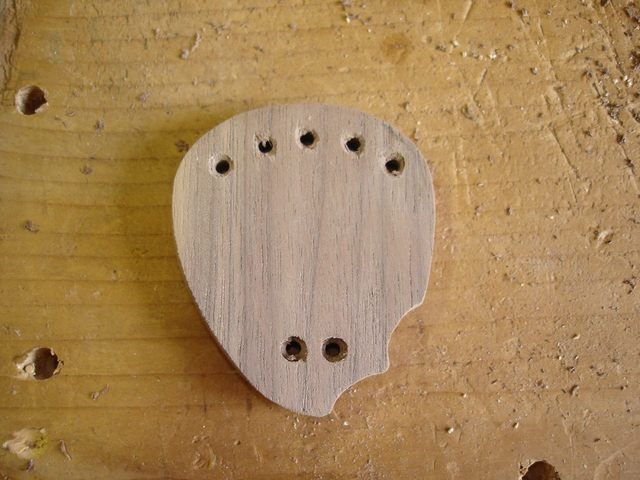
Well, here they are. A box of parts for the banjo. It took quite a while to make all those little parts, but it has to be done if the instrument is going to play.
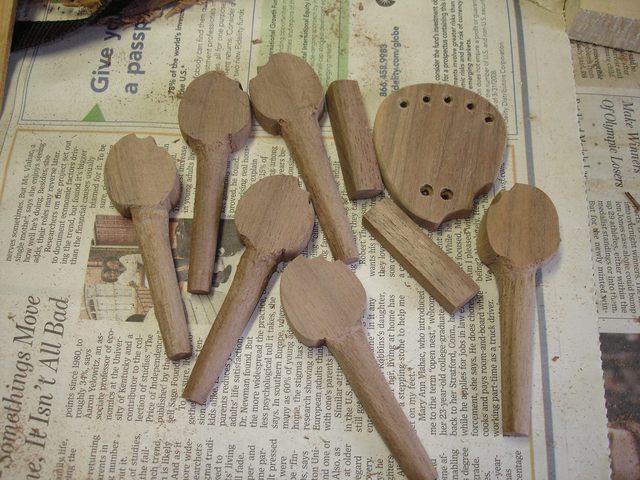
I spent about 3 1/2 hours making the nut blanks and the tailpiece. That also included doing some more finish work on the pegs but I didn't photograph that part.
Original post date August 4, 2008