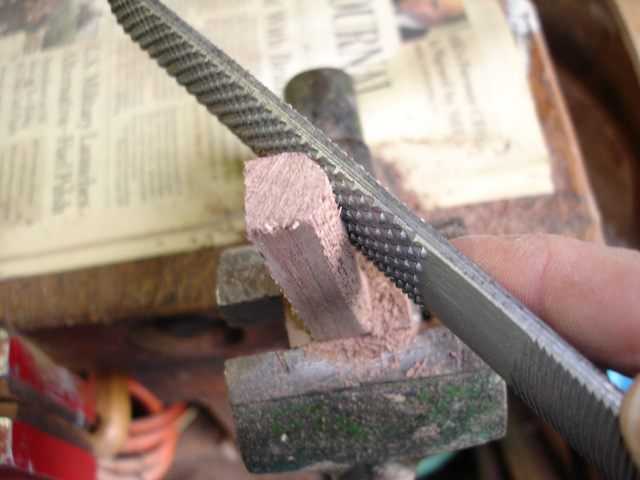
The next step is to turn the peg blanks round. Since I do not have any sort of lathe, the word "turn" is a bit optimistic. I use my shoe rasp to make the blanks round by eyeballing them.
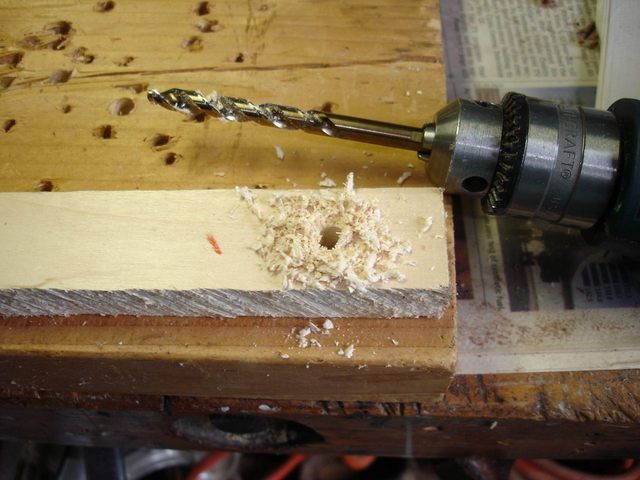
In order to get the pegs to their approximate correct size, I made a peg hole in a piece of scrap wood. I will ream out the hole to full size and use it to test the pegs to see if they are the right size.
After I drilled a 1/4" hole, I reamed it out to full size using my reamer. To make the hole full size I measured on my reamer up 1 9/16" from the end of the flutes and put a flag on it using masking tape.
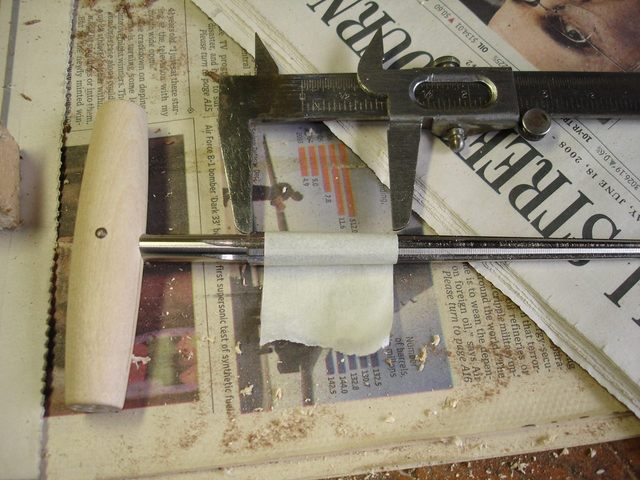
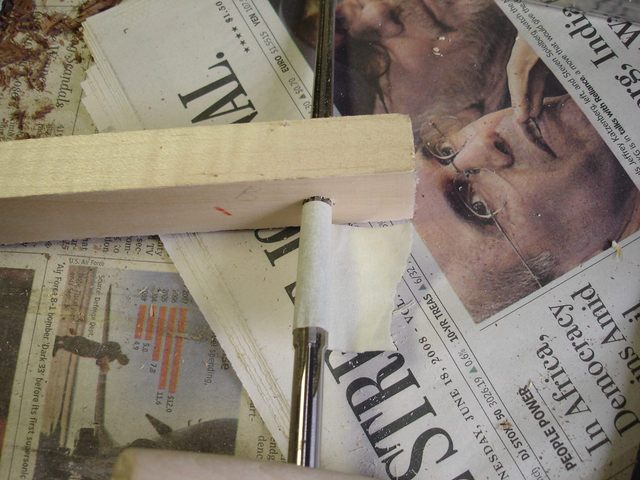
You can see below that I have put the reamer through the hole all the way up to the flag. I did not ream the holes on the peghead to full size because I wanted to leave some space for further reaming after the finish is on the neck, but since this is just a hole for temporary use in a piece of scrap I reamed it out full size right away. That was fun.
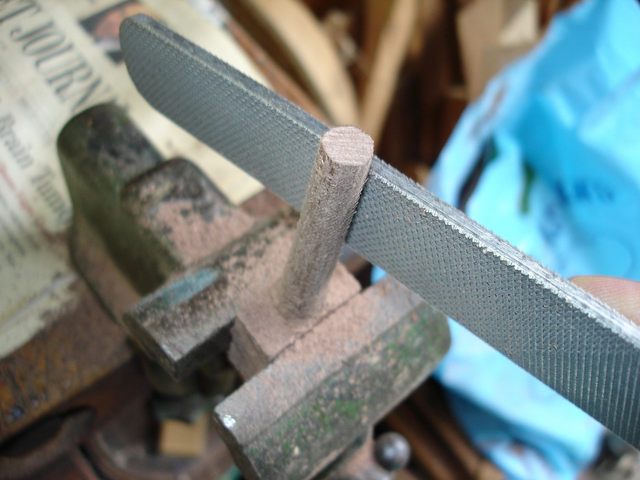
When the pegs are the correct size they should just fit into the holes, not all the way through, but just the tips. That way there will be sufficient wood left to shave them to the proper angle and yet I won't have to remove a lot of wood using the shaver.
To make the peg shafts round I just clamped the button in the small metal working vise and used my shoe rasp to eyeball them round.
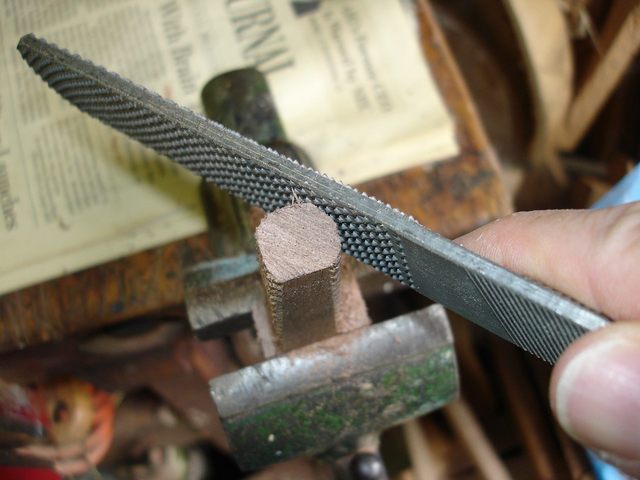
Here is a view from another angle. I am using the rough side of the rasp to do this.
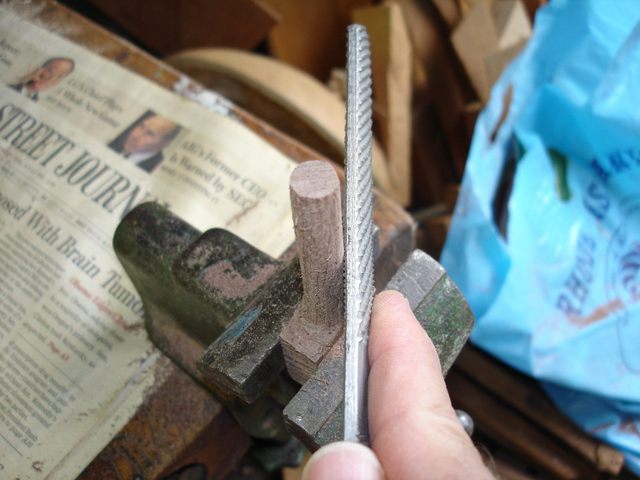
When I got it close to the correct size, I switched to the smooth side of the rasp.
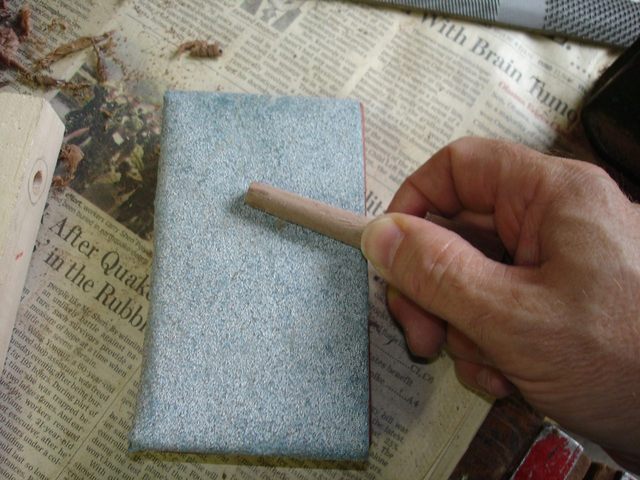
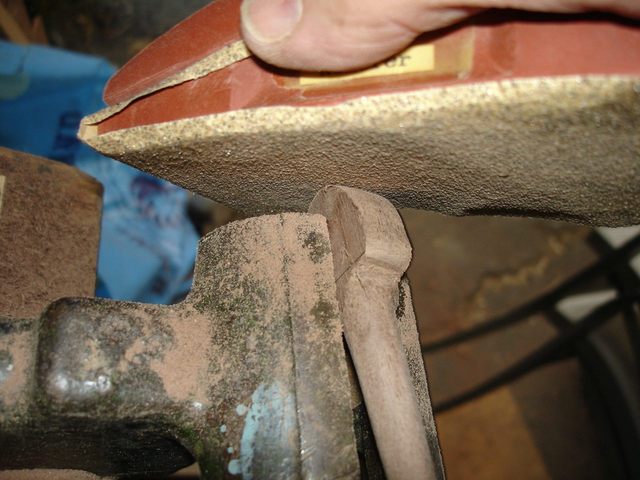
After I used the smooth rasp, I used my sanding block with some 80 grit sandpaper on it. I tried to keep a taper on the pegs since they will be tapered by the shaver to fit the taper of the holes.
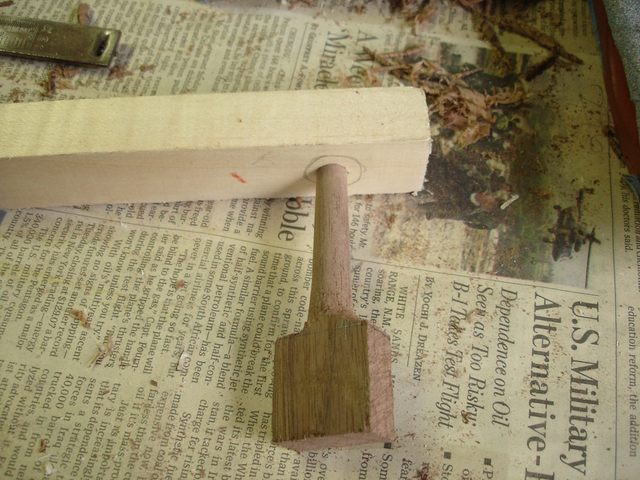
Here is the peg with just the tippy end stuck into the hole.
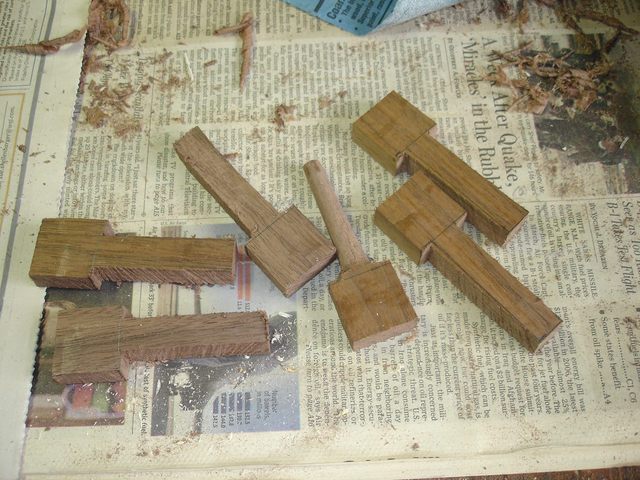
That is one. Five more to go.
On later pegs I found that the initial cutting went faster if I used the round side of the rasp instead of the flat side. The round side really tears out the wood.
After all the shafts were about the right size I switched over to shaping the buttons. Same idea; I used the rough side of the rasp first.

After roughly shaping the buttons using the rasp I finished up with the sandpaper. What I was using in this photo was some 60 grit paper that I found when I was shopping for something else.
Then I had an inspiration and I got out my rattail file.

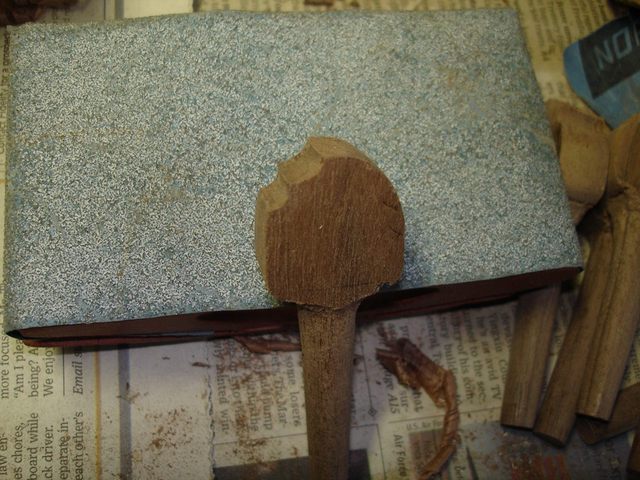
When I got done with the button, this is what I had.
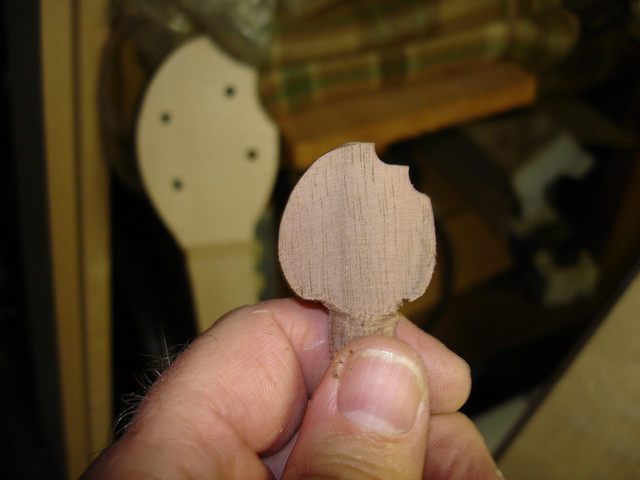
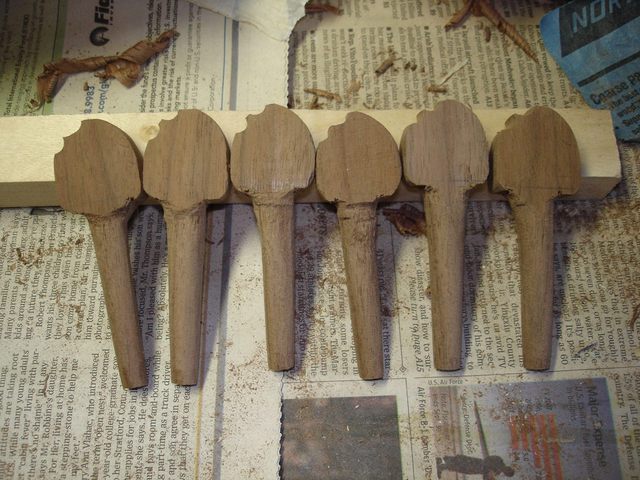
Notice anything that the button resembles, which might be visible in the background? I really like this idea. Here are all six pegs with the buttons shaped.
This is such a neat idea that I have taken a photo in 3-D so you can see it better.
That is all for today. I spent 3 hours making the pegs round and shaping the buttons. That's a lot of hours for six tiny little parts.
Original post date August 4, 2008