Last week it was so cold that I had to take the neck blank inside to make sure that the glue would set properly. This week it is 85 degrees outside. Go figure. Anyhow, I went out to the shop to do some work on the banjo neck.
Now that the neck blank has dried, the next thing I need to do is to cut the peghead to the proper angle. I do that next so that I can glue down the peghead overlay and the finger board at the same time.
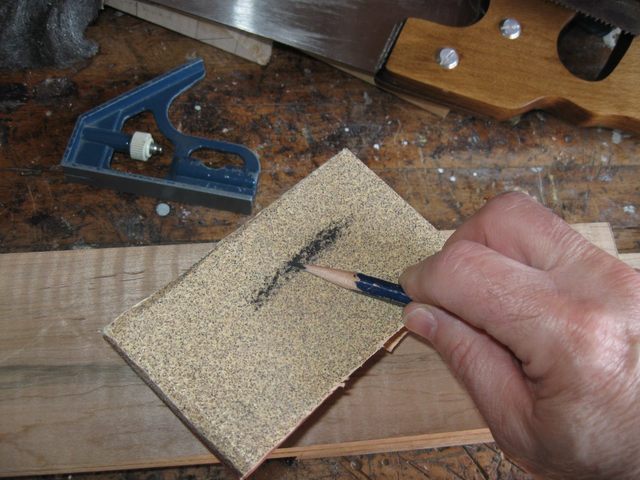
First thing I did today was to sharpen my pencil. The 60 grit sandpaper makes short work of that.
I transferred the peghead drawing from the plans to the wood by constructing it directly onto the wood. I did that using my ruler. It is all straight lines drawn between well defined points so it is a pretty simple thing to do. Here is how I did it.
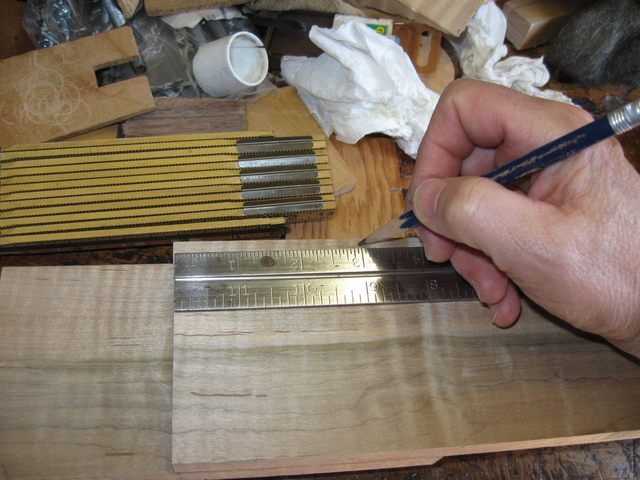
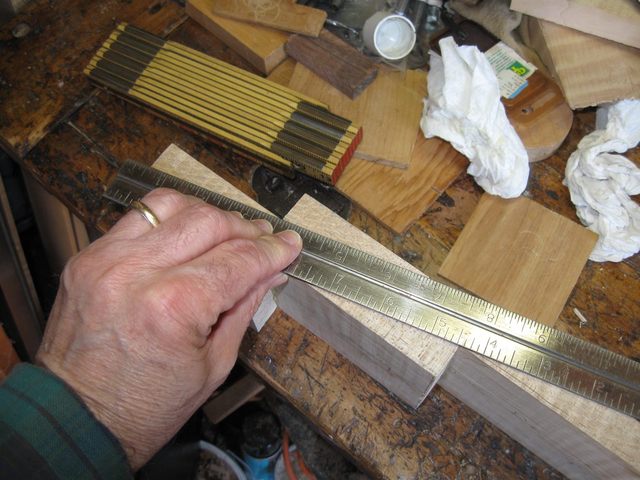
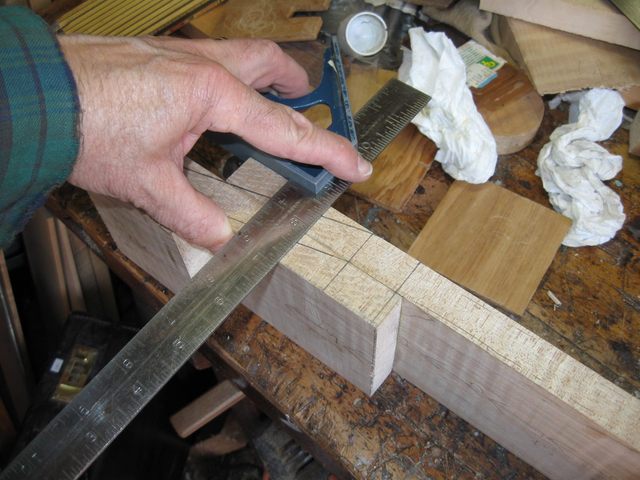
I used my sharp pencil to mark a point 3" in from the end of the neck wood. Since the bottom piece sticks out 3" from the end of that board, the 3" marked on the top, neck piece board will give me a 6" peghead. You can see the plan for what I did here.
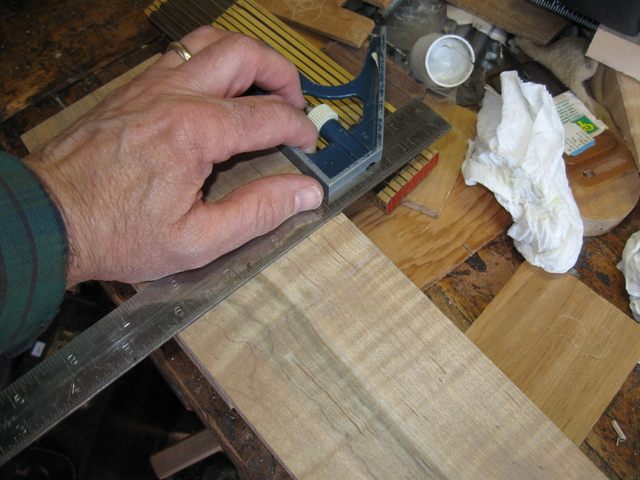
I dropped a perpendicular line from that mark across the board using the square.
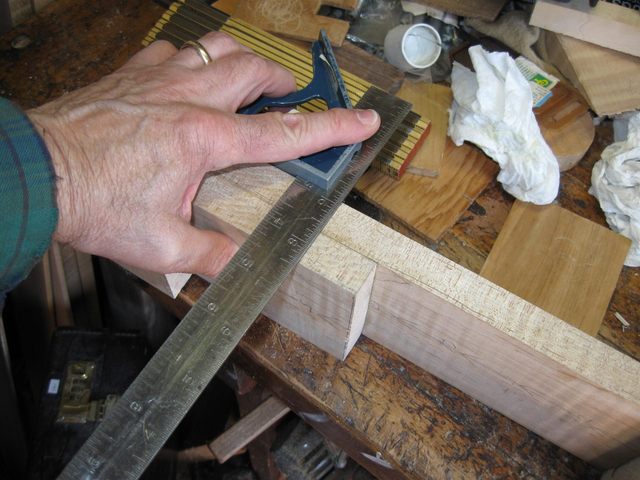
I also dropped a vertical line down the side of the peghead from the end of that line.
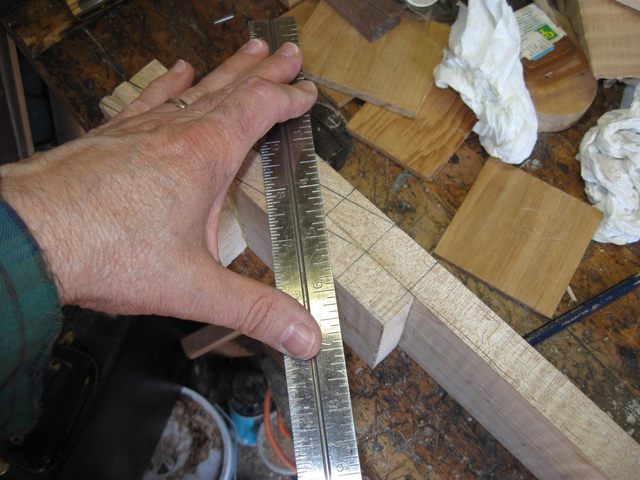
To mark the diagonal I put the ruler between the point at the top end of the bottom board and the mark I just made that is 6" from that point. Like this.
and drew a line. Here's the line.
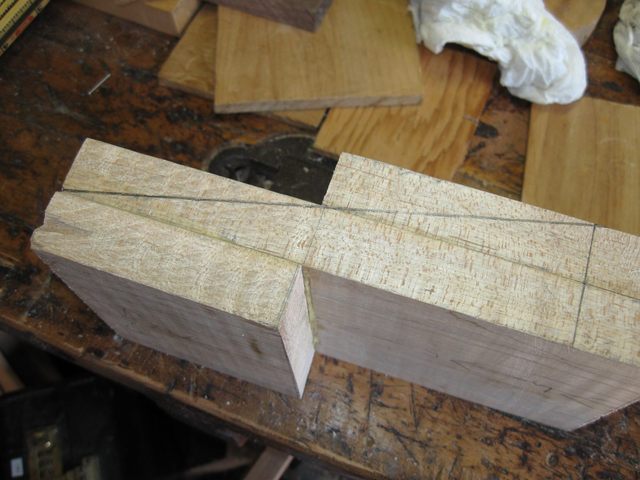
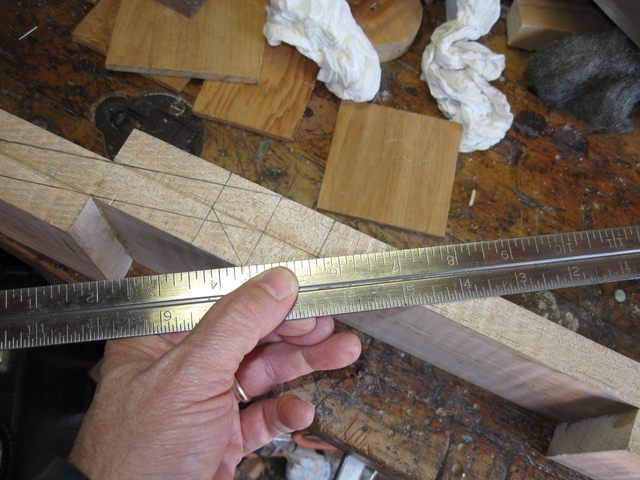
I put the ruler down again, but this time from the bottom of the board to the intersection of the vertical pencil line and the bottom of the top board.
Those two lines define the edges of the peghead itself.
To draw the handstop, I first drew some more vertical lines, one that is 1" to the right of the 6" line and one that is 1" to the left of it.
Hmmm. The vertical on the right side should match up with the end of the board on that side. I must have cut them a bit off or glued them together slightly off.
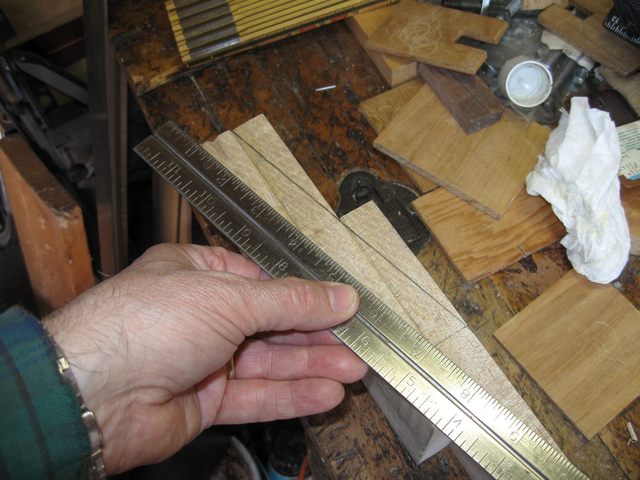
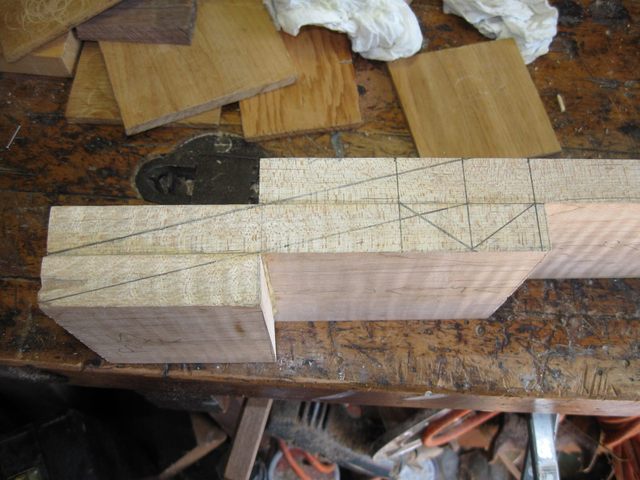
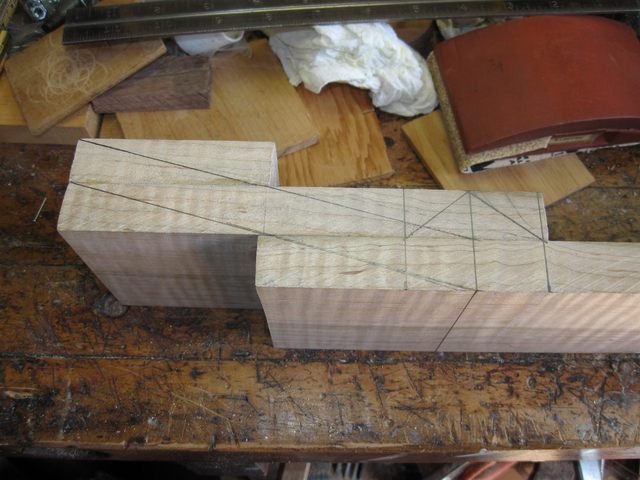
Oh well. To continue with the handstop I put the ruler down between the center 6" line at the bottom and the one to the left of it at the top to make the angled mark.
Then I did the side to the right of the center line.
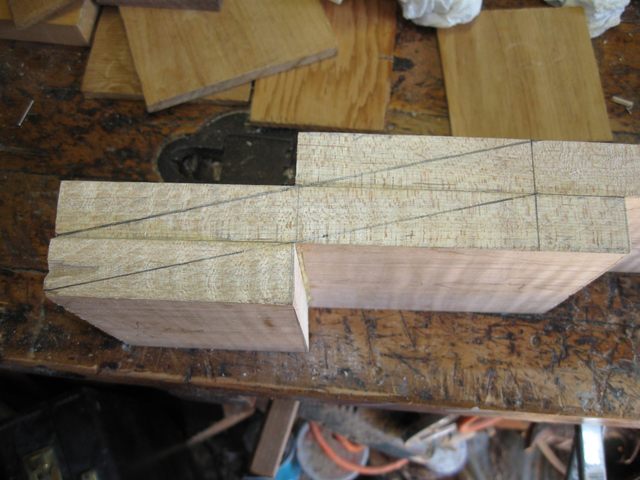
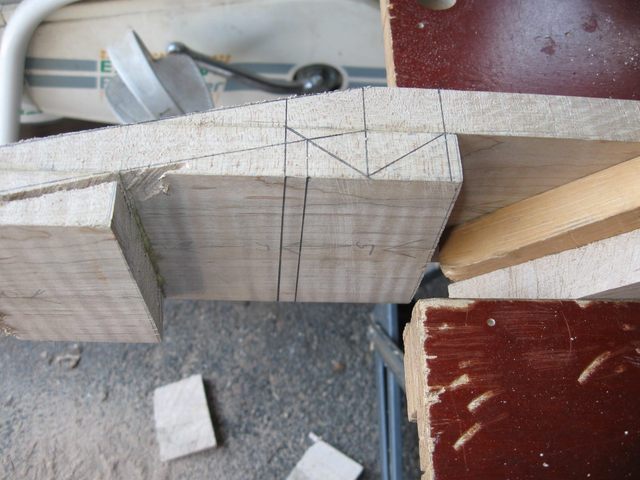
And there you go. The picture is complete.
To aid in my sawing I duplicated the drawing on the other side of the blank.
OK. It is time to do the sawing.
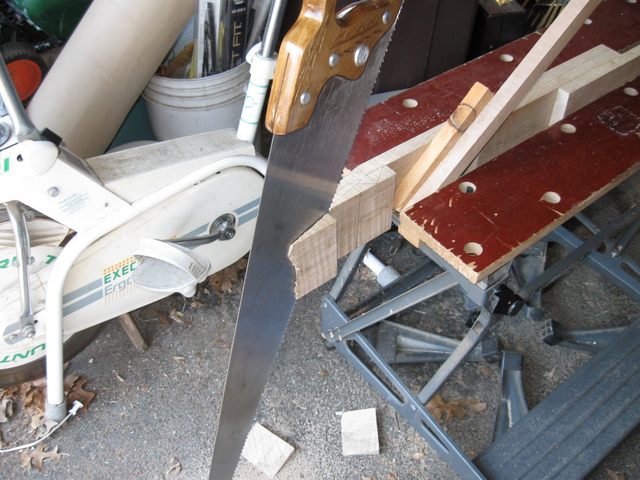
I started by sawing the top of the peghead with my rip saw. This went pretty quickly since I had sharpened the saw earlier in the day.
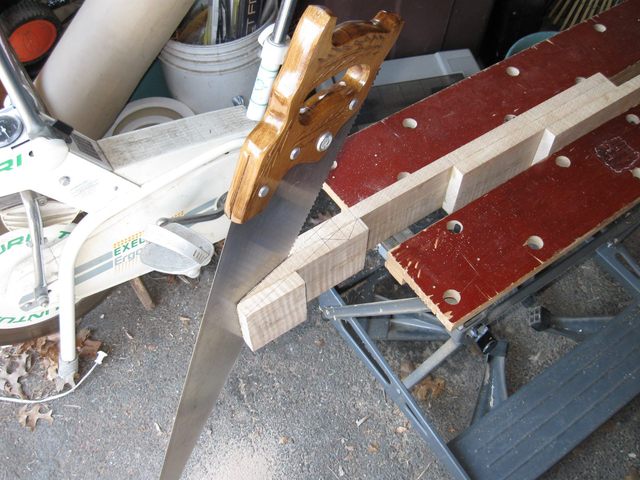
When I got done here is what I had.
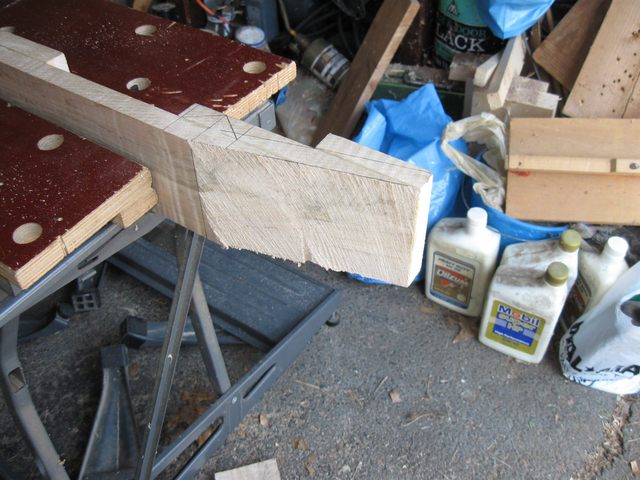
That was the easy cut. The one on the bottom side of the peghead is more difficult, especially getting the saw started. To get a starting point for the ripsaw I used the panel saw to cut off the corner of the blank.
Then I started sawing with the rip saw again.
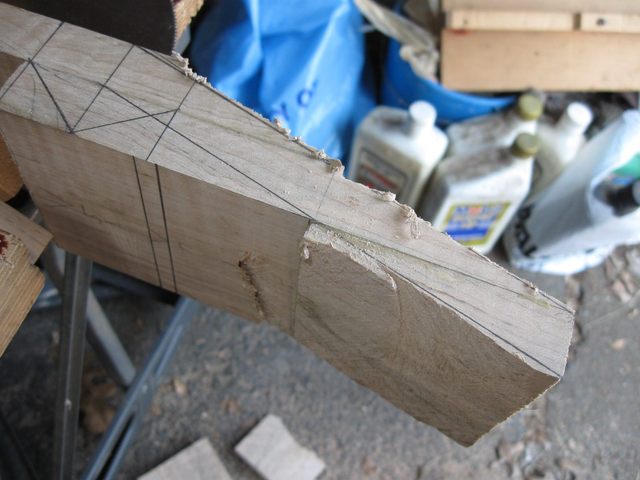
On this side of the peghead I had to stop short in order to preserve the handstop wood. To make sure that I knew where to stop sawing I dropped a vertical line from the intersection of the peghead bottom and the handstop.
I continued sawing until the bottom piece fell off. I found quite a mess there because the saw had not cut straight.
Without the extra wood along the bottom there is no kerf to guide the saw, so it wandered off. I used my panel saw to restart the kerf for the other piece of wood.
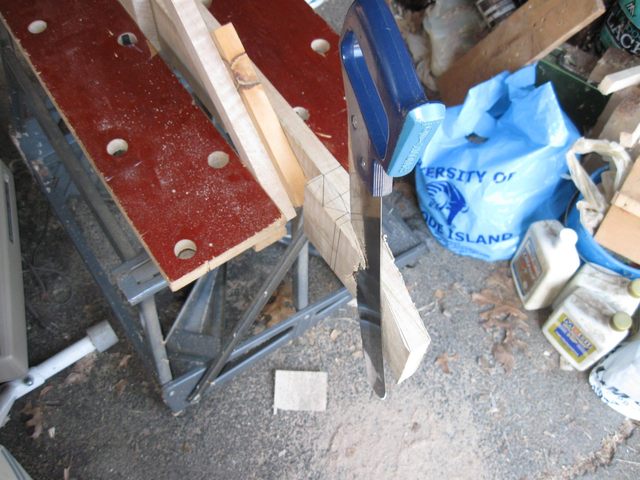
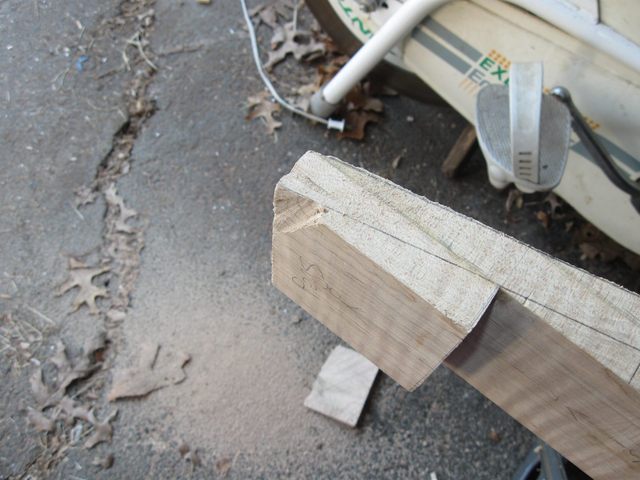
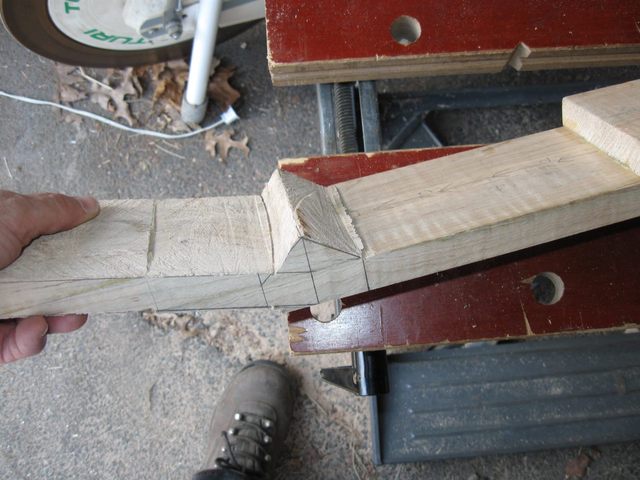
I cut to the line that I had made previously and then cut off the one side of the handstop and ended up with this.

I think that my panel saw is all used up. I sharpened it earlier in the day when I sharpened the rip saw, but the teeth are now too small to set properly. The teeth are sharp but it has almost no set so the blade binds in the kerf. I found my large crosscut saw and finished cutting the other side of the handstop using that.
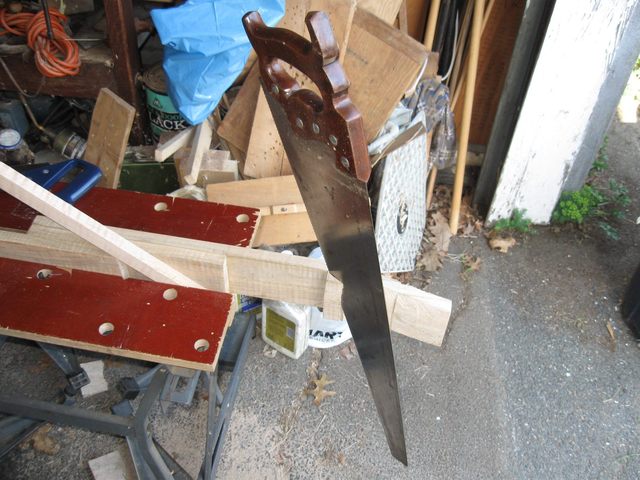
Well there it is, such as it is.
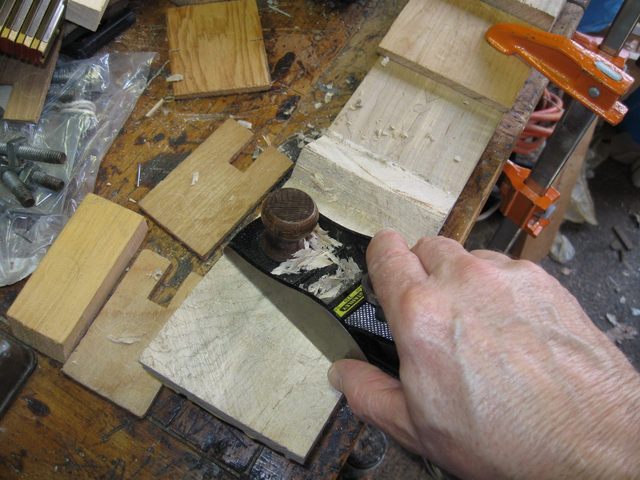
To remove the extra pieces of wood left by the saw I got out my new gouge. Remember this bad boy? This ought to be perfect for cleaning up the extra bits.
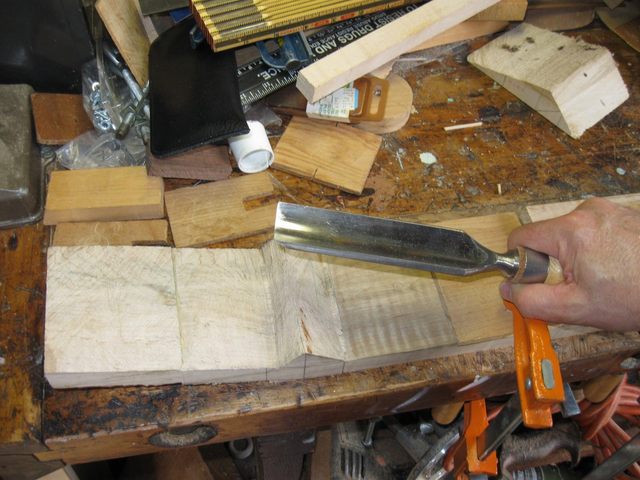
With some gentle taps from my rubber mallet the wood comes off easily.
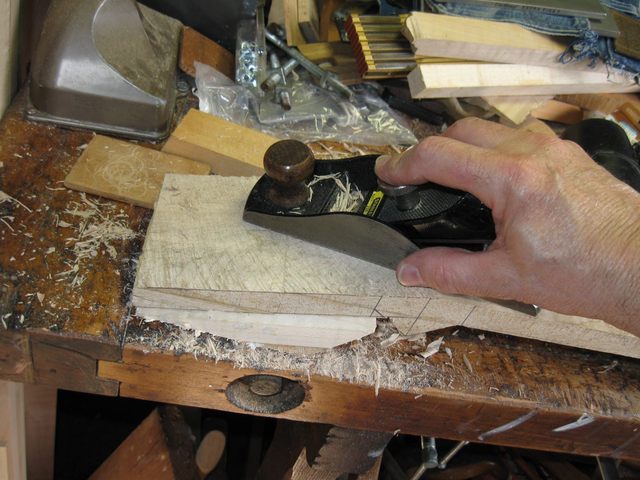
After carving off the extra pieces I flattened the surfaces using my bock plane.
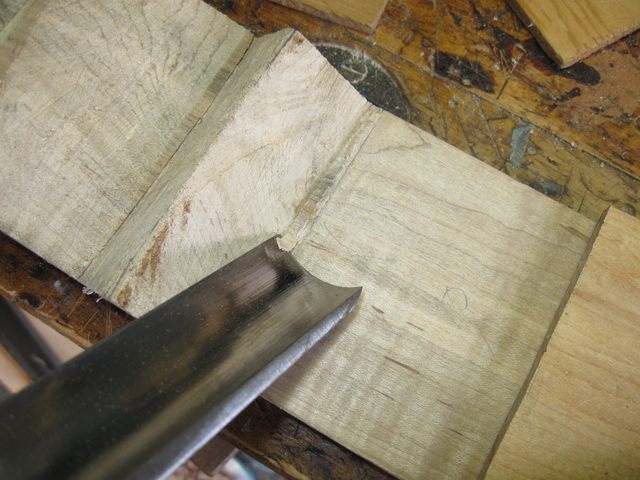
Here is the bottom of the peghead flattened.
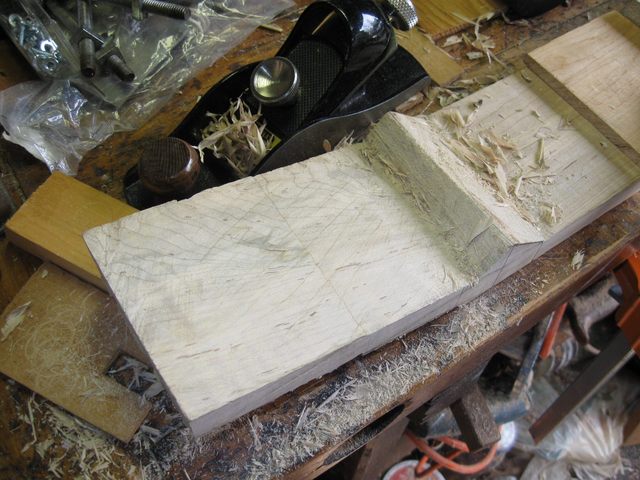
Here is a little trick I discovered last time. I can tell that the surface is flat when the glue line that goes across the peghead is straight. If the glue line is curved then the surface is curved.
I did the same thing to the top surface of the peghead.
Here is a photo of the top surface. The glue line is straight here as well.
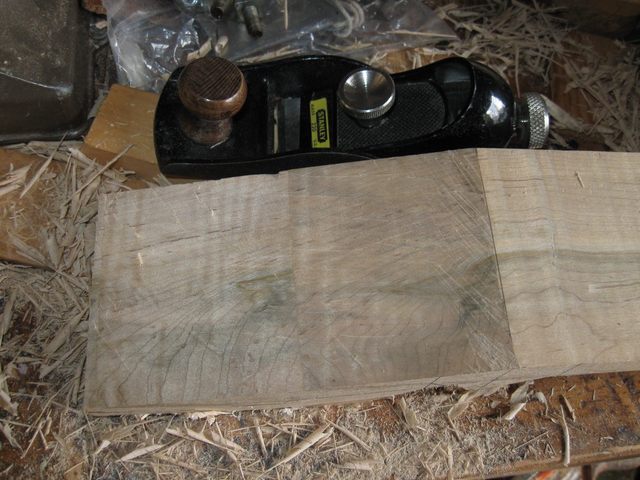
Here is the blank, ready for the next step.

I spent about an hour sharpening my saws before I started the cuts. Then it took me about a half hour to mark the blank where the cuts were to go. Then it took me about two hours to do the cuts. I won't add in the time for the saw sharpening because that really isn't part of the project building but rather tool maintenance. So I am adding in 2 1/2 hours for today's work.
Original post date April 29, 2009