We had an unusually warm day today for April in New England, so I decided to do some work on the banjo parts out in the sun.
Last Winter I discovered, much to my dismay, that some of my fancy finger board wood had warped. I guess I should have kept it in the house, but I didn't think of it. The wood is only 1/4" thick, so it isn't very stable in the changing humidity.
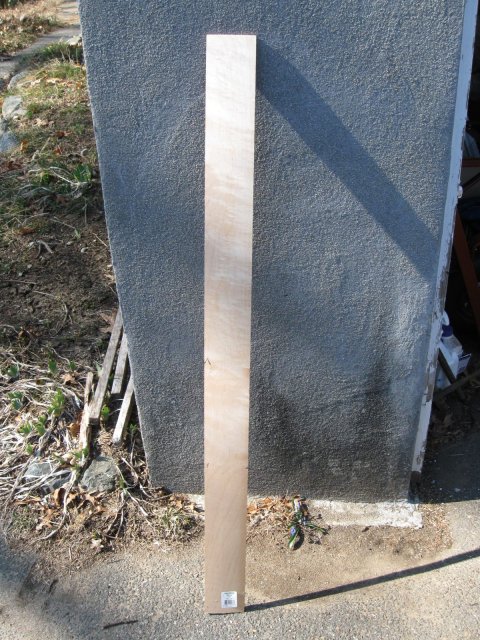
I buy my neck wood out of the lumber bins at Lowe's and Home Depot where it is sold as shelving or some such other thing. I poke through it looking for nice figure, which seems to be ignored by the big box hardware stores. To them it is all just the same wood. Anyway, this wood was hand picked by me for its nice figure and I would hate to lose it because I had let it get warped. You can't see it in the photo, but the figure in this wood is almost satin.
You can see the twist in the wood at the bottom, near the ground. In fact, this piece of wood has a bit of all three, warp, cupping, and twist. It really is a mess. You can see the bend in the board better if you look at it on edge.
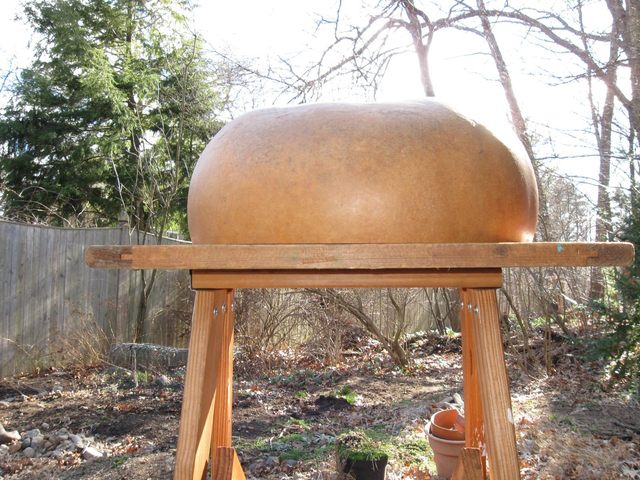
This is not good! I will have to fix this problem somehow. Meanwhile, I also have a problem with the gourd. Last Summer I cut the top off the gourd to clean it out, but I didn't do a very good job with the saw. The edge of the hole where the skin will be stretched is not flat. Take a look at this mess.
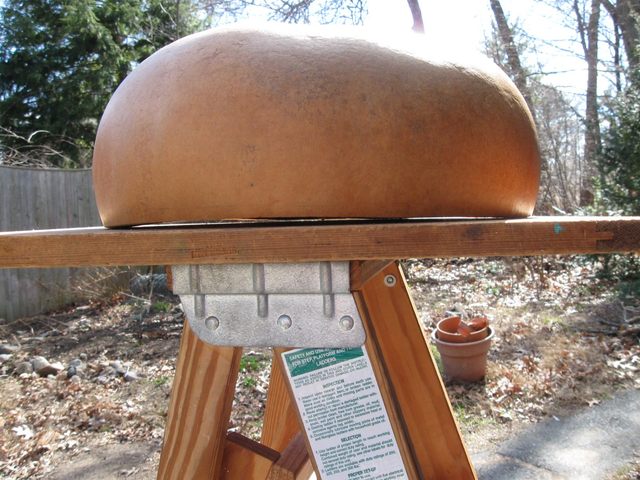
I put a flat board on top of my step ladder and then I put the gourd face down on the board to see how flat it is. Can you see all that sunlight coming through between the board and the gourd? Yikes!
I decided to tackle the gourd first since it seemed like an easier problem to solve. I will get back to the warped board later.
I flattened the surface of the last two gourds by placing 80 grit sandpaper on my bench and then dragging the gourd back and forth across the surface of the sandpaper. This time I brought out the Big Guns.
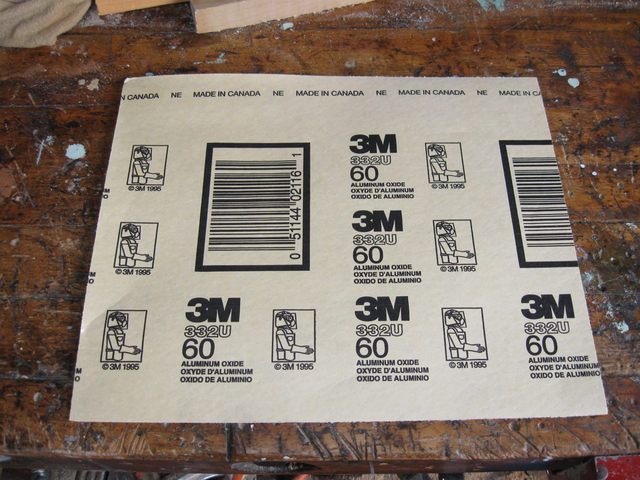
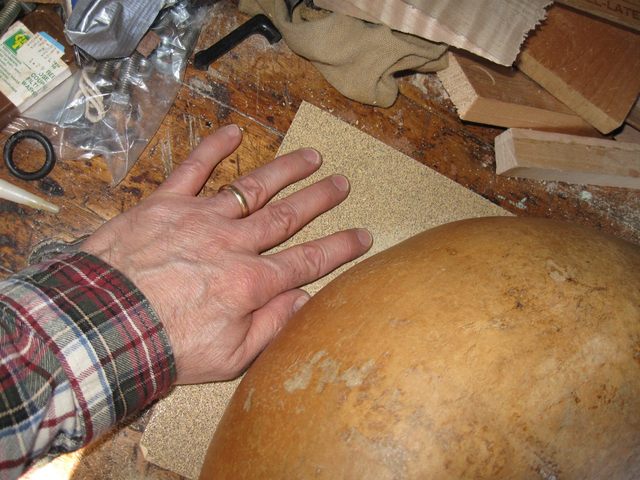
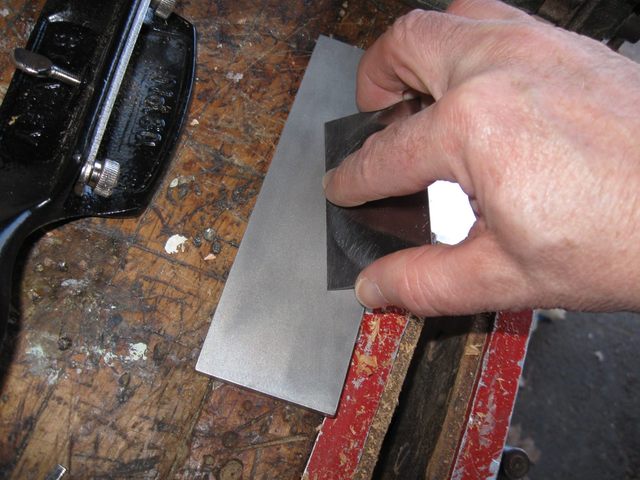
That, folks, is 60 grit sandpaper, which is rough stuff. So here is what I did. I put the sandpaper on my bench face up and then I put the gourd down on it face down, like this.

I can't show you exactly how I do it because I need one hand to operate the camera and two hands to sand the gourd. So here is a photo of how I hold the paper down while I drag the gourd over it with the other hand. Some people glue the sandpaper down to the bench and then use both hands on the gourd, but that is too much trouble, and my method works fine.
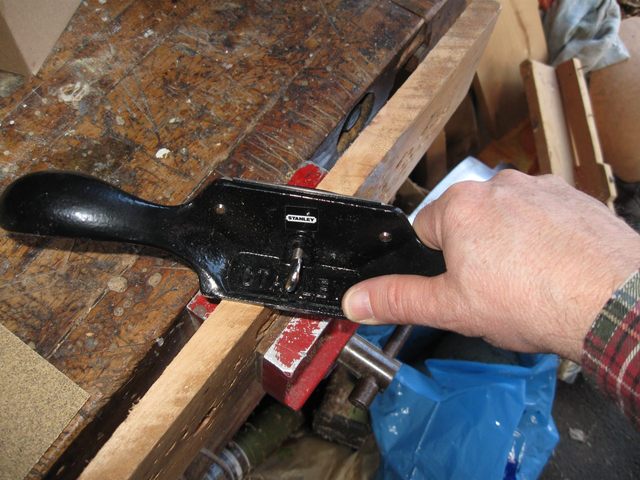
It is, however, slow, and it began to appear that flattening the gourd surface would take me all day. So I got out a tool to help me speed this up a bit. Here is my new cabinet scraper.
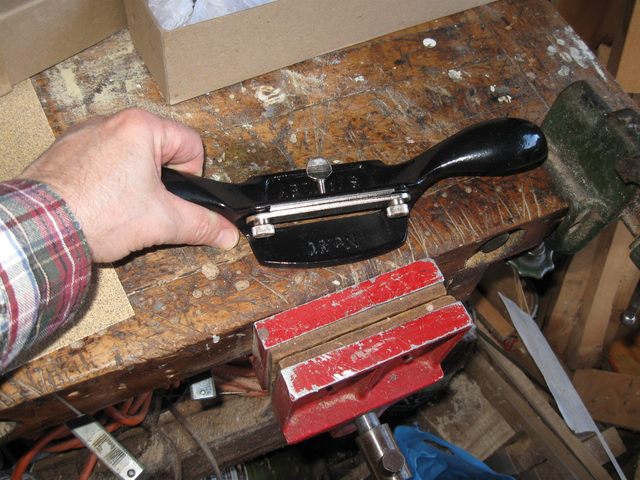
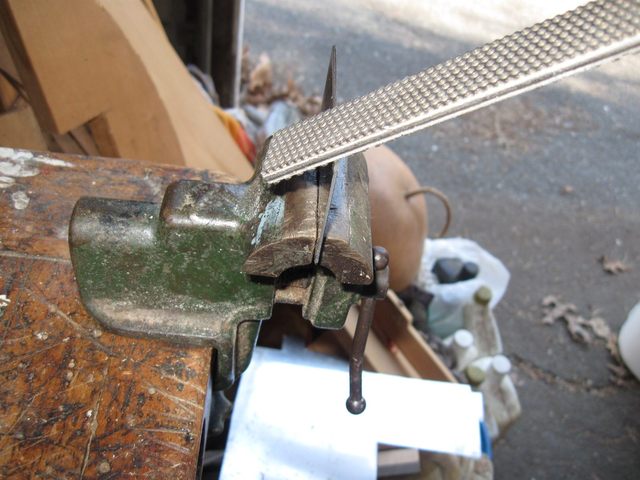
I have showed you this before. It is basically a card scraper ground at a 45° angle and held in a plane body. The scraper has a flat sole like a plane to keep the scraped surface flat. Last time we looked at the cabinet scraper I honed the edge a bit to get rid of the roughness it had coming from the factory. Here is how I actually sharpen the edge before using it. First I use my bastard file to re-establish the 45° bevel.
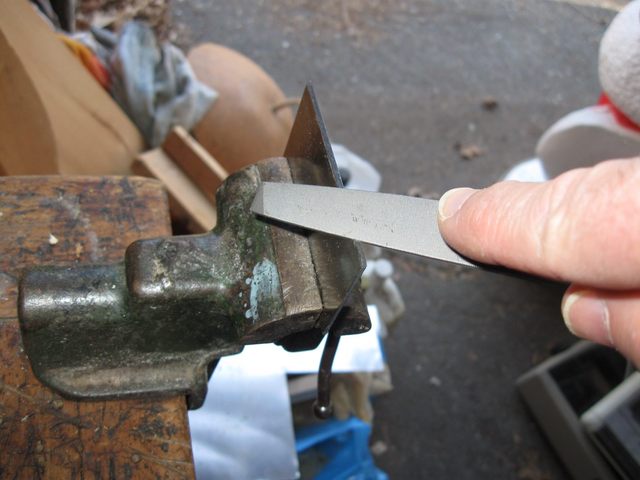
After using the file, I use my diamond file, which has a finer grit on it, to smooth out the bevel.
After that I quickly honed it on my fine hone. First hone the bevel.
Then, hone the back flat.
Finally, I take my burnisher and put the hook on the edge. The hook is made by pulling the burnisher across the edge two or three times at increasing angles. That bends the edge of the blade into a hook as shown here.
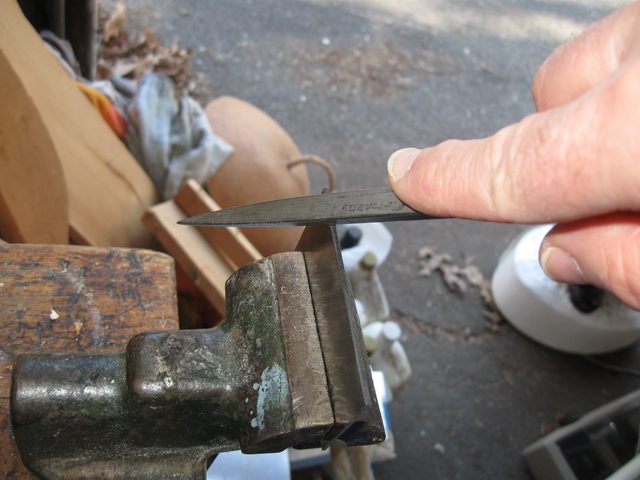
You can actually see the hook on the edge of the blade if you hold it up to the light just right.
The bright line across the top of the blade is the little hook that I made with the burnisher.
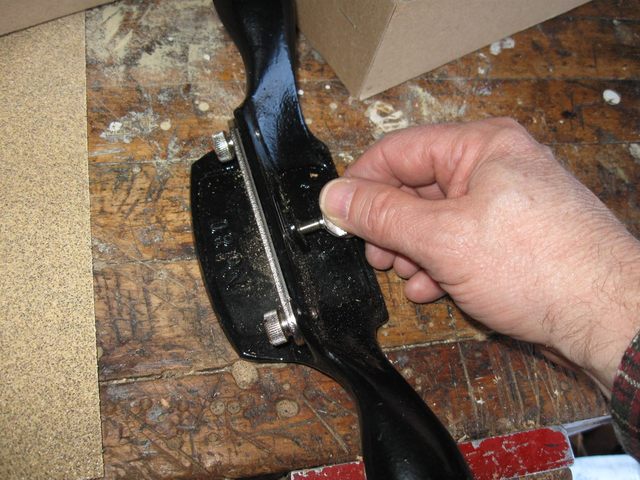
Once the blade has been sharpened it is put into the body. It turns out that setting up a cabinet scraper is really easy. You just loosen all the screws and drop the blade into the slot with the scraper sitting on a flat surface.

The blade falls down to sit on the bench and is therefore automatically aligned with the bottom of the scraper sole. Tighten the knurled nuts on the scraper to secure it in the body.

To adjust the bite of the blade into the wood, tighten the screw at the back of the blade.
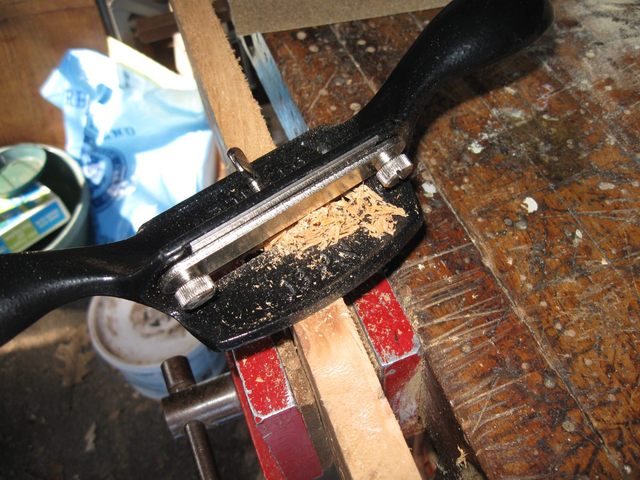
Tightening the screw presses it against the back of the blade which flexes the blade down beneath the surface of the sole. I found a piece of scrap wood to try the scraper on.
Wow. Look at the little curls of wood! Just like it is suppose to do.
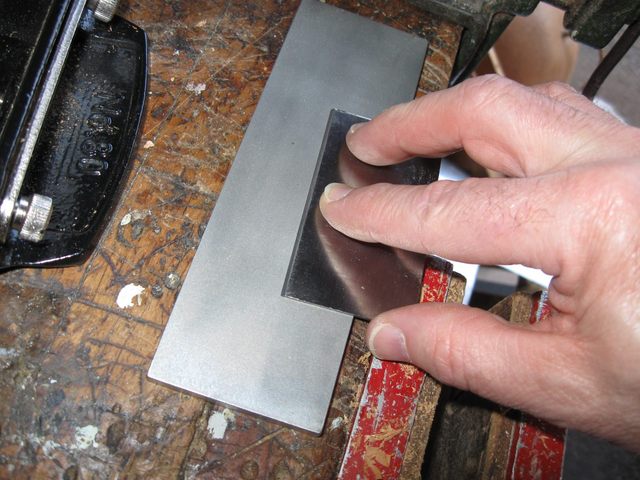
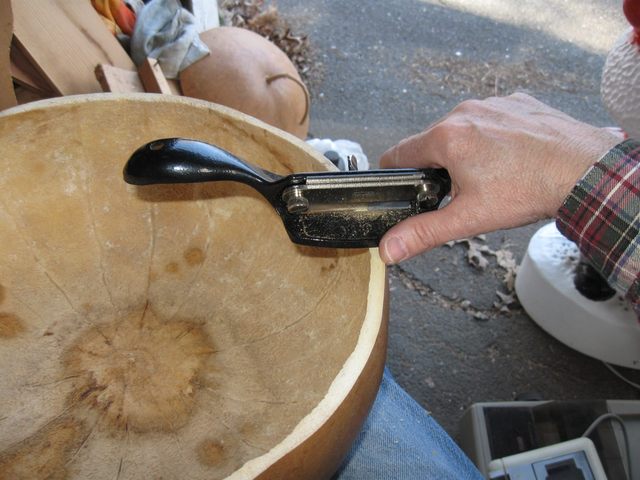
My idea is to use the cabinet scraper on the edge of the gourd to flatten it a bit more quickly than using just the sandpaper. Holding that big old gourd is a challenge.
I scraped for a while, eyeballing it until the surface looked flat. Then I took the gourd back to the sandpaper for a while to make it all even. Finally I put it back on the board to see how it was coming along. Here it is.
That is pretty flat. No sunlight coming through any more. This thing might work yet.
OK. On to the warped board.
I had queried the usual knowledgeable folks on the web about how to straighten out a warped board and they came up with all kinds of suggestions, like
I had lots of alternatives to try. I decided that I would try steam first to see if I could get the board to flatten. If that didn't work, then I would try some of the other ideas. Forcing it flat when I glued it to the neck seemed like it might split the board or cause a weak glue joint.
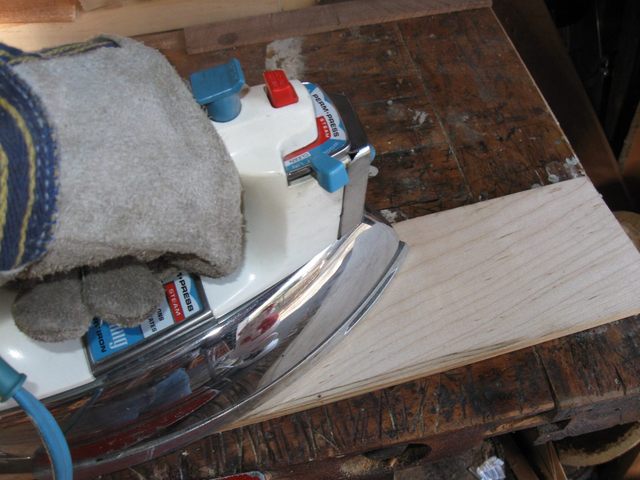
Here is the most convenient source of steam that I could find.

I... um... "borrowed" my wife's iron. Here is the theory. I will put the board down flat on the bench and then I will use the iron to apply steam and gentle pressure to the concave side of the board. The steam will cause the wood fibers to swell and the board to straighten out. So I set the iron to "linen", which is pretty hot, and let it warm up. Then I ironed the board.
I did that for a while, but it seemed to be making the cupping worse instead of better. Since steaming it was increasing the cupping, I tried turning the wood over and steaming the convex side of it. That worked. With many strokes and gentle pressure the cupping came out of the board. As I ran the iron up the whole length, the twist and warp also came out. Yay.
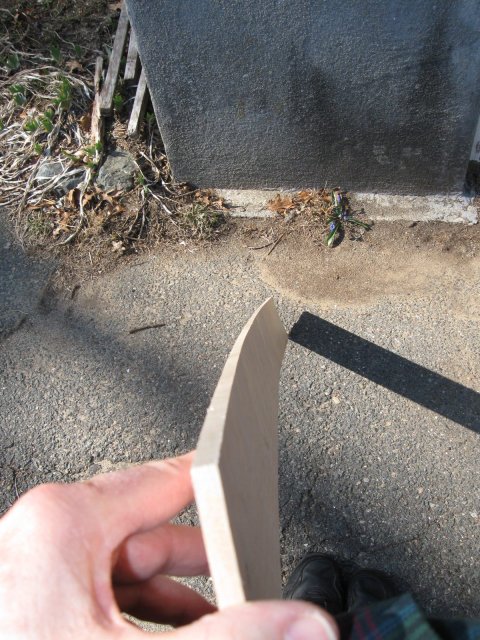
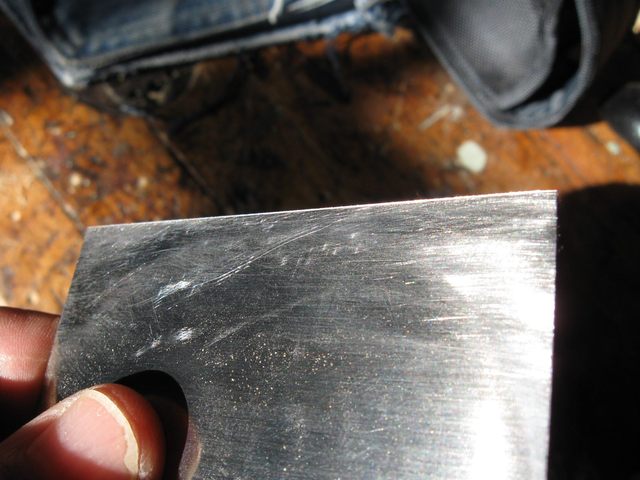
In fact, I found that I had over compensated a bit and warped the board in the other direction. So I turned it over and simply ironed out the bend. This is easy! The wood is very plastic under the heat of the iron. I think that maybe what is going on is that the steam and the heat are allowing me to compress the fibers at the outside of the curve and thus flatten it. Bending wood into a curved shape involves compressing the fibers on the short side, not stretching them on the long side. Reversing that process (straightening a curved board) if the iron is compressing the fibers on the long side it will flatten the board. Here is an edge on photo of the board after I got done with it.
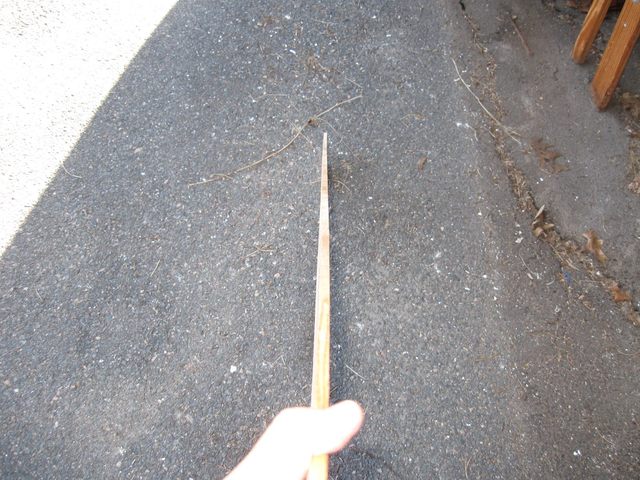
Wow! That is some improvement! Who woulda guessed that I could just iron the dang thing to make it flat? There is a little bit of a ripple in it, but I am confident now that I can simply iron it out when the time comes.
Just for fun I pulled out the lumber that I will be making the neck blank out of. Fortunately that wood appears to be straight. I don't know if I could iron a piece of wood that is 3/4" thick. Anyway, here is a 6 foot piece of curly maple lumber that is destined to be a banjo neck.
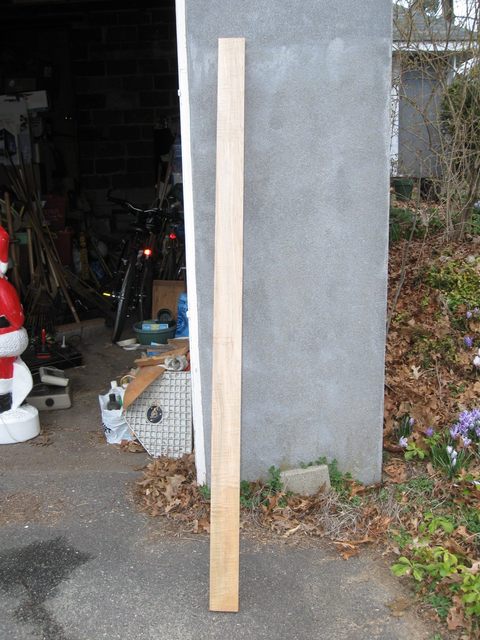
You can't see the figure in that photo, but it is there. In fact, this is an interesting piece of wood because it not only has interesting figure, it also has interesting grain. Here is a closer view.
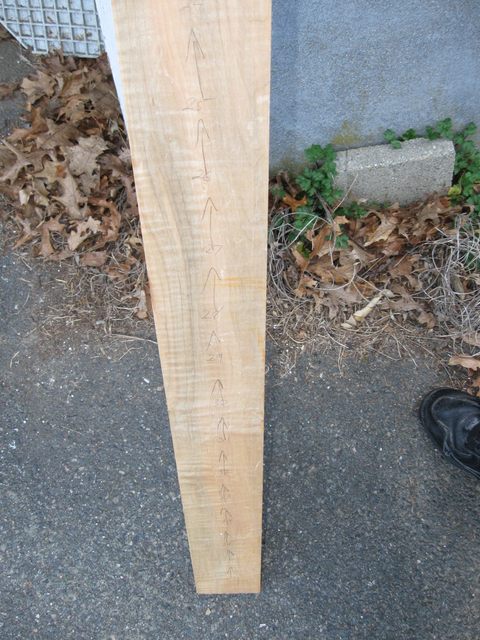
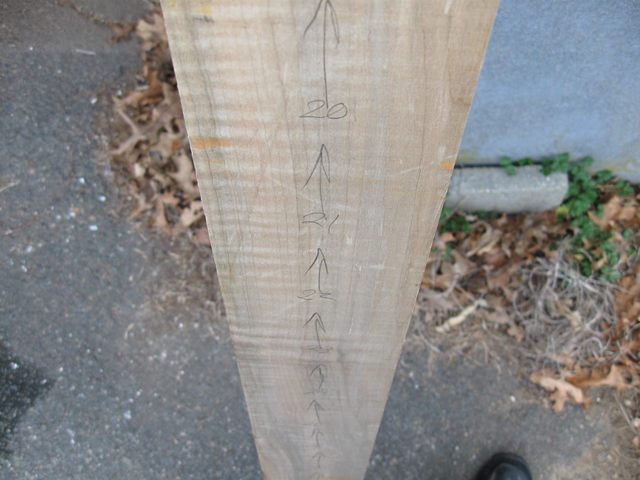
You cannot appreciate the beauty of this wood from the photo. You have to move the wood around in the sunlight to see the depth of the curl. I put the little arrows and numbers on the board to help me keep the pieces straight after I cut them to length. I plan on cutting the pieces off of the wood in the order that they go into the blank, all the peghead pieces from one end and all the neck pieces as I go down. The idea is to keep a good alignment of the color and grain of the wood in the neck blank. The arrows and numbers are on what will be the bottom of the blank. Here is a closer view of the numbers.
Well I ran out of time and had to quit. I spent about 2 hours on these chores today. That was fun. I can't wait for the weather to get warmer so I can do some more.
P.S. A rainy week later I went out to the garage and took a look at the finger board to see if the warp had come back. Nope. The board is still flat. Hooray.
Original post date April 12, 2009